screensdesign

Mobile AI photo editing flow examples

VSCO: Photo & Video Editor: Using AI Simplify Tool

Open recorded flow
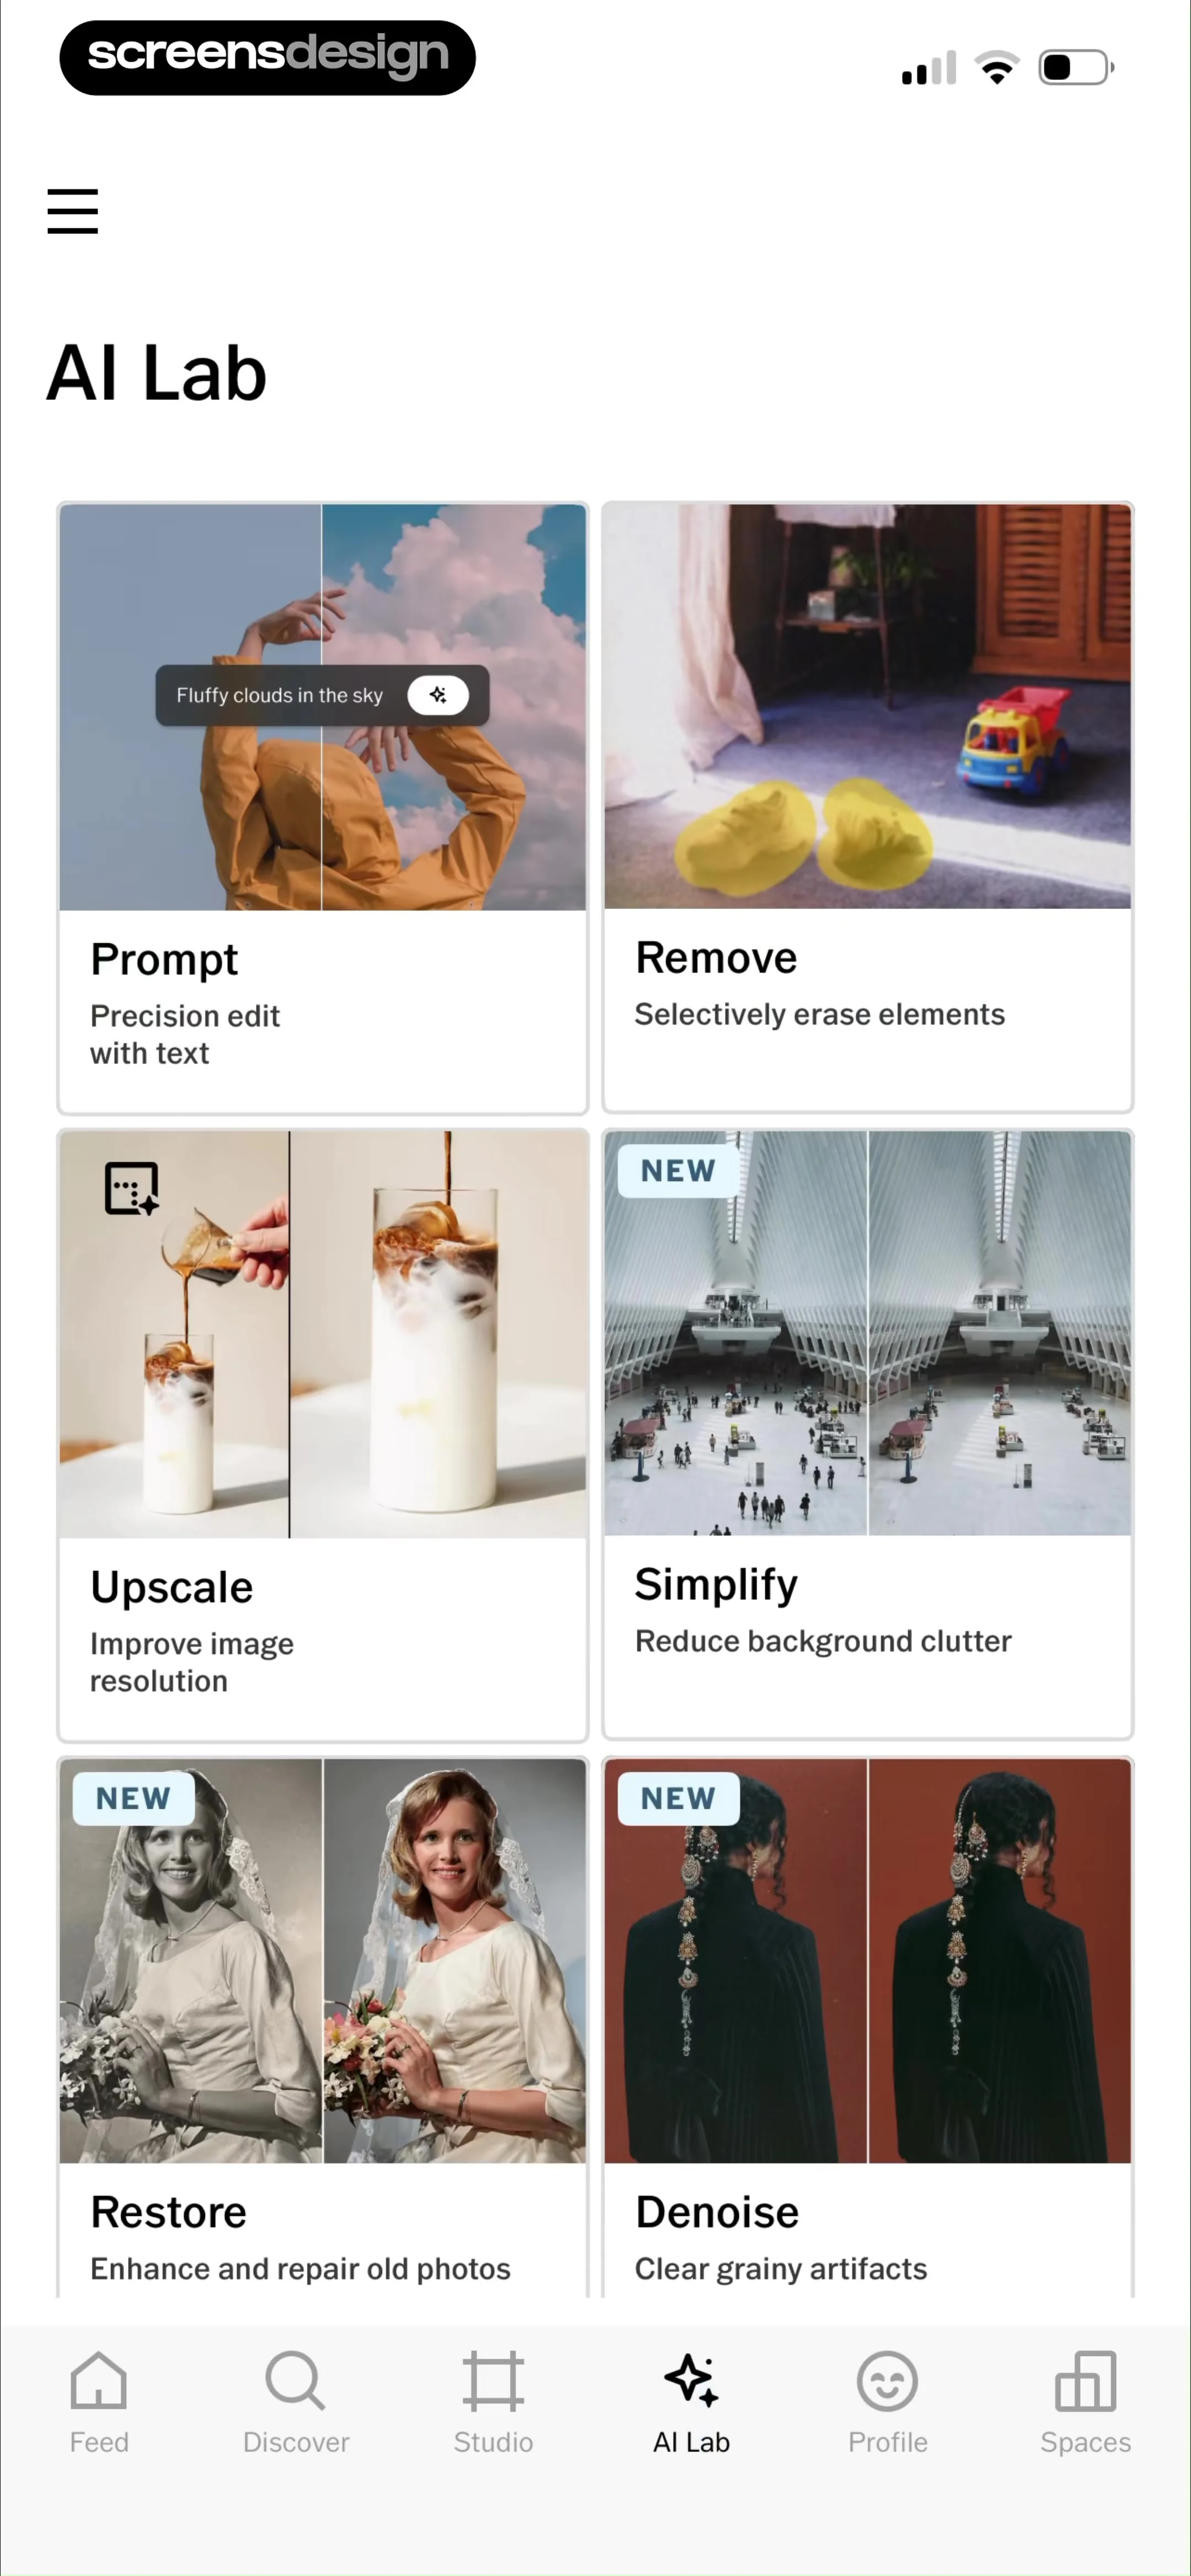
  1. Step 1 · 13:13

    VSCO: Photo & Video Editor: Header at top, 2x3 grid of feature cards in the center, bottom navigation bar at the base.See the flow
    VSCO: Photo & Video Editor

    Header at top, 2x3 grid of feature cards in the center, bottom navigation bar at the base.

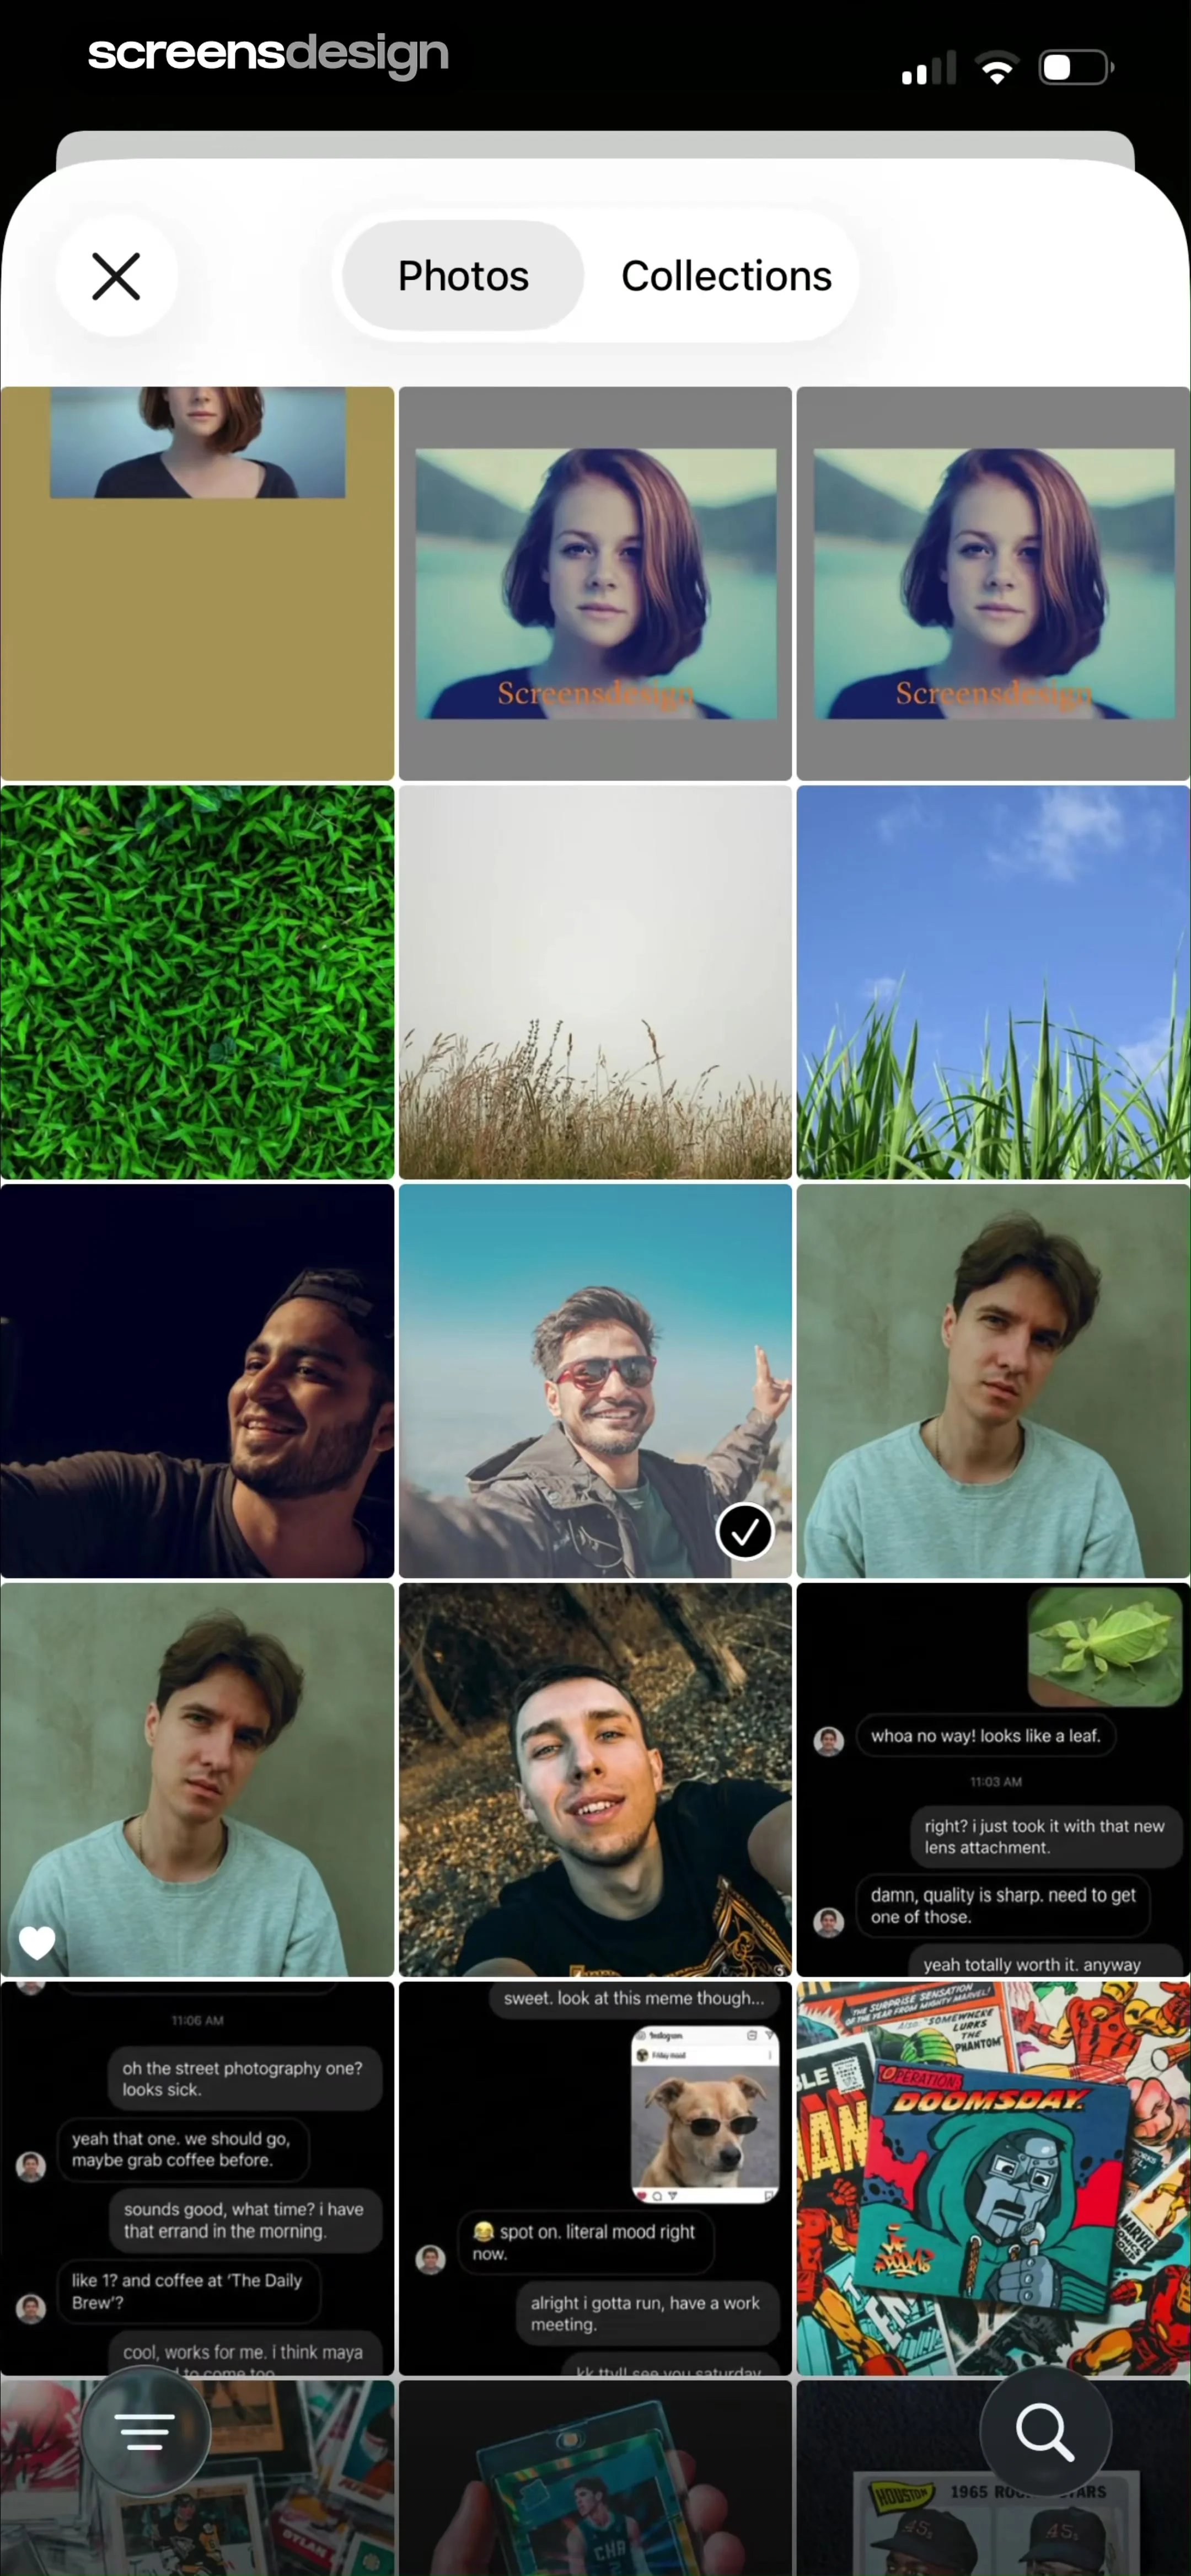
  2. Step 2 · 13:19

    VSCO: Photo & Video Editor: Top navigation bar with tab switcher, followed by a multi-column image grid, and a bottom navigation bar with search and menu icons.See the flow
    VSCO: Photo & Video Editor

    Top navigation bar with tab switcher, followed by a multi-column image grid, and a bottom navigation bar with search and menu icons.

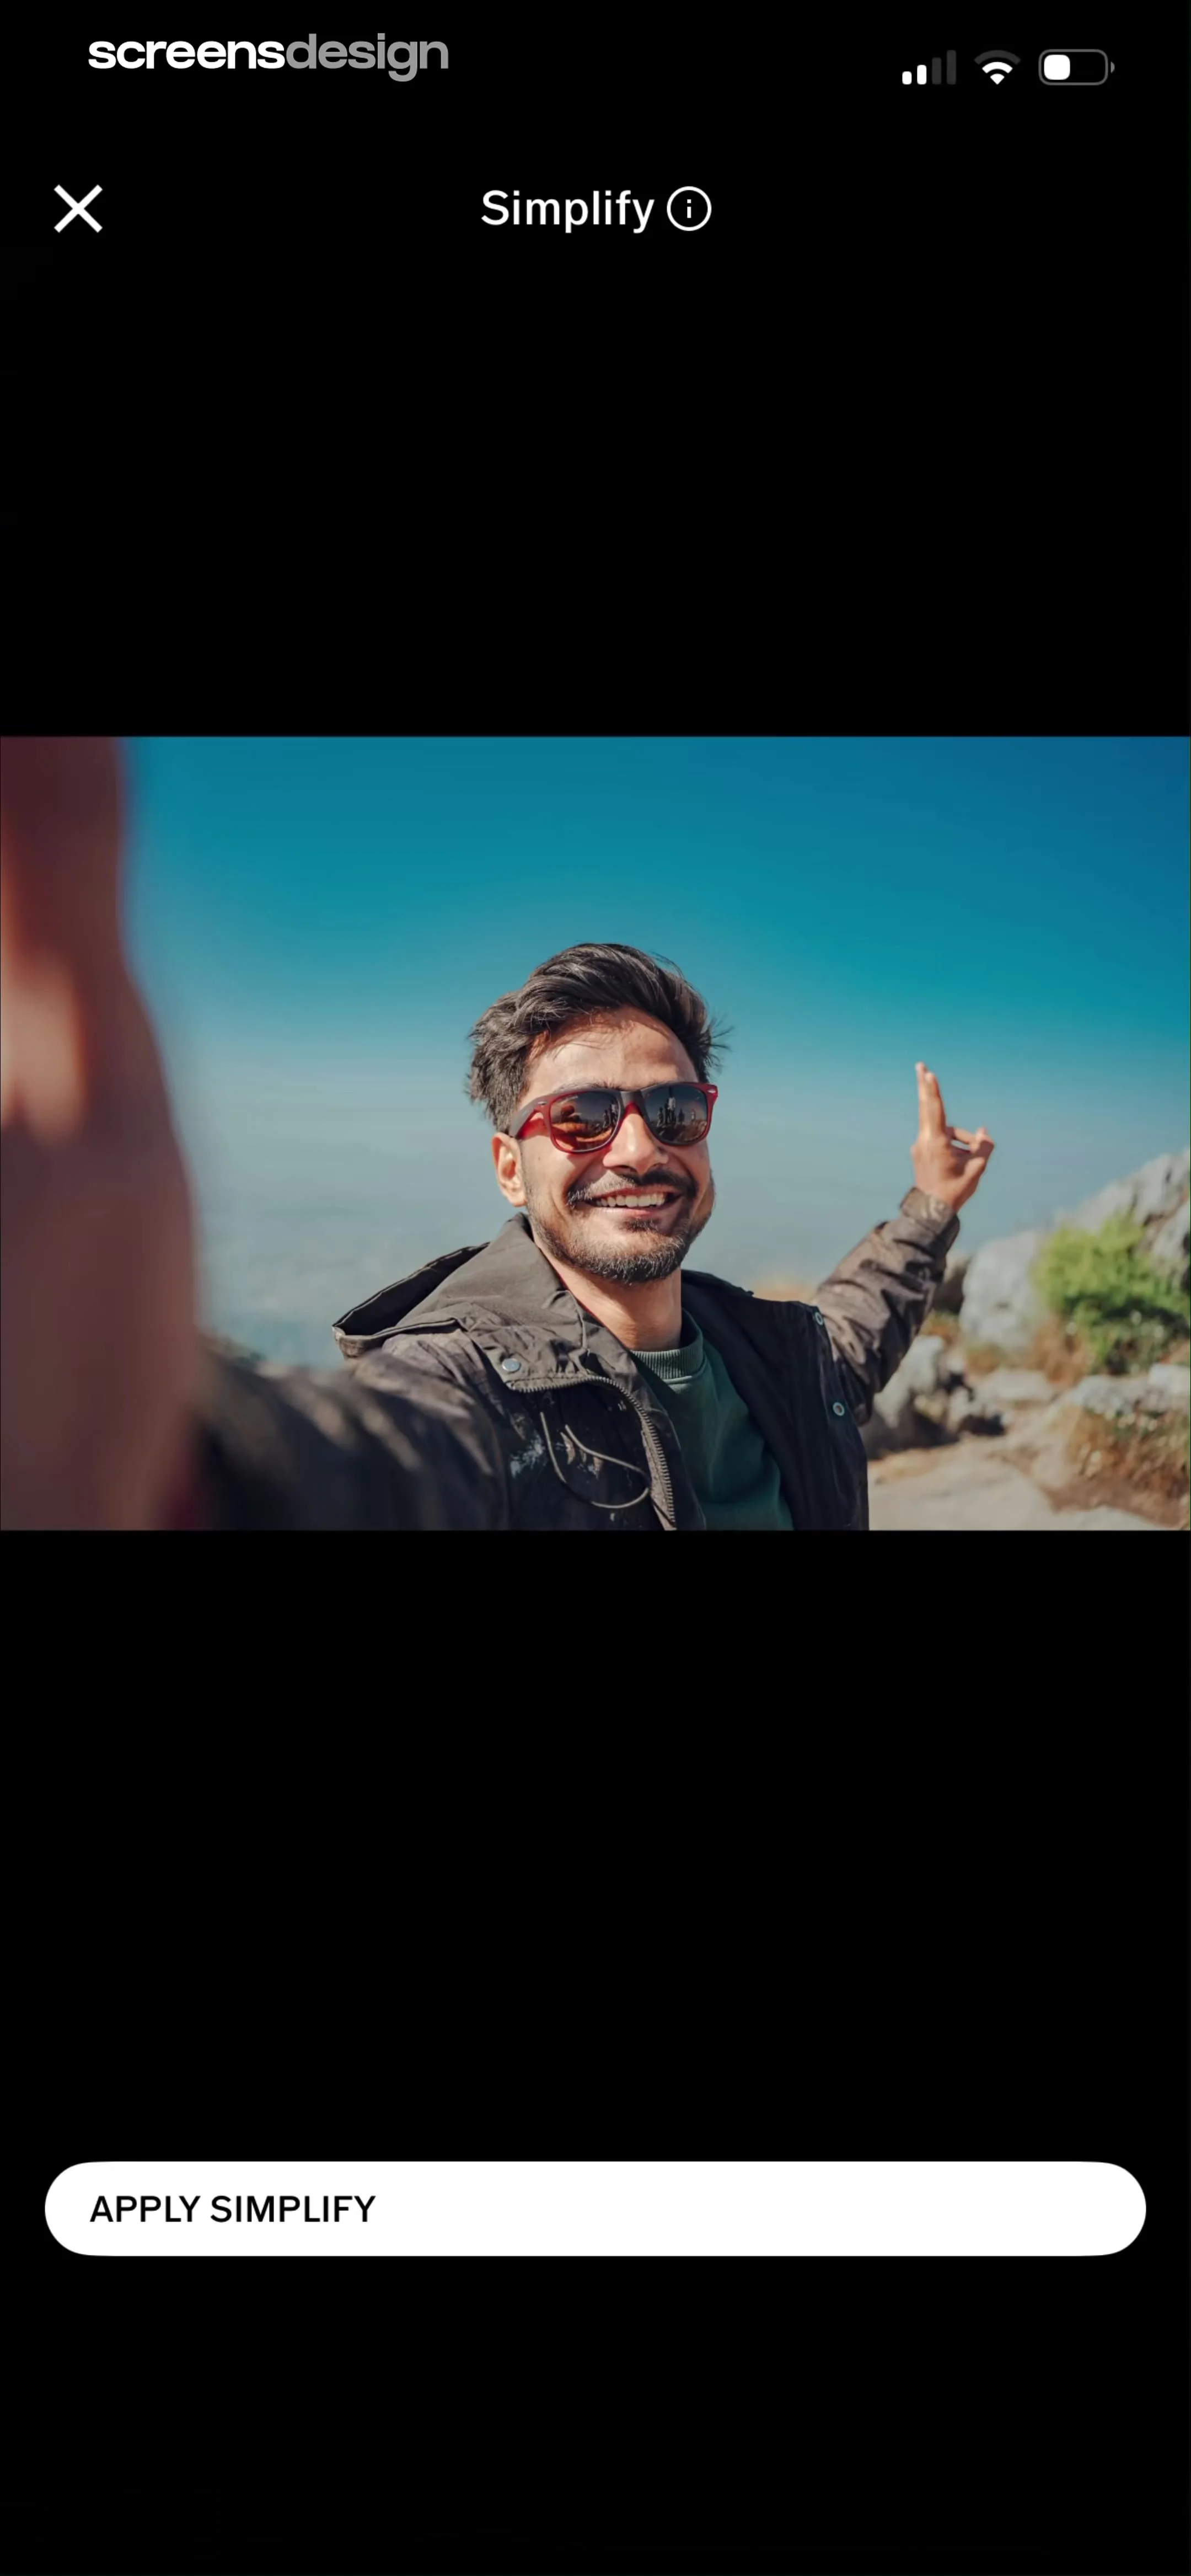
  3. Step 3 · 13:24

    VSCO: Photo & Video Editor: Top navigation bar, central image preview area, and a bottom action button.See the flow
    VSCO: Photo & Video Editor

    Top navigation bar, central image preview area, and a bottom action button.

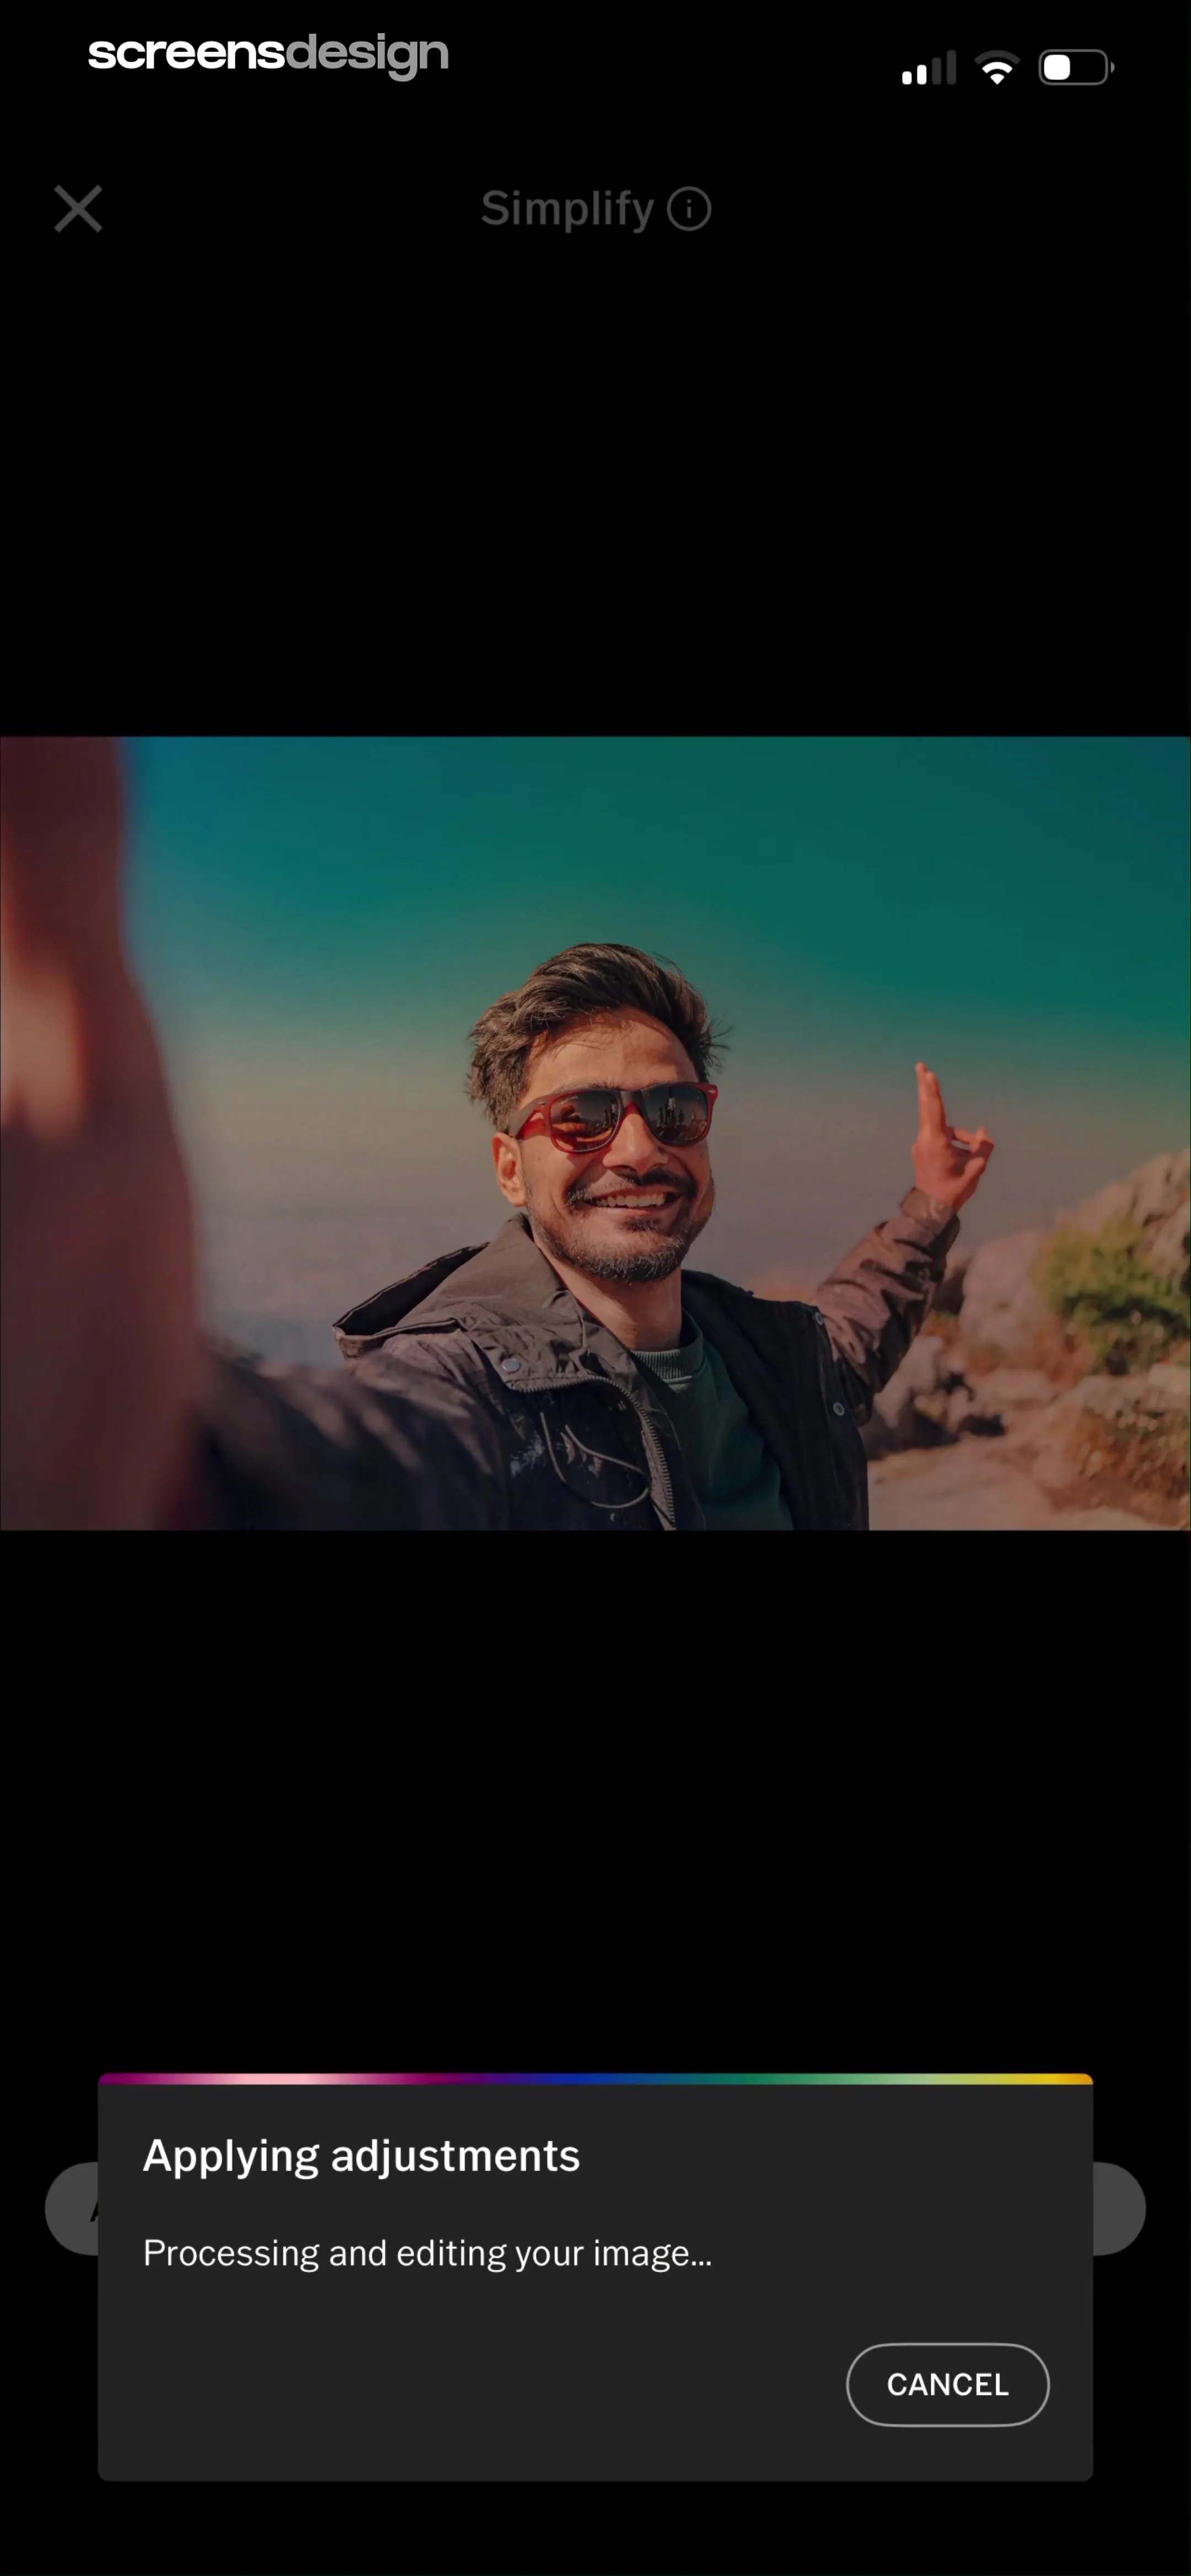
  4. Step 4 · 13:29

    VSCO: Photo & Video Editor: Top header with title, central image preview, and a bottom-centered modal dialog for processing status.See the flow
    VSCO: Photo & Video Editor

    Top header with title, central image preview, and a bottom-centered modal dialog for processing status.

  5. Step 5 · 14:01

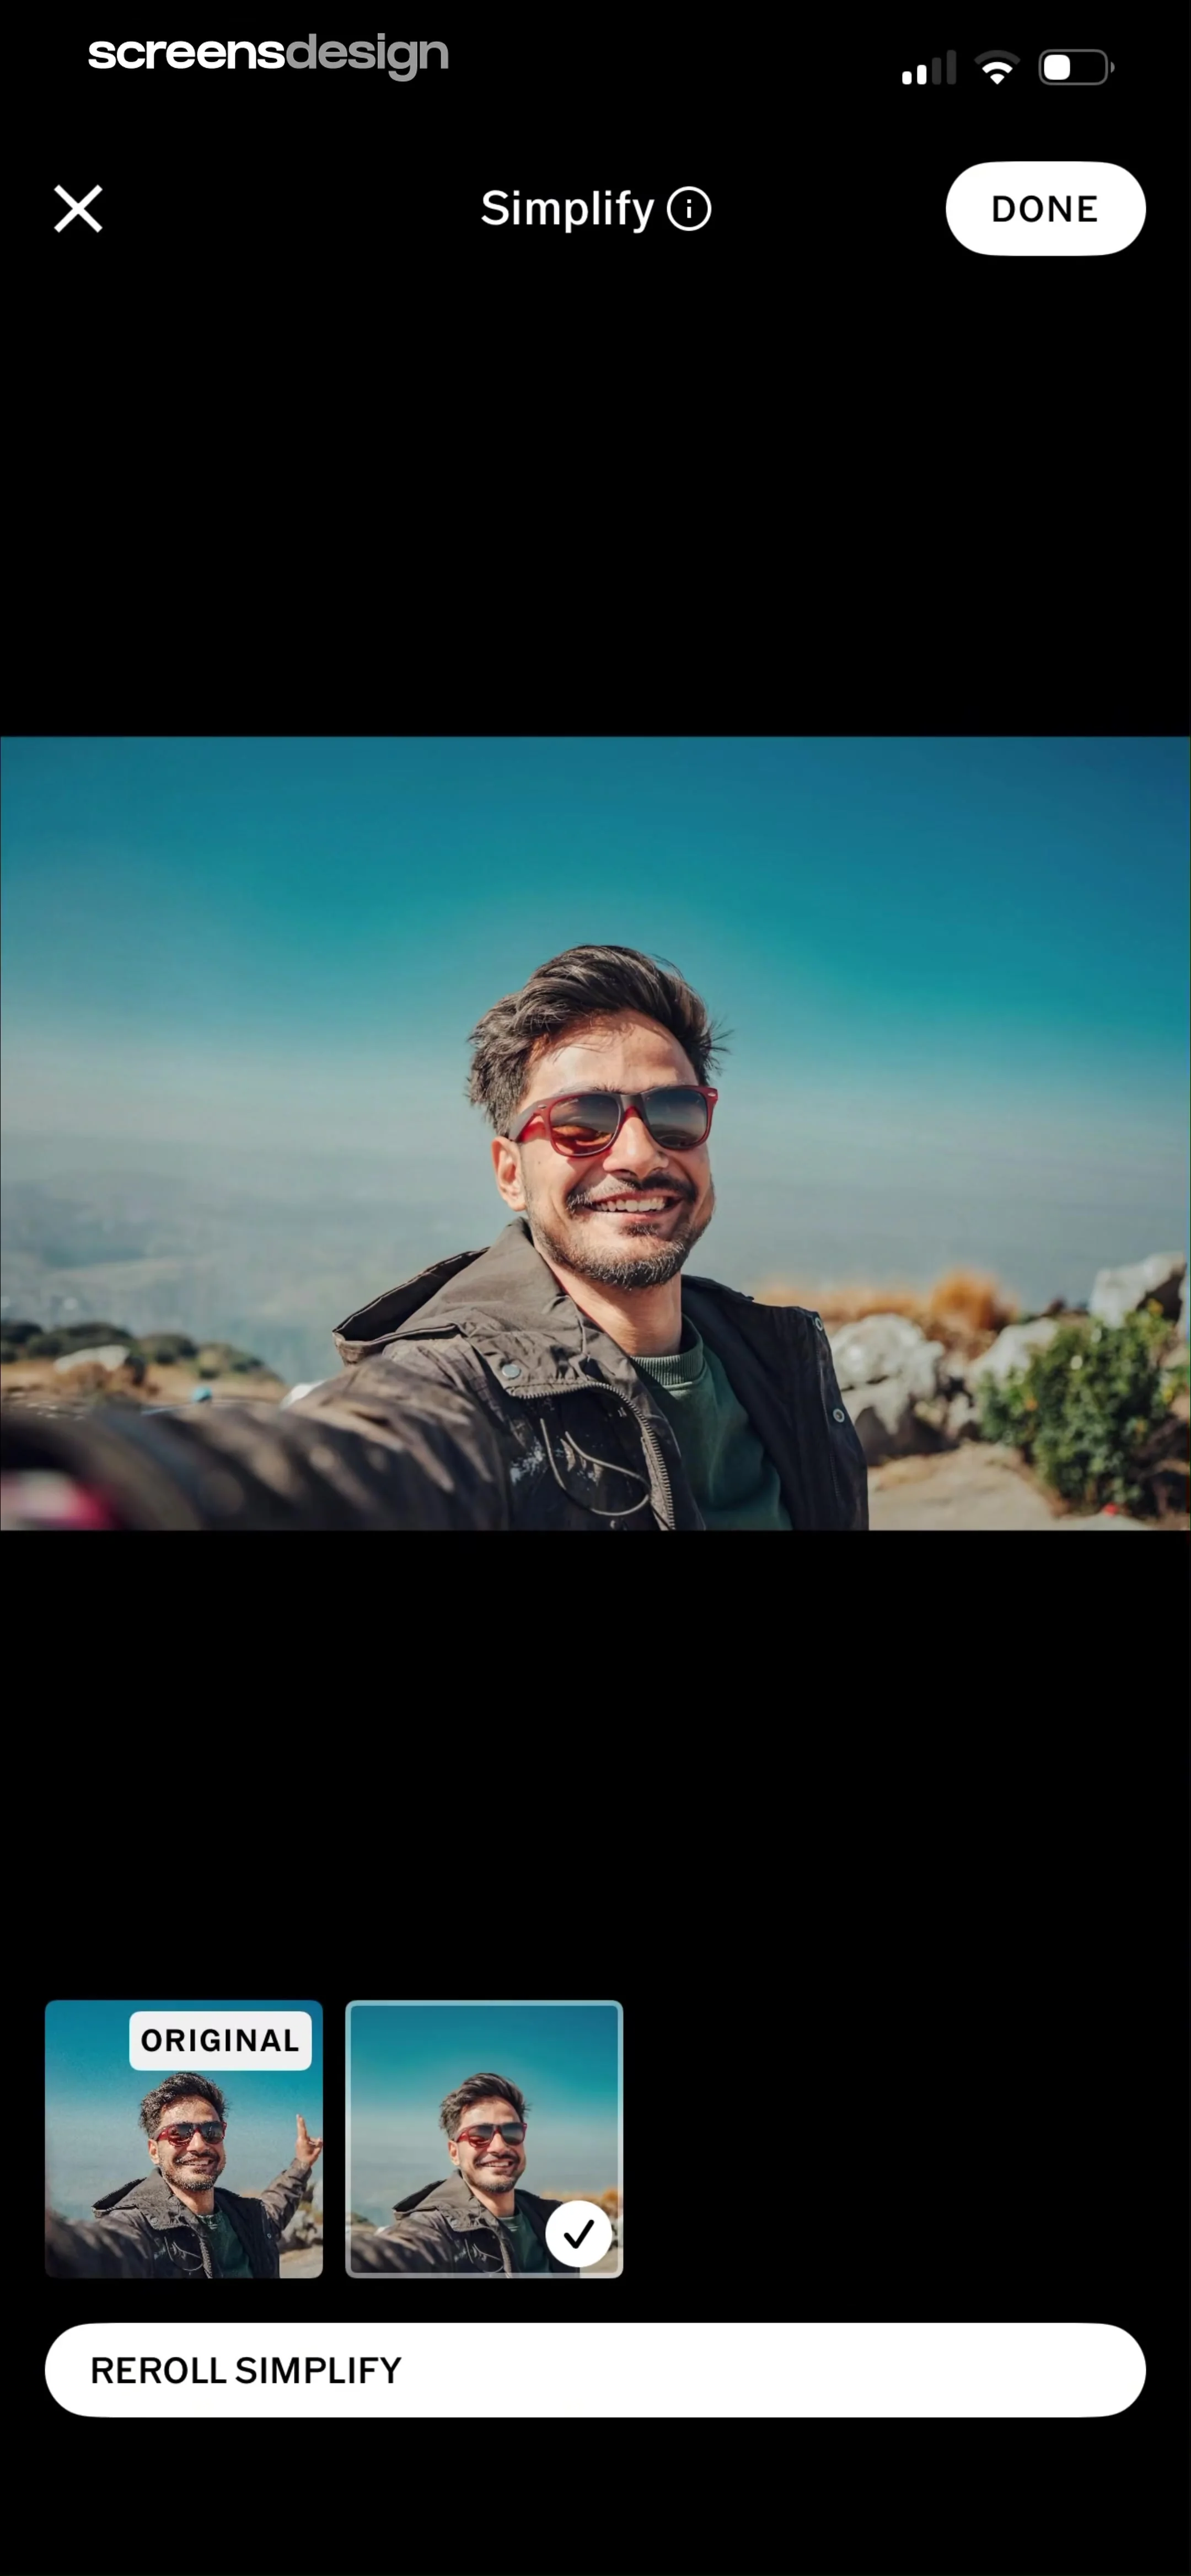
    VSCO: Photo & Video Editor: Top navigation bar, large central image preview, bottom thumbnail selection area, and a bottom action button.See the flow
    VSCO: Photo & Video Editor

    Top navigation bar, large central image preview, bottom thumbnail selection area, and a bottom action button.

  6. Step 6 · 14:04

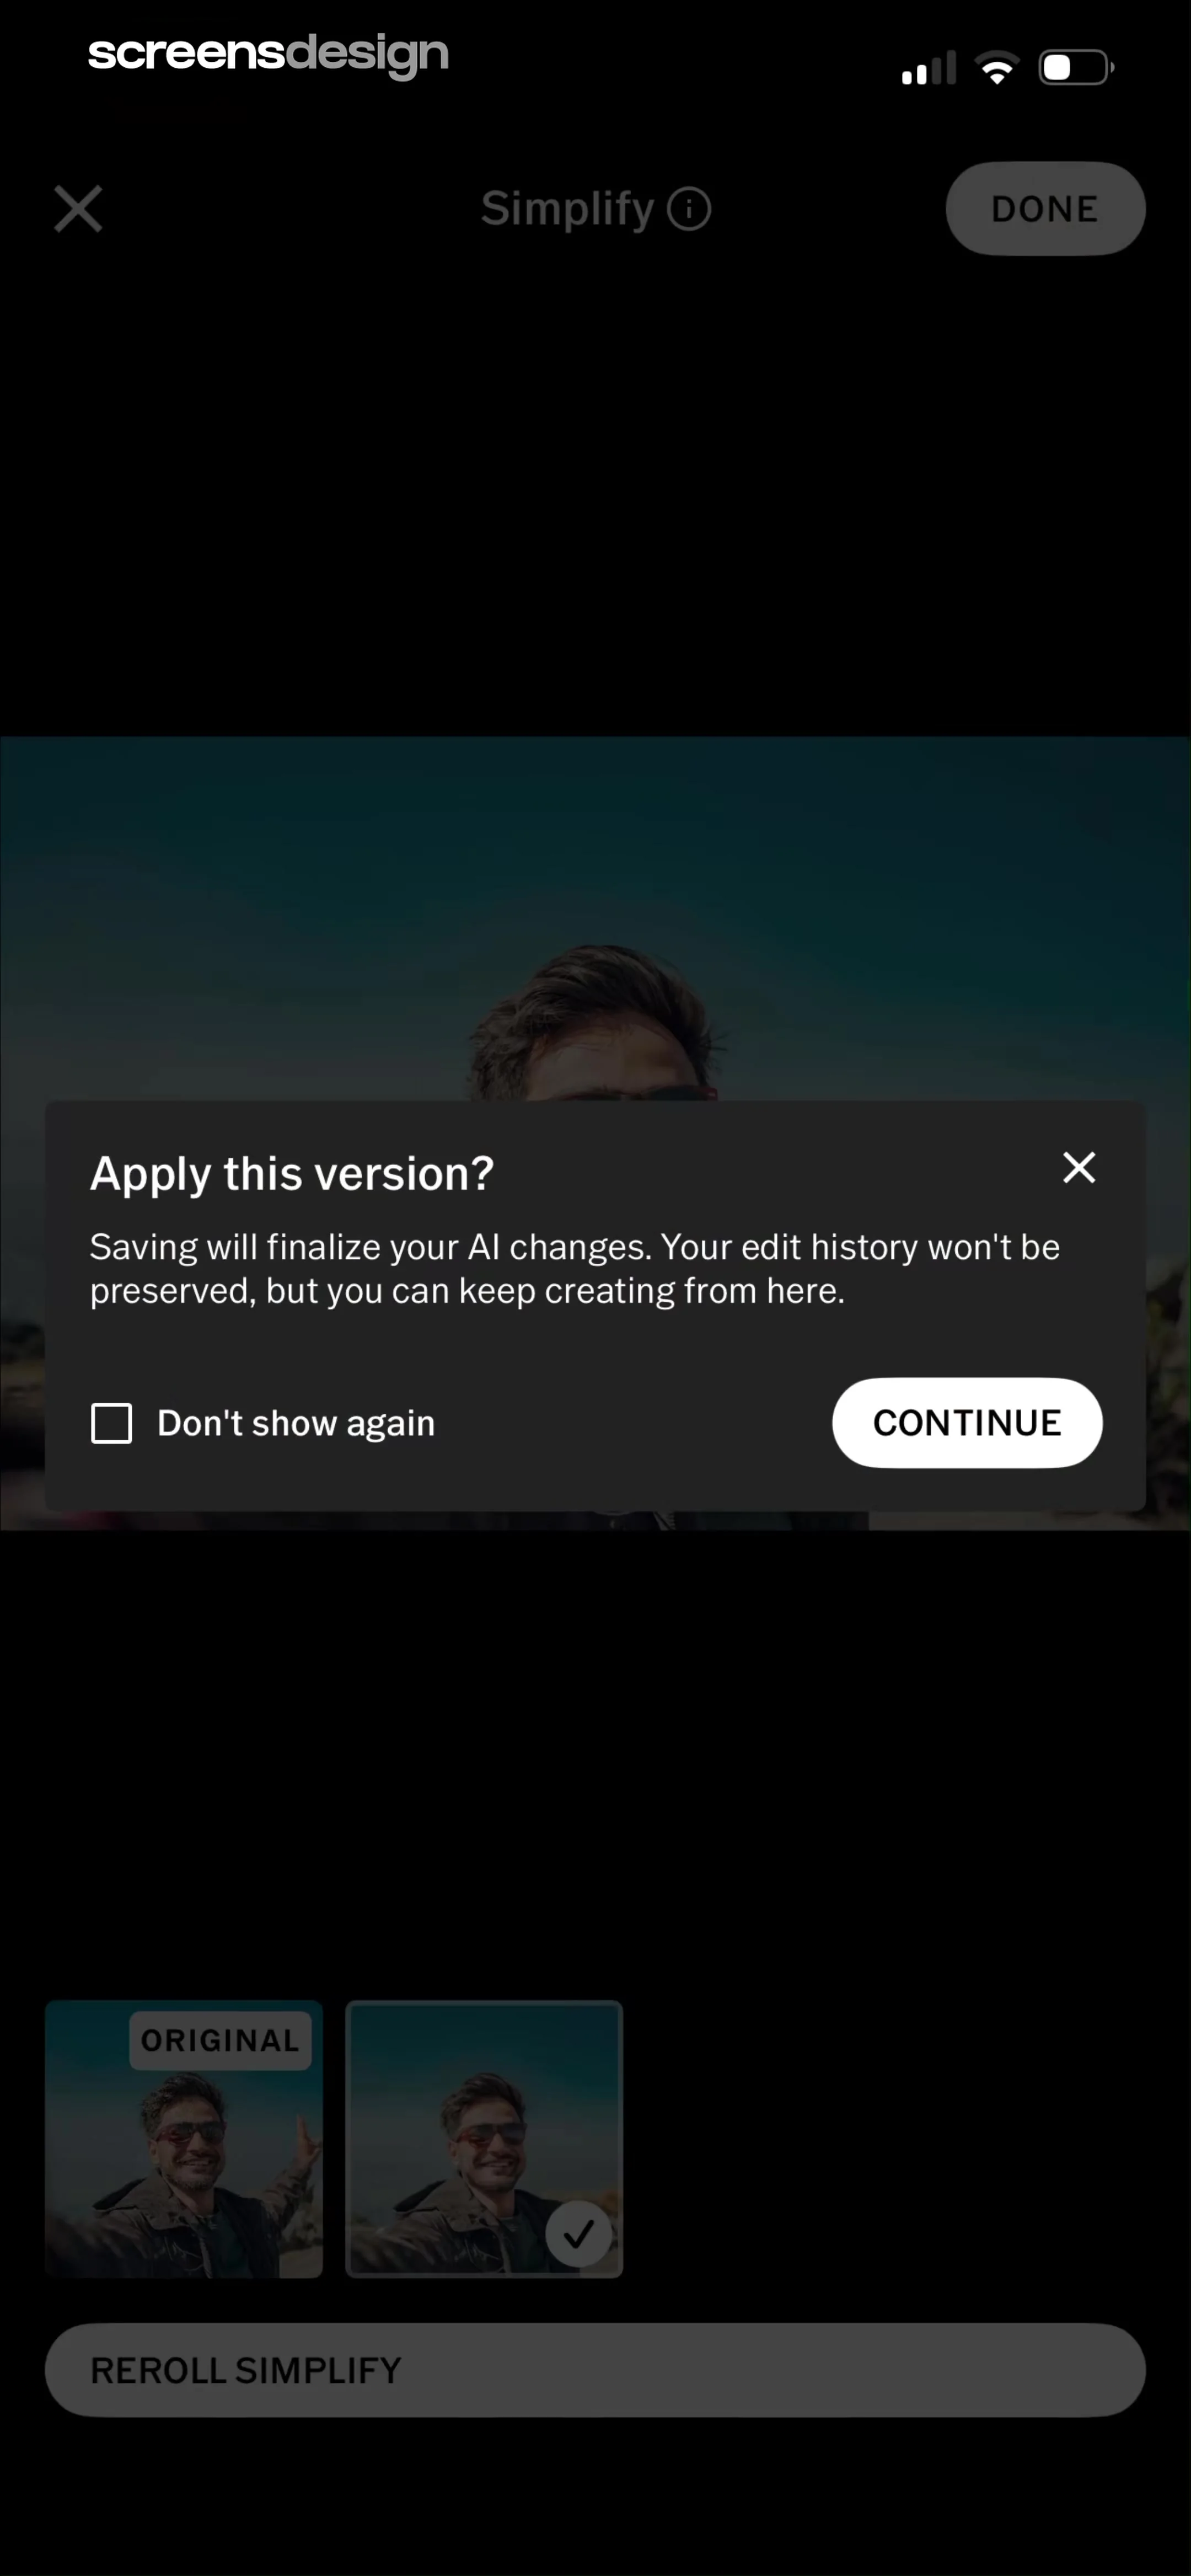
    VSCO: Photo & Video Editor: Top navigation bar, central photo preview area with an overlaid modal, and a bottom action button.See the flow
    VSCO: Photo & Video Editor

    Top navigation bar, central photo preview area with an overlaid modal, and a bottom action button.
VSCO: Photo & Video Editor: Using AI Remove Tool

Open recorded flow
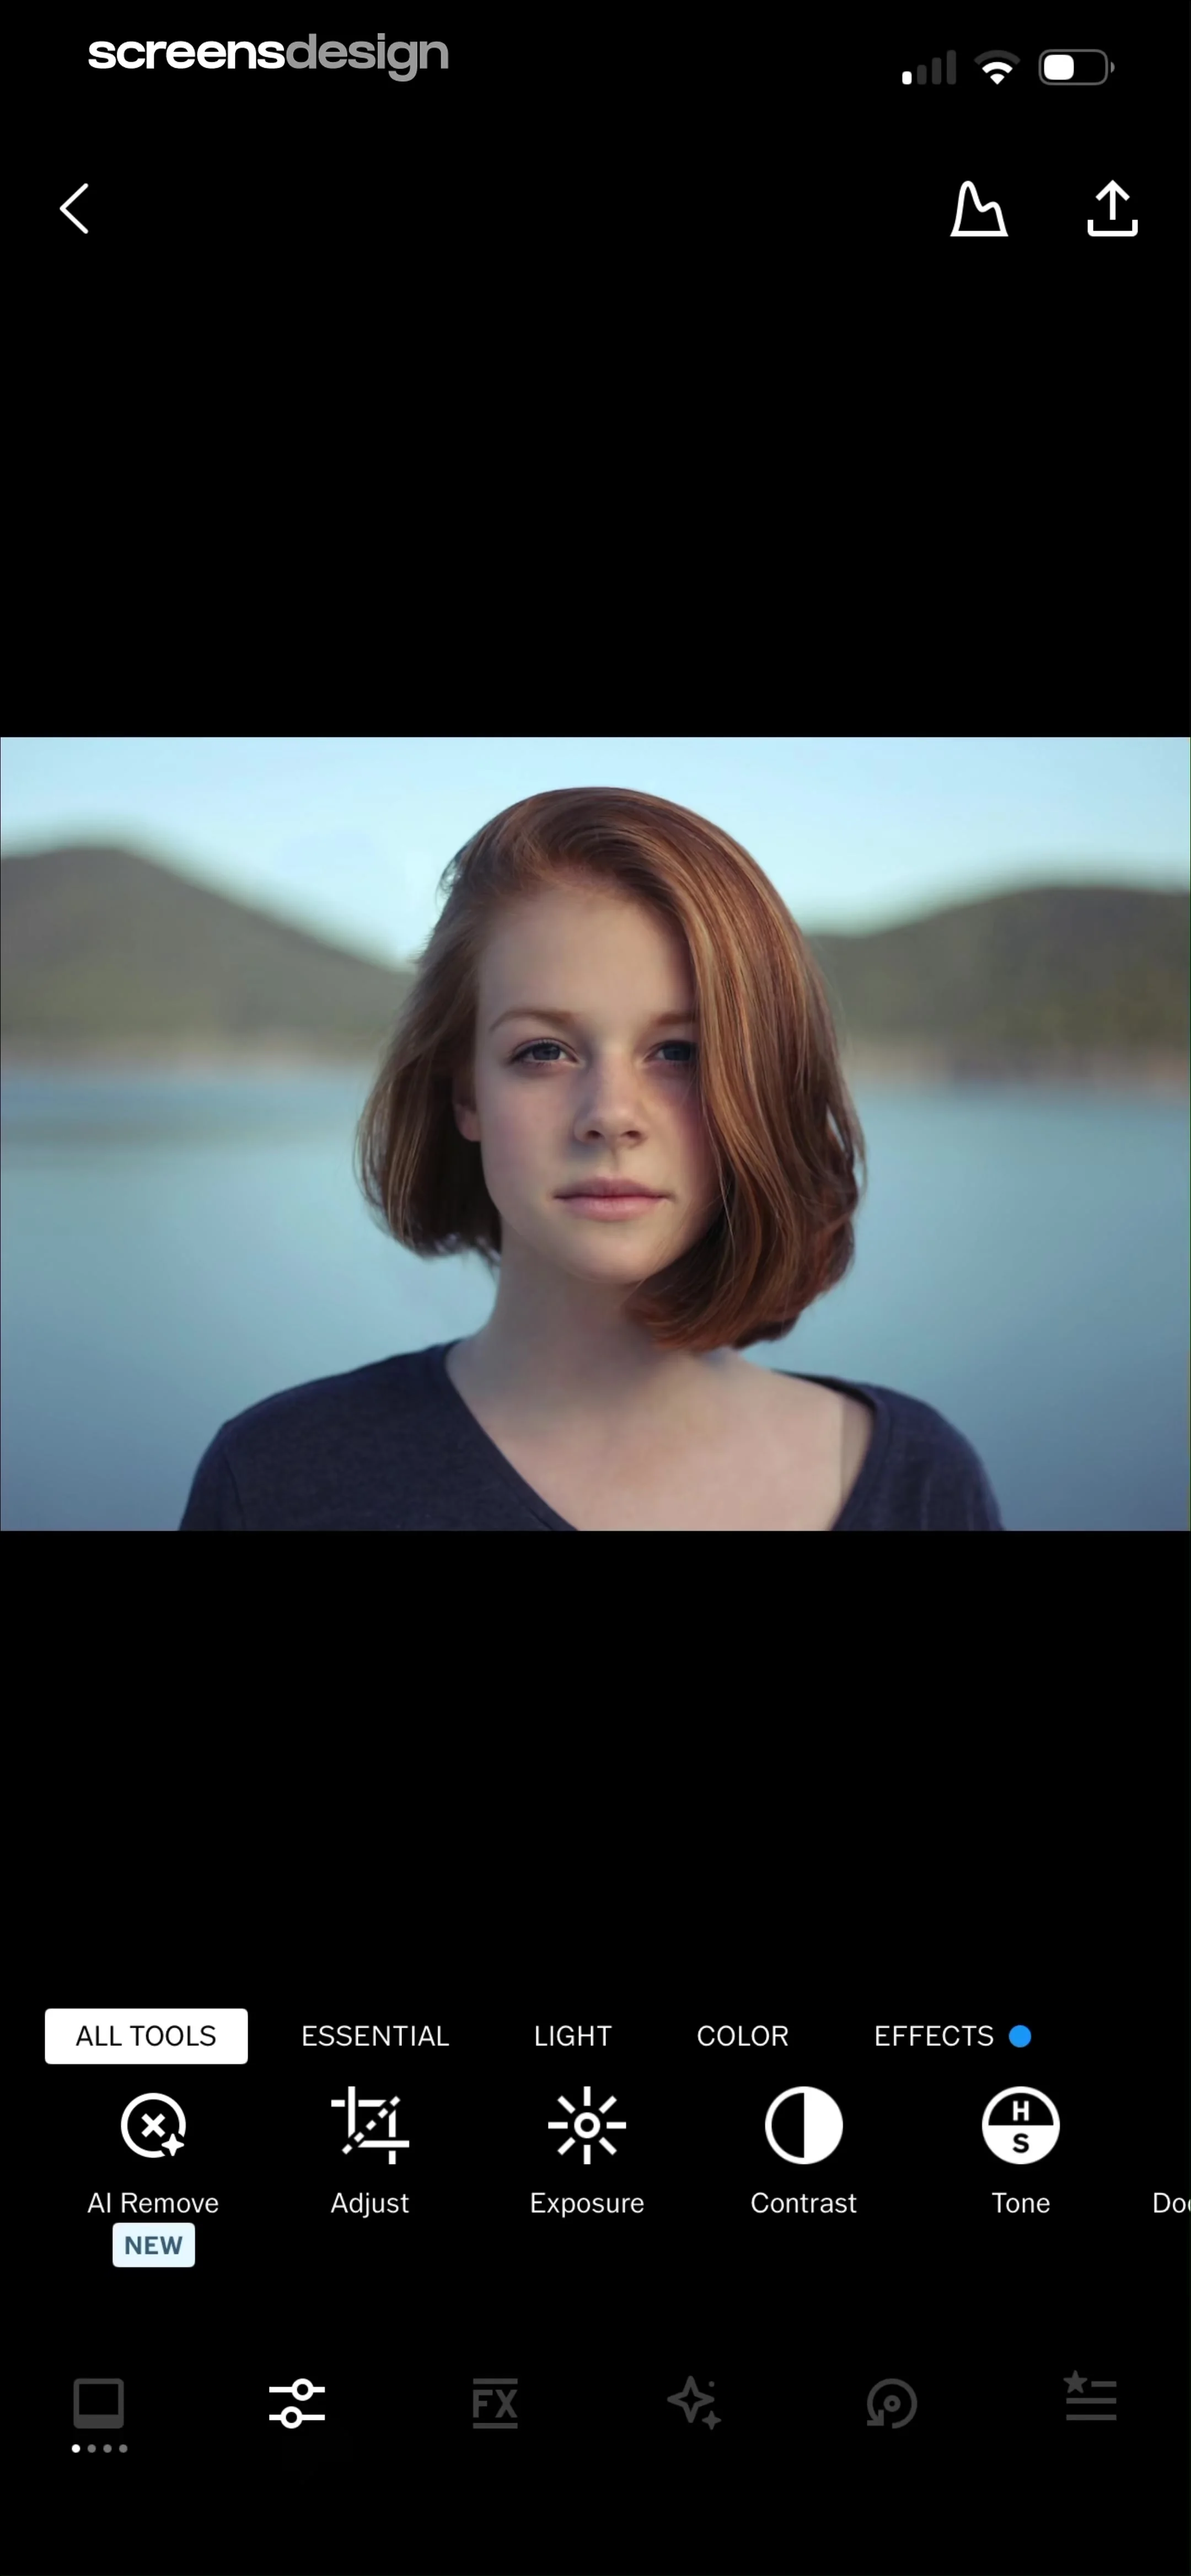
  1. Step 1 · 2:20

    VSCO: Photo & Video Editor: Top navigation bar, central image preview, middle tool category selector, bottom tool icon row, and bottom-most navigation bar.See the flow
    VSCO: Photo & Video Editor

    Top navigation bar, central image preview, middle tool category selector, bottom tool icon row, and bottom-most navigation bar.

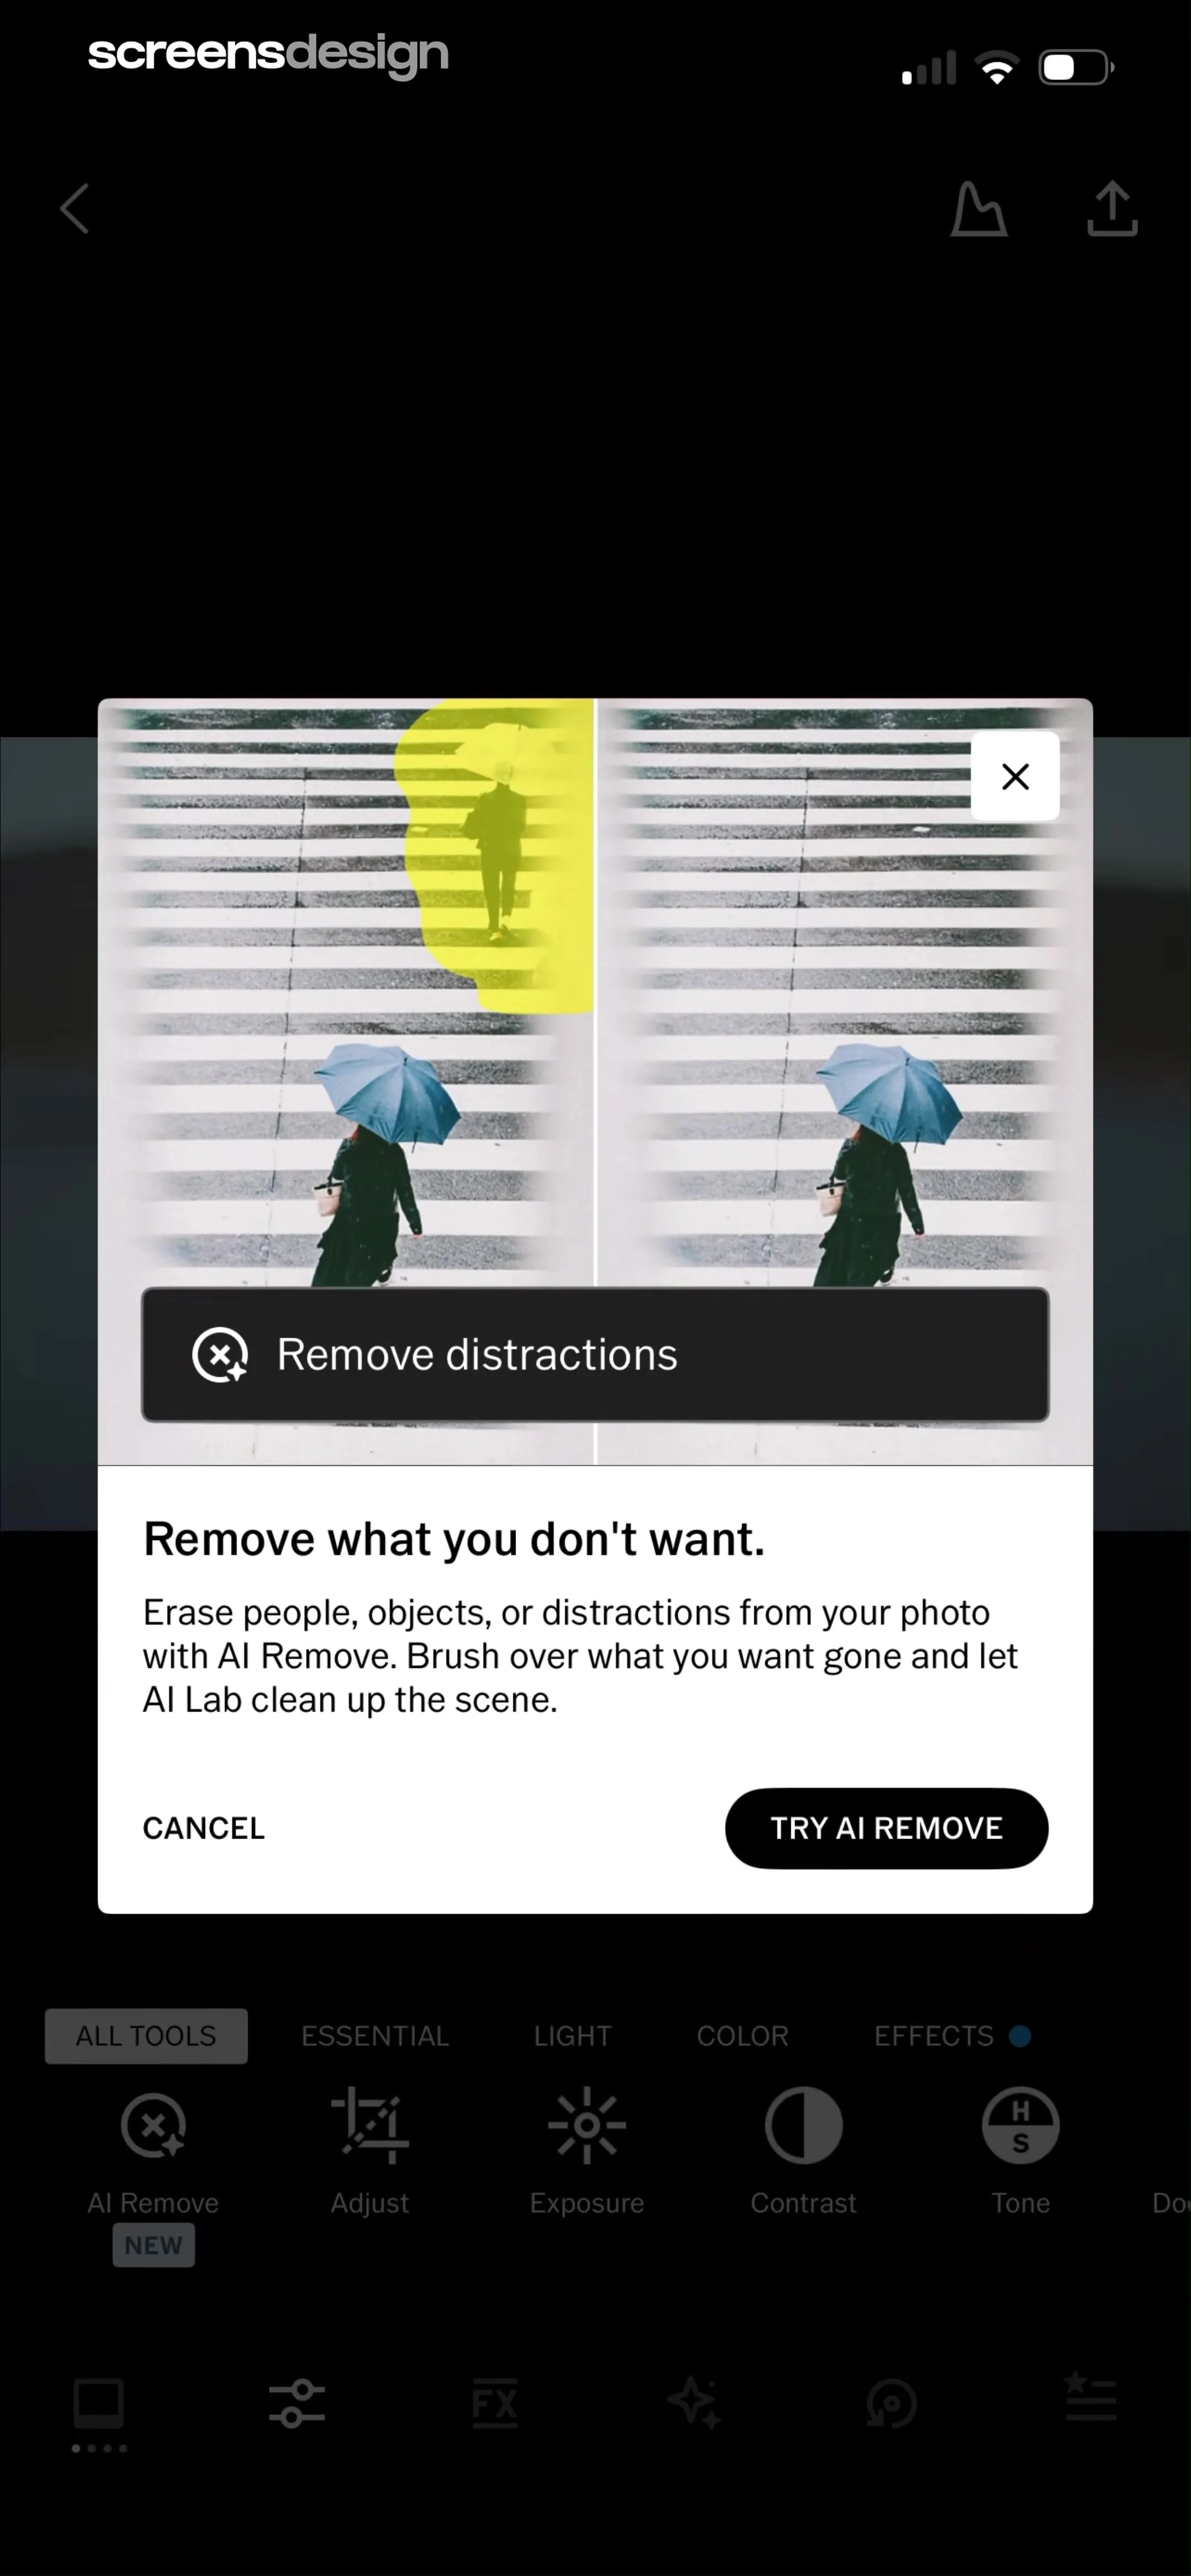
  2. Step 2 · 2:22

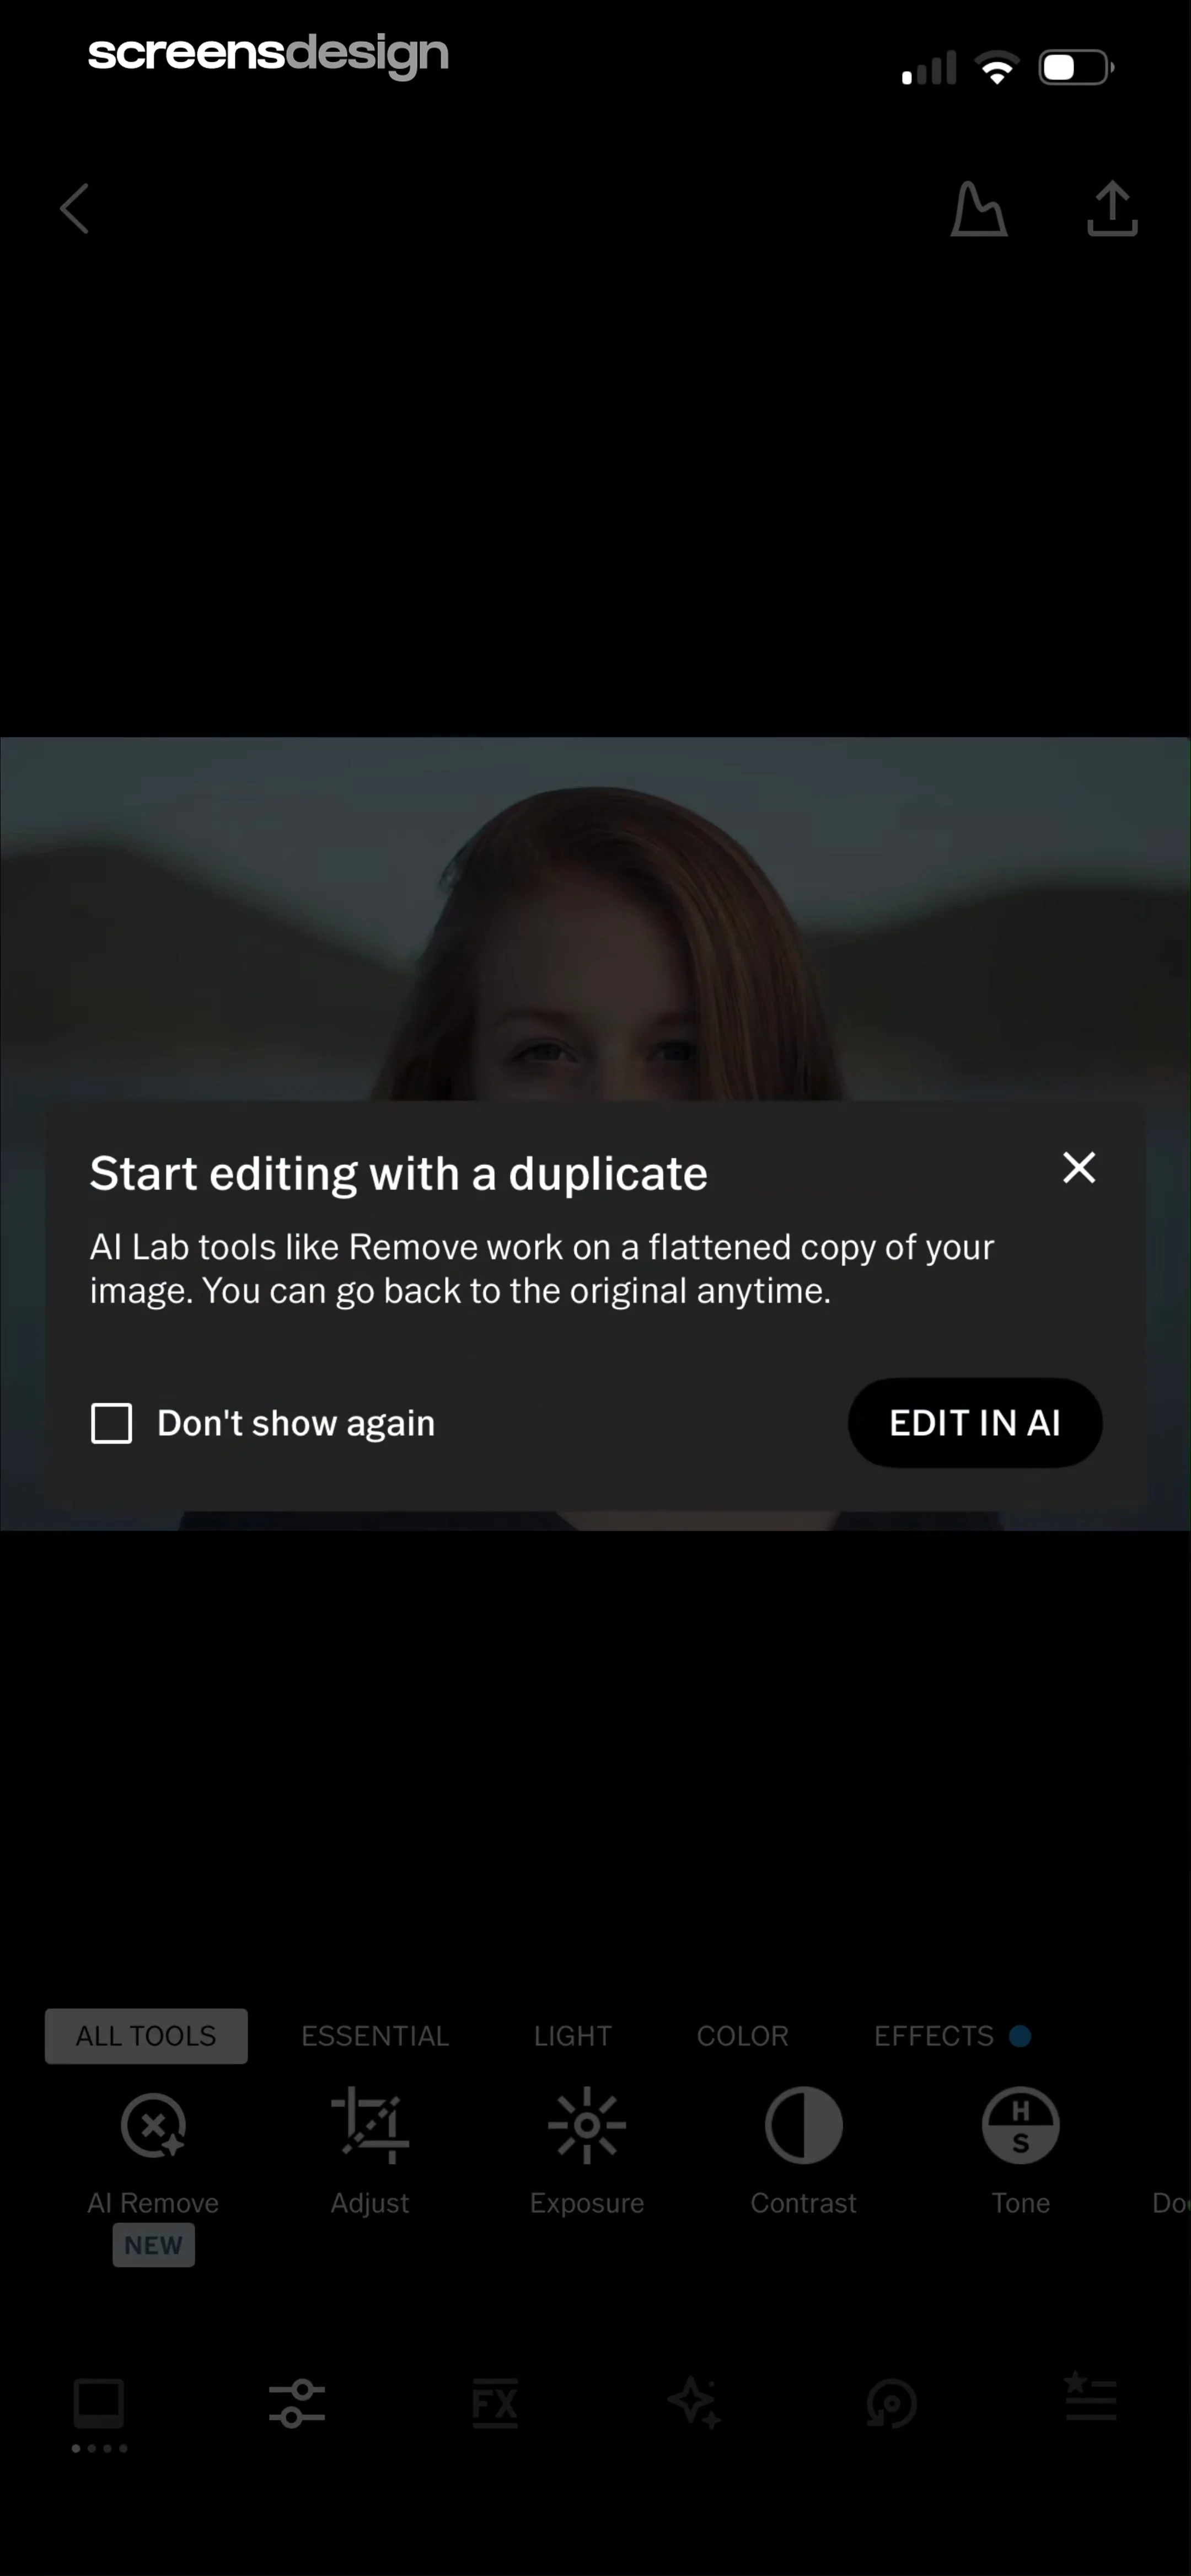
    VSCO: Photo & Video Editor: A centered modal overlaying a photo editing workspace with a bottom navigation and tool selection bar.See the flow
    VSCO: Photo & Video Editor

    A centered modal overlaying a photo editing workspace with a bottom navigation and tool selection bar.

  3. Step 3 · 2:26

    VSCO: Photo & Video Editor: Top navigation bar, central photo preview area with modal overlay, bottom tool selection bar, and bottom navigation icons.See the flow
    VSCO: Photo & Video Editor

    Top navigation bar, central photo preview area with modal overlay, bottom tool selection bar, and bottom navigation icons.

  4. Step 4 · 2:30

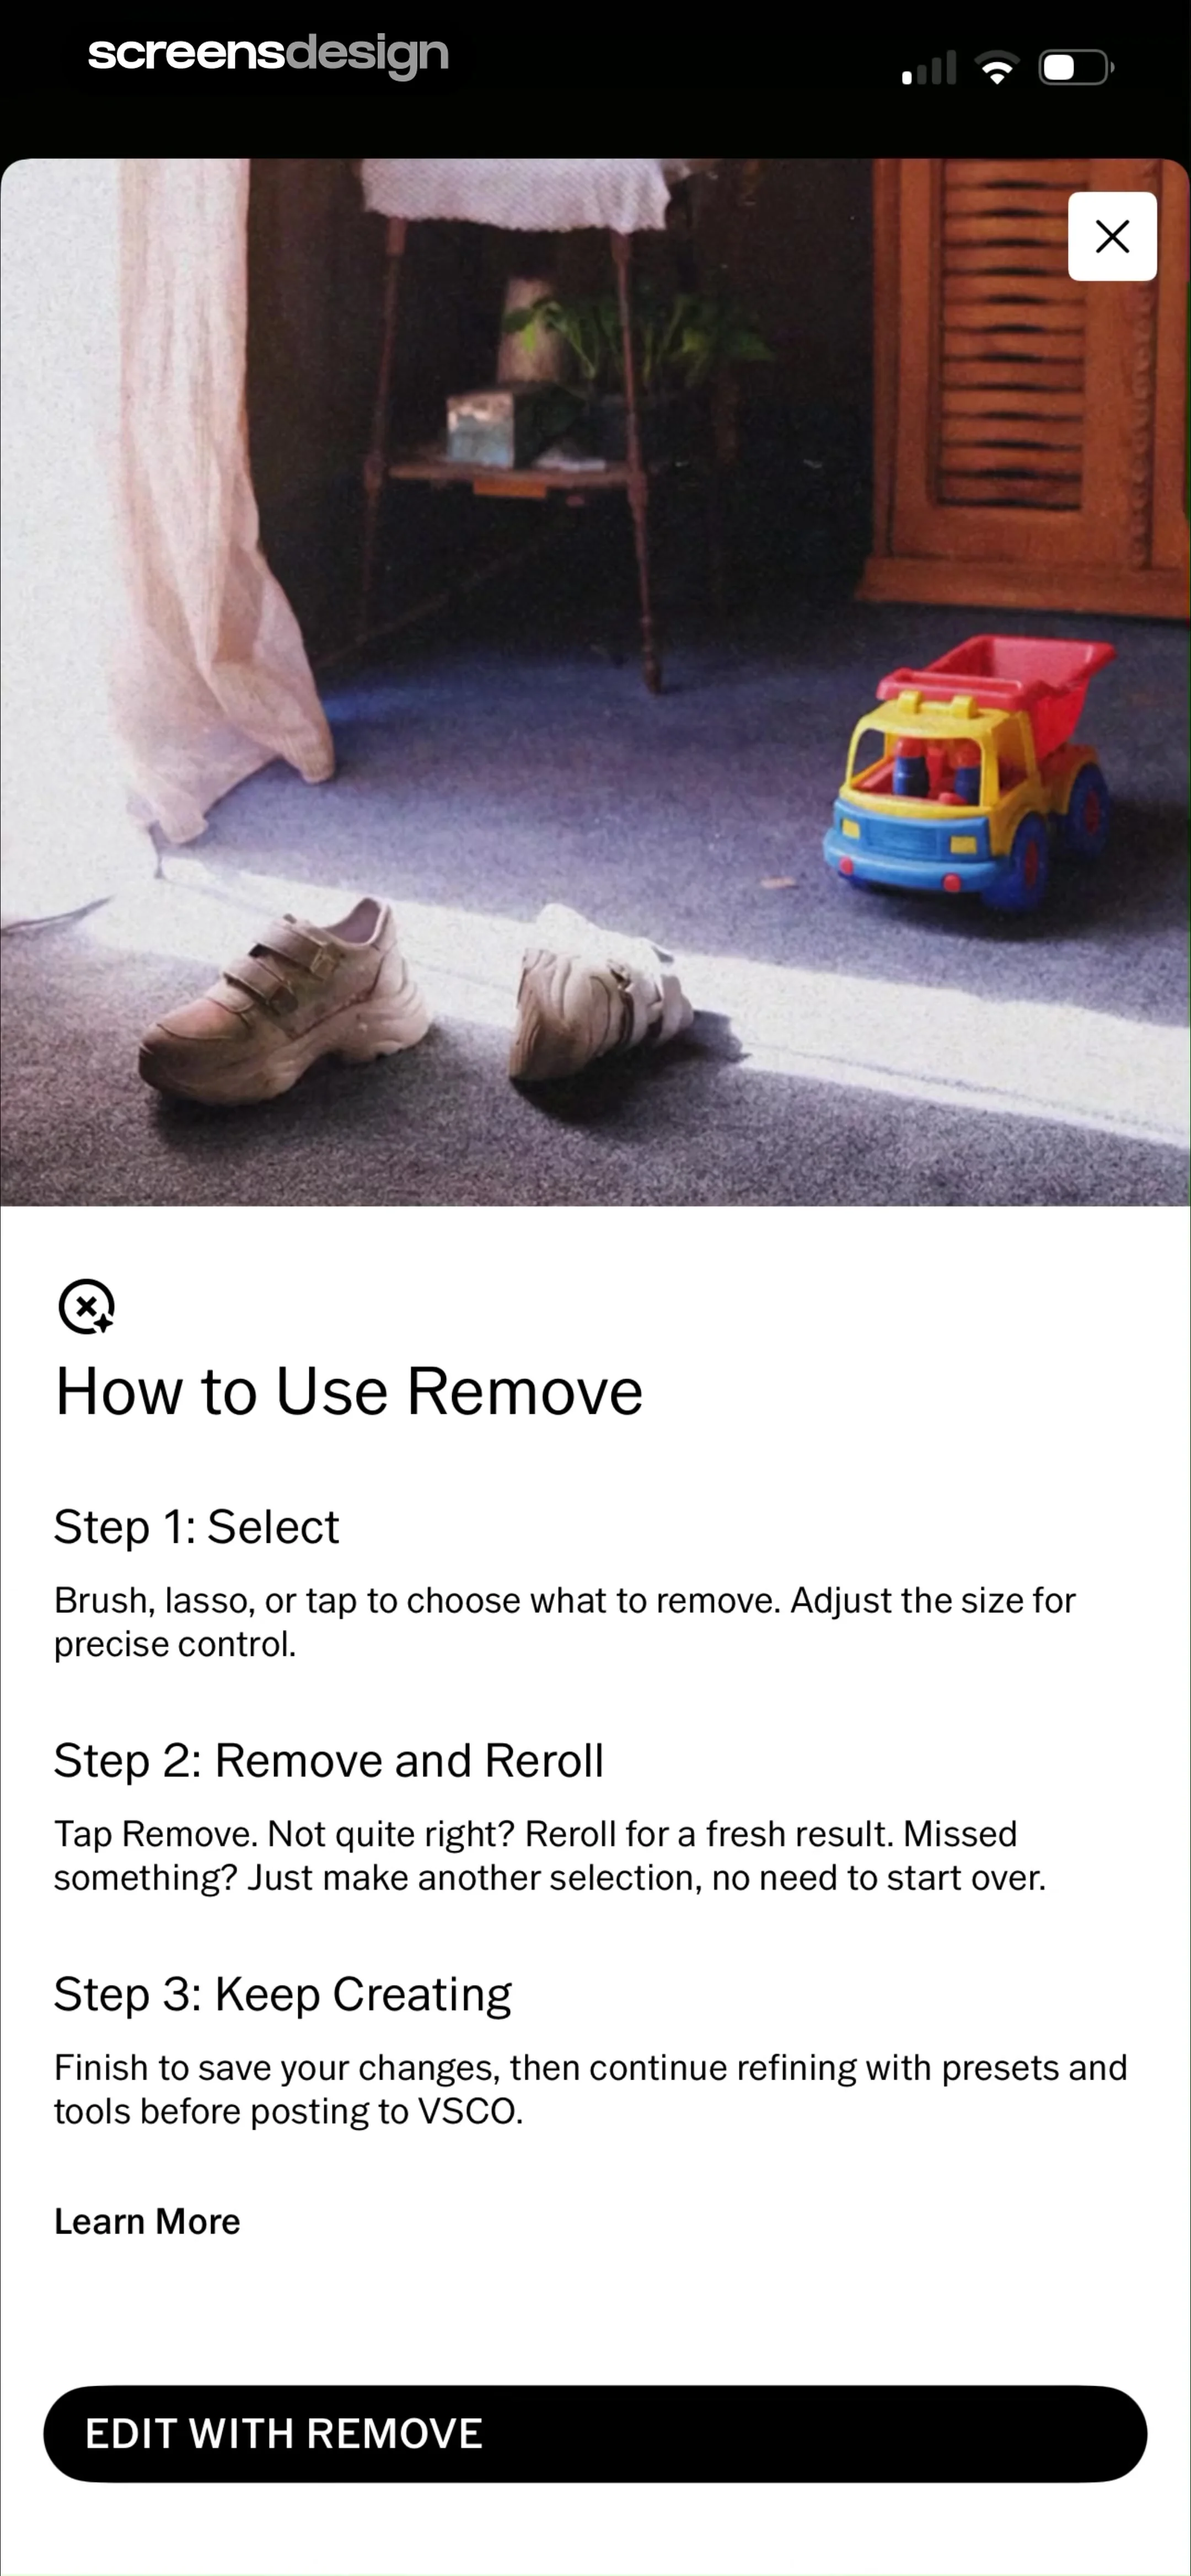
    VSCO: Photo & Video Editor: Top image preview followed by a white card containing instructional text and a bottom action button.See the flow
    VSCO: Photo & Video Editor

    Top image preview followed by a white card containing instructional text and a bottom action button.
  5. Step 5 · 2:40

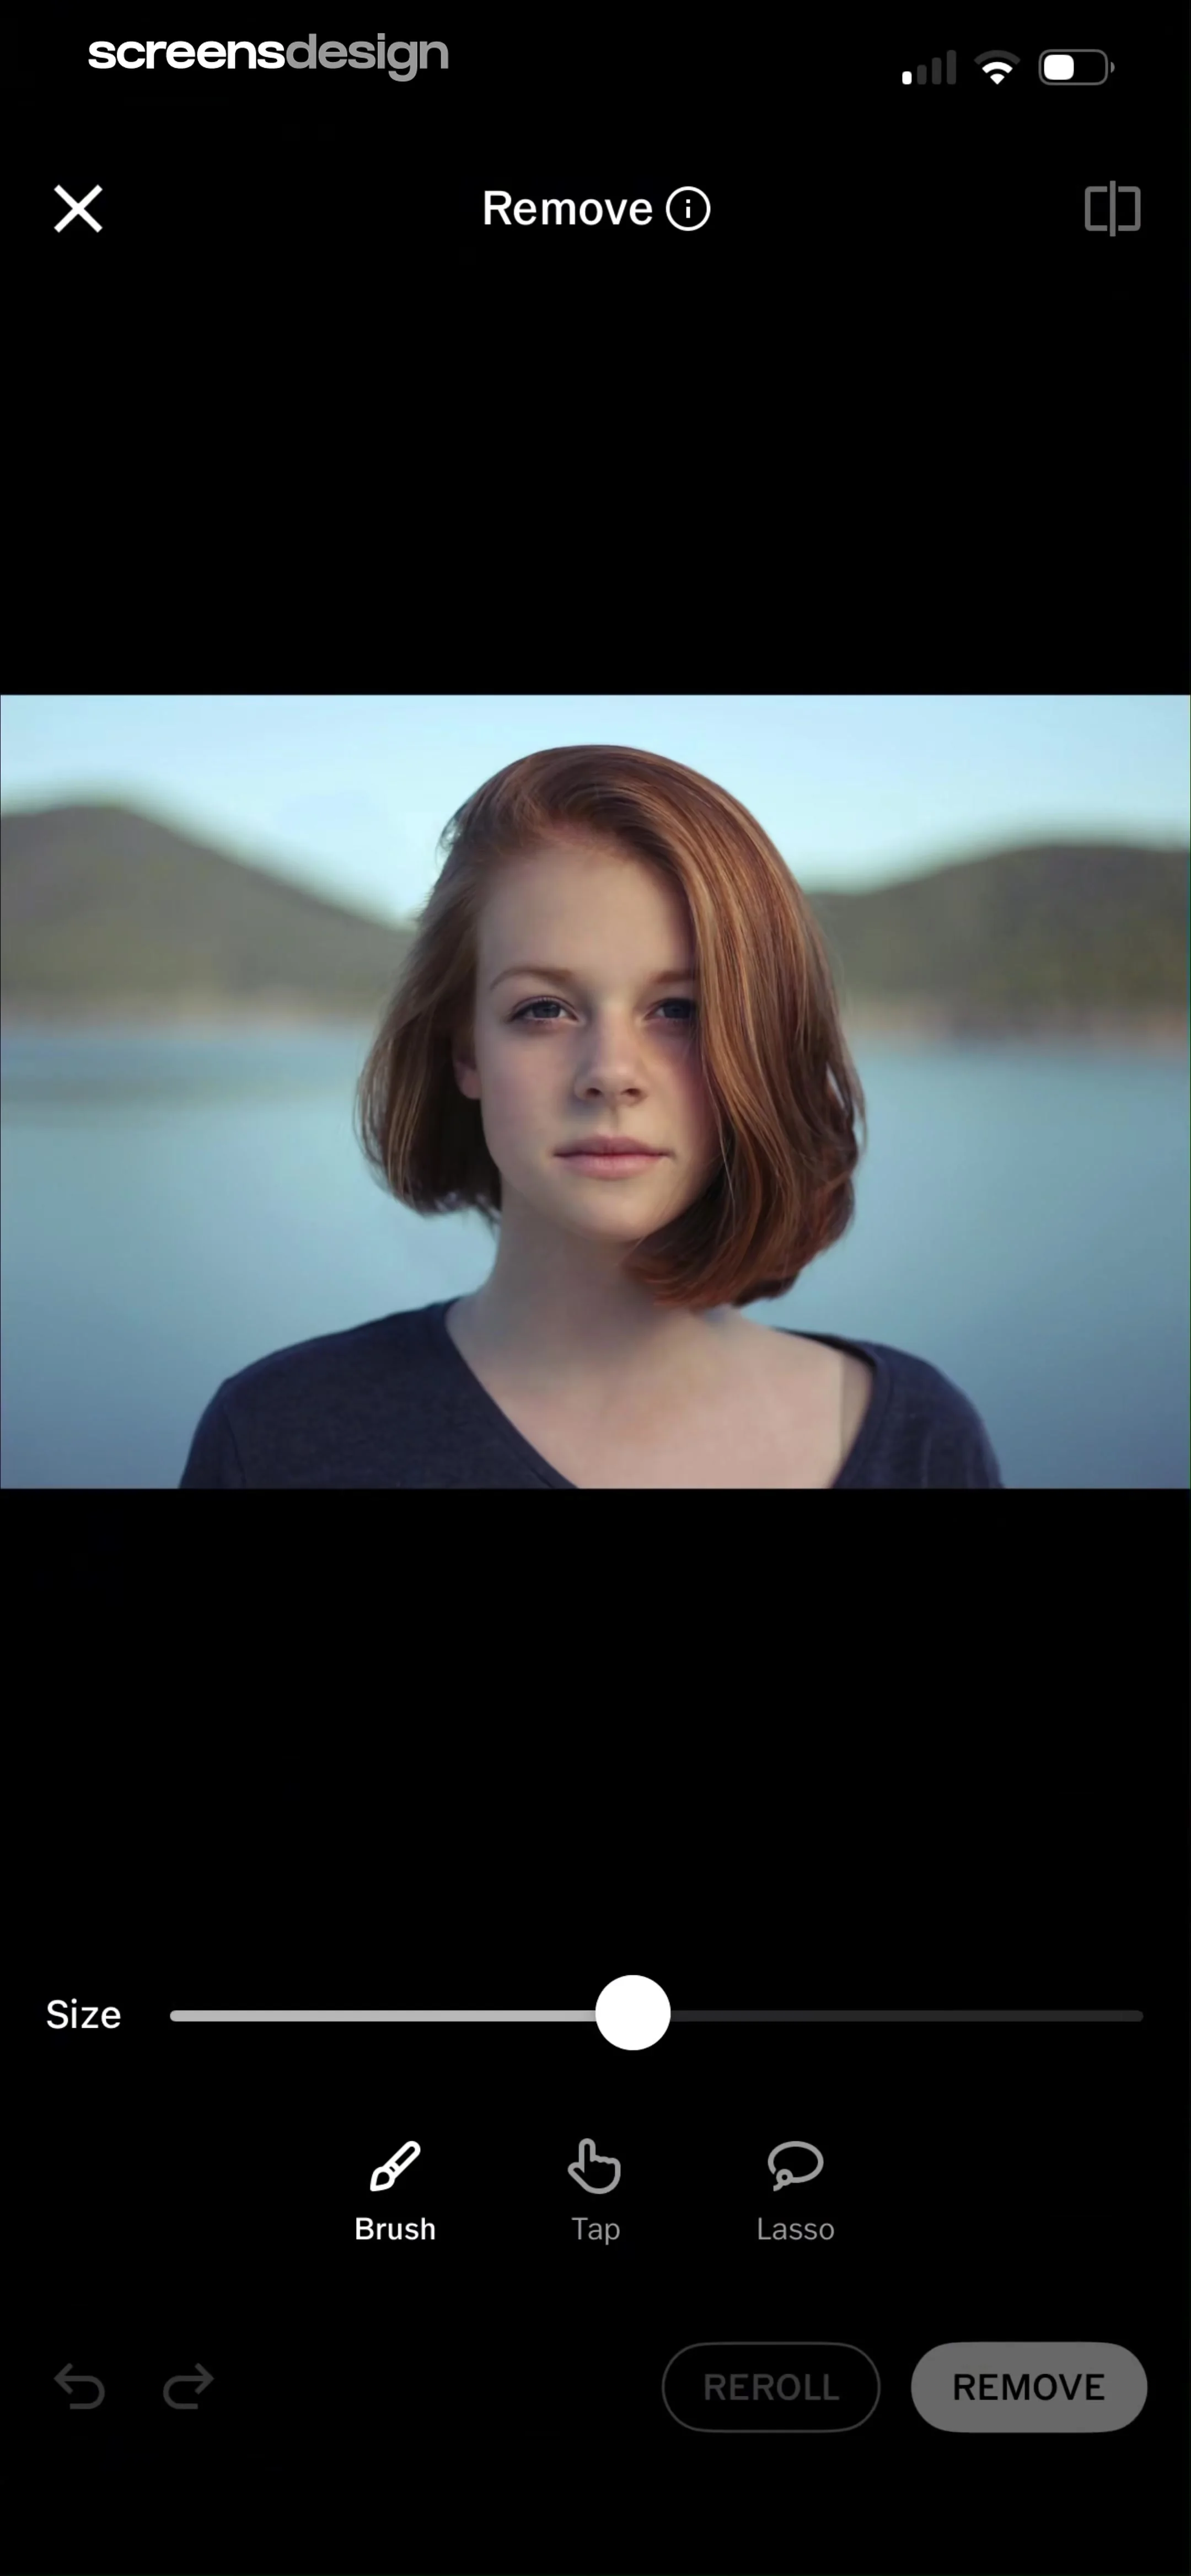
    VSCO: Photo & Video Editor: Top header with navigation, central image preview area, middle slider for size, bottom selection tools, and bottom-most action buttons.See the flow
    VSCO: Photo & Video Editor

    Top header with navigation, central image preview area, middle slider for size, bottom selection tools, and bottom-most action buttons.

  6. Step 6 · 2:46

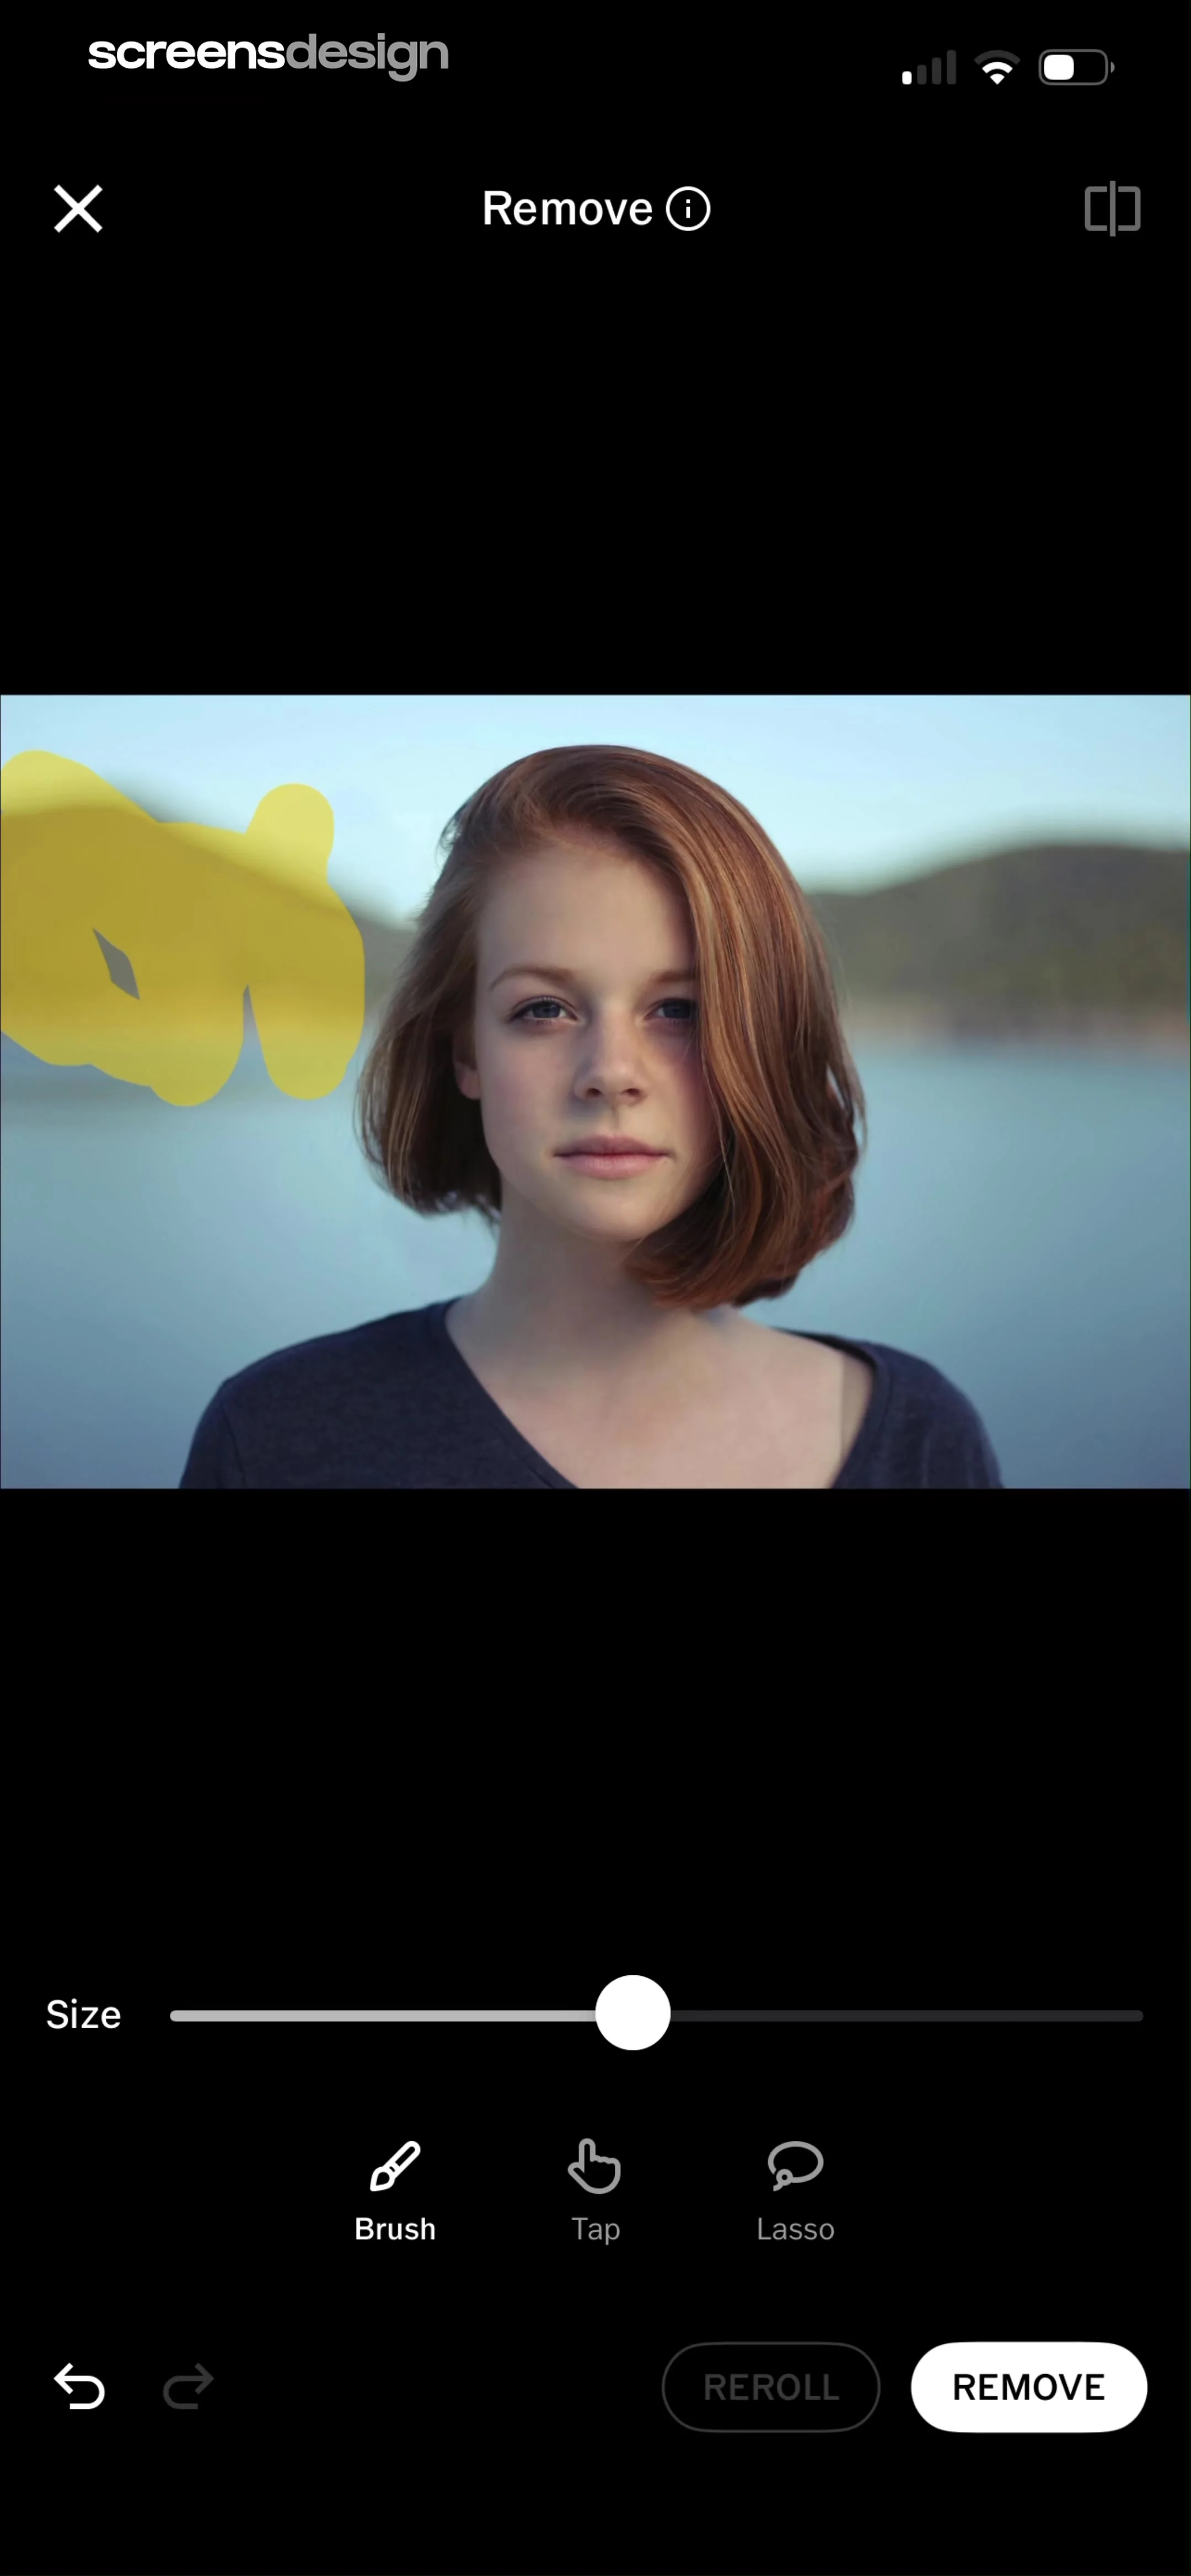
    VSCO: Photo & Video Editor: Top header with navigation, central image preview area, middle control panel with slider and selection modes, bottom action bar with undo/redo and primary buttons.See the flow
    VSCO: Photo & Video Editor

    Top header with navigation, central image preview area, middle control panel with slider and selection modes, bottom action bar with undo/redo and primary buttons.

  7. Step 7 · 2:47

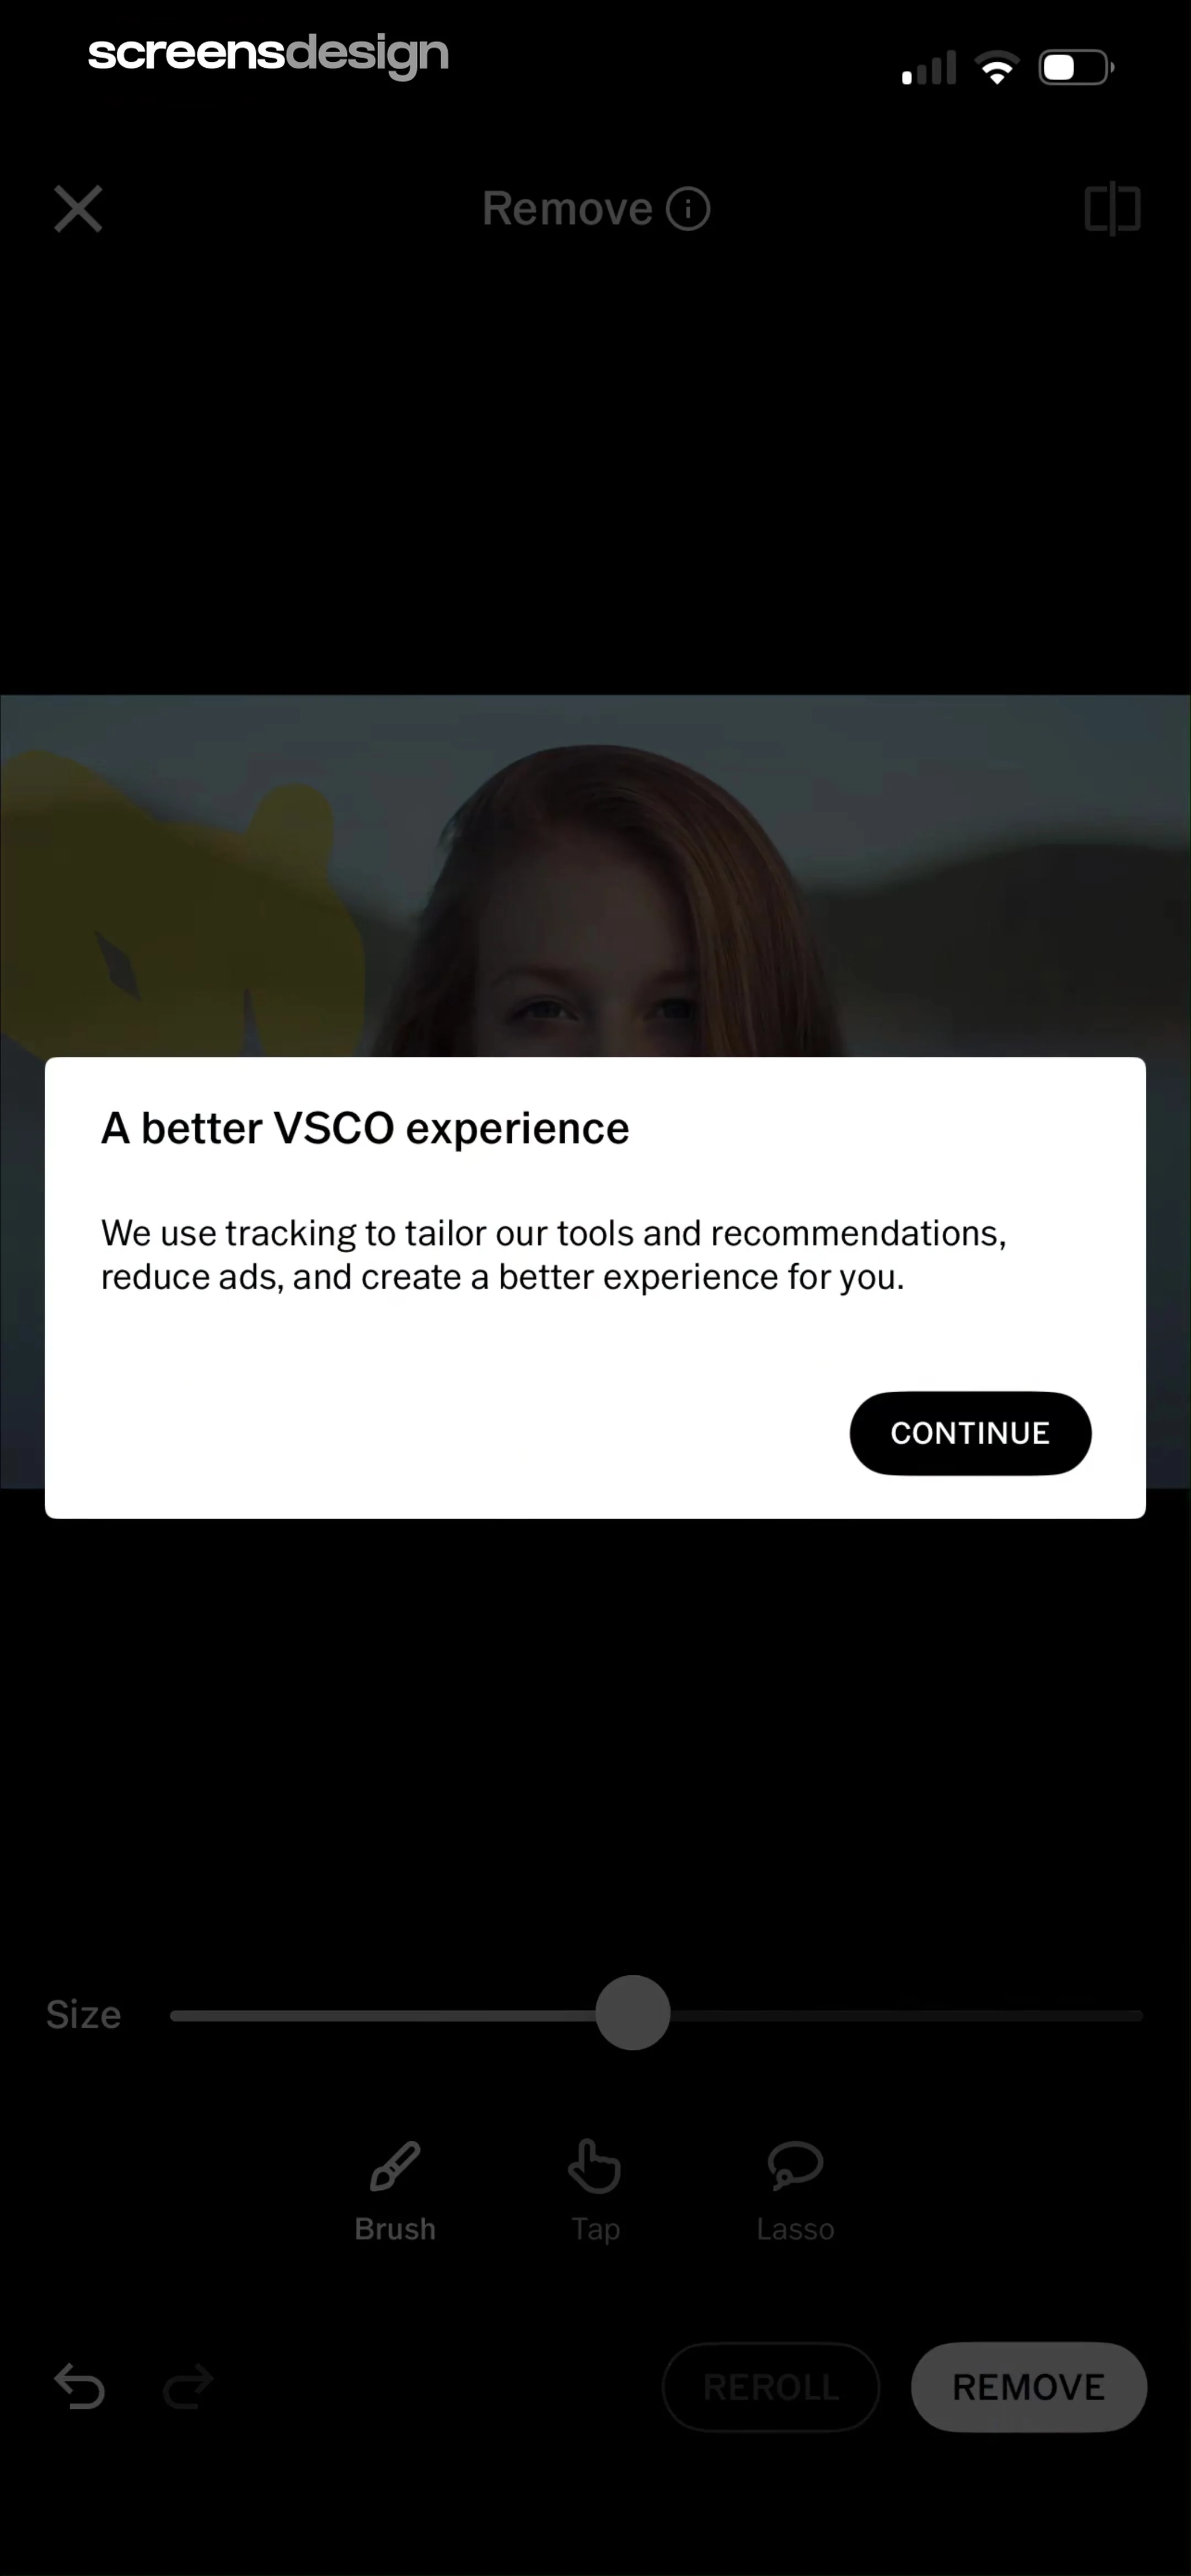
    VSCO: Photo & Video Editor: Top navigation bar, central photo editing area with modal overlay, bottom tool selection and adjustment controls.See the flow
    VSCO: Photo & Video Editor

    Top navigation bar, central photo editing area with modal overlay, bottom tool selection and adjustment controls.

  8. Step 8 · 2:50

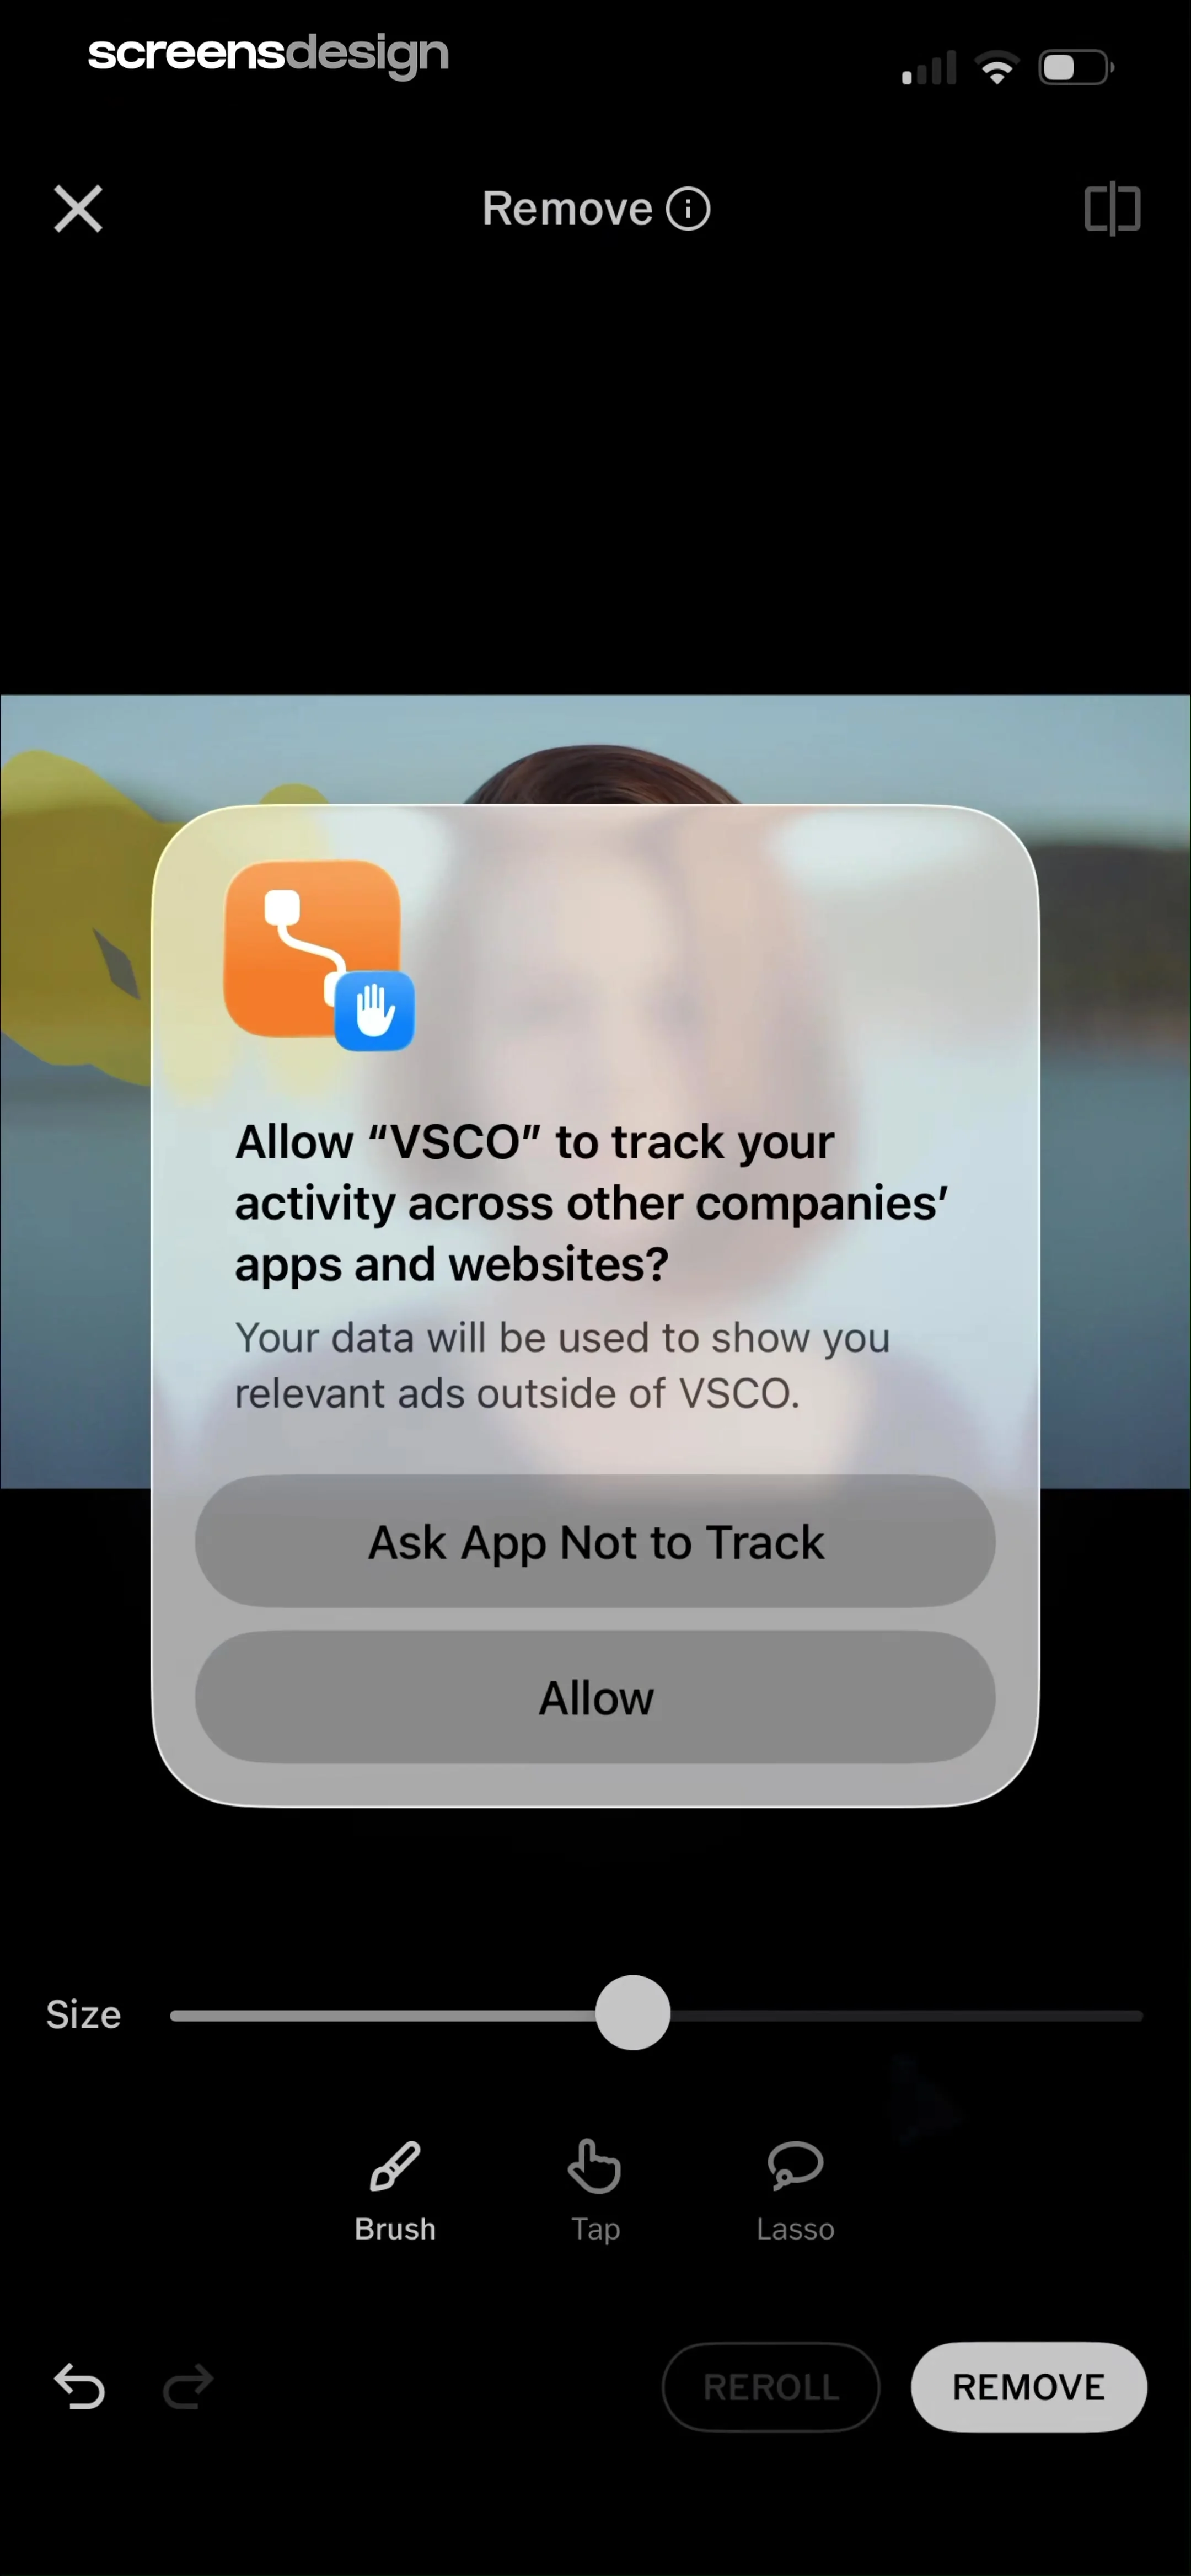
    VSCO: Photo & Video Editor: Top navigation bar, central image editing area with an overlay modal, and a bottom toolbar with tool selection and action buttons.See the flow
    VSCO: Photo & Video Editor

    Top navigation bar, central image editing area with an overlay modal, and a bottom toolbar with tool selection and action buttons.

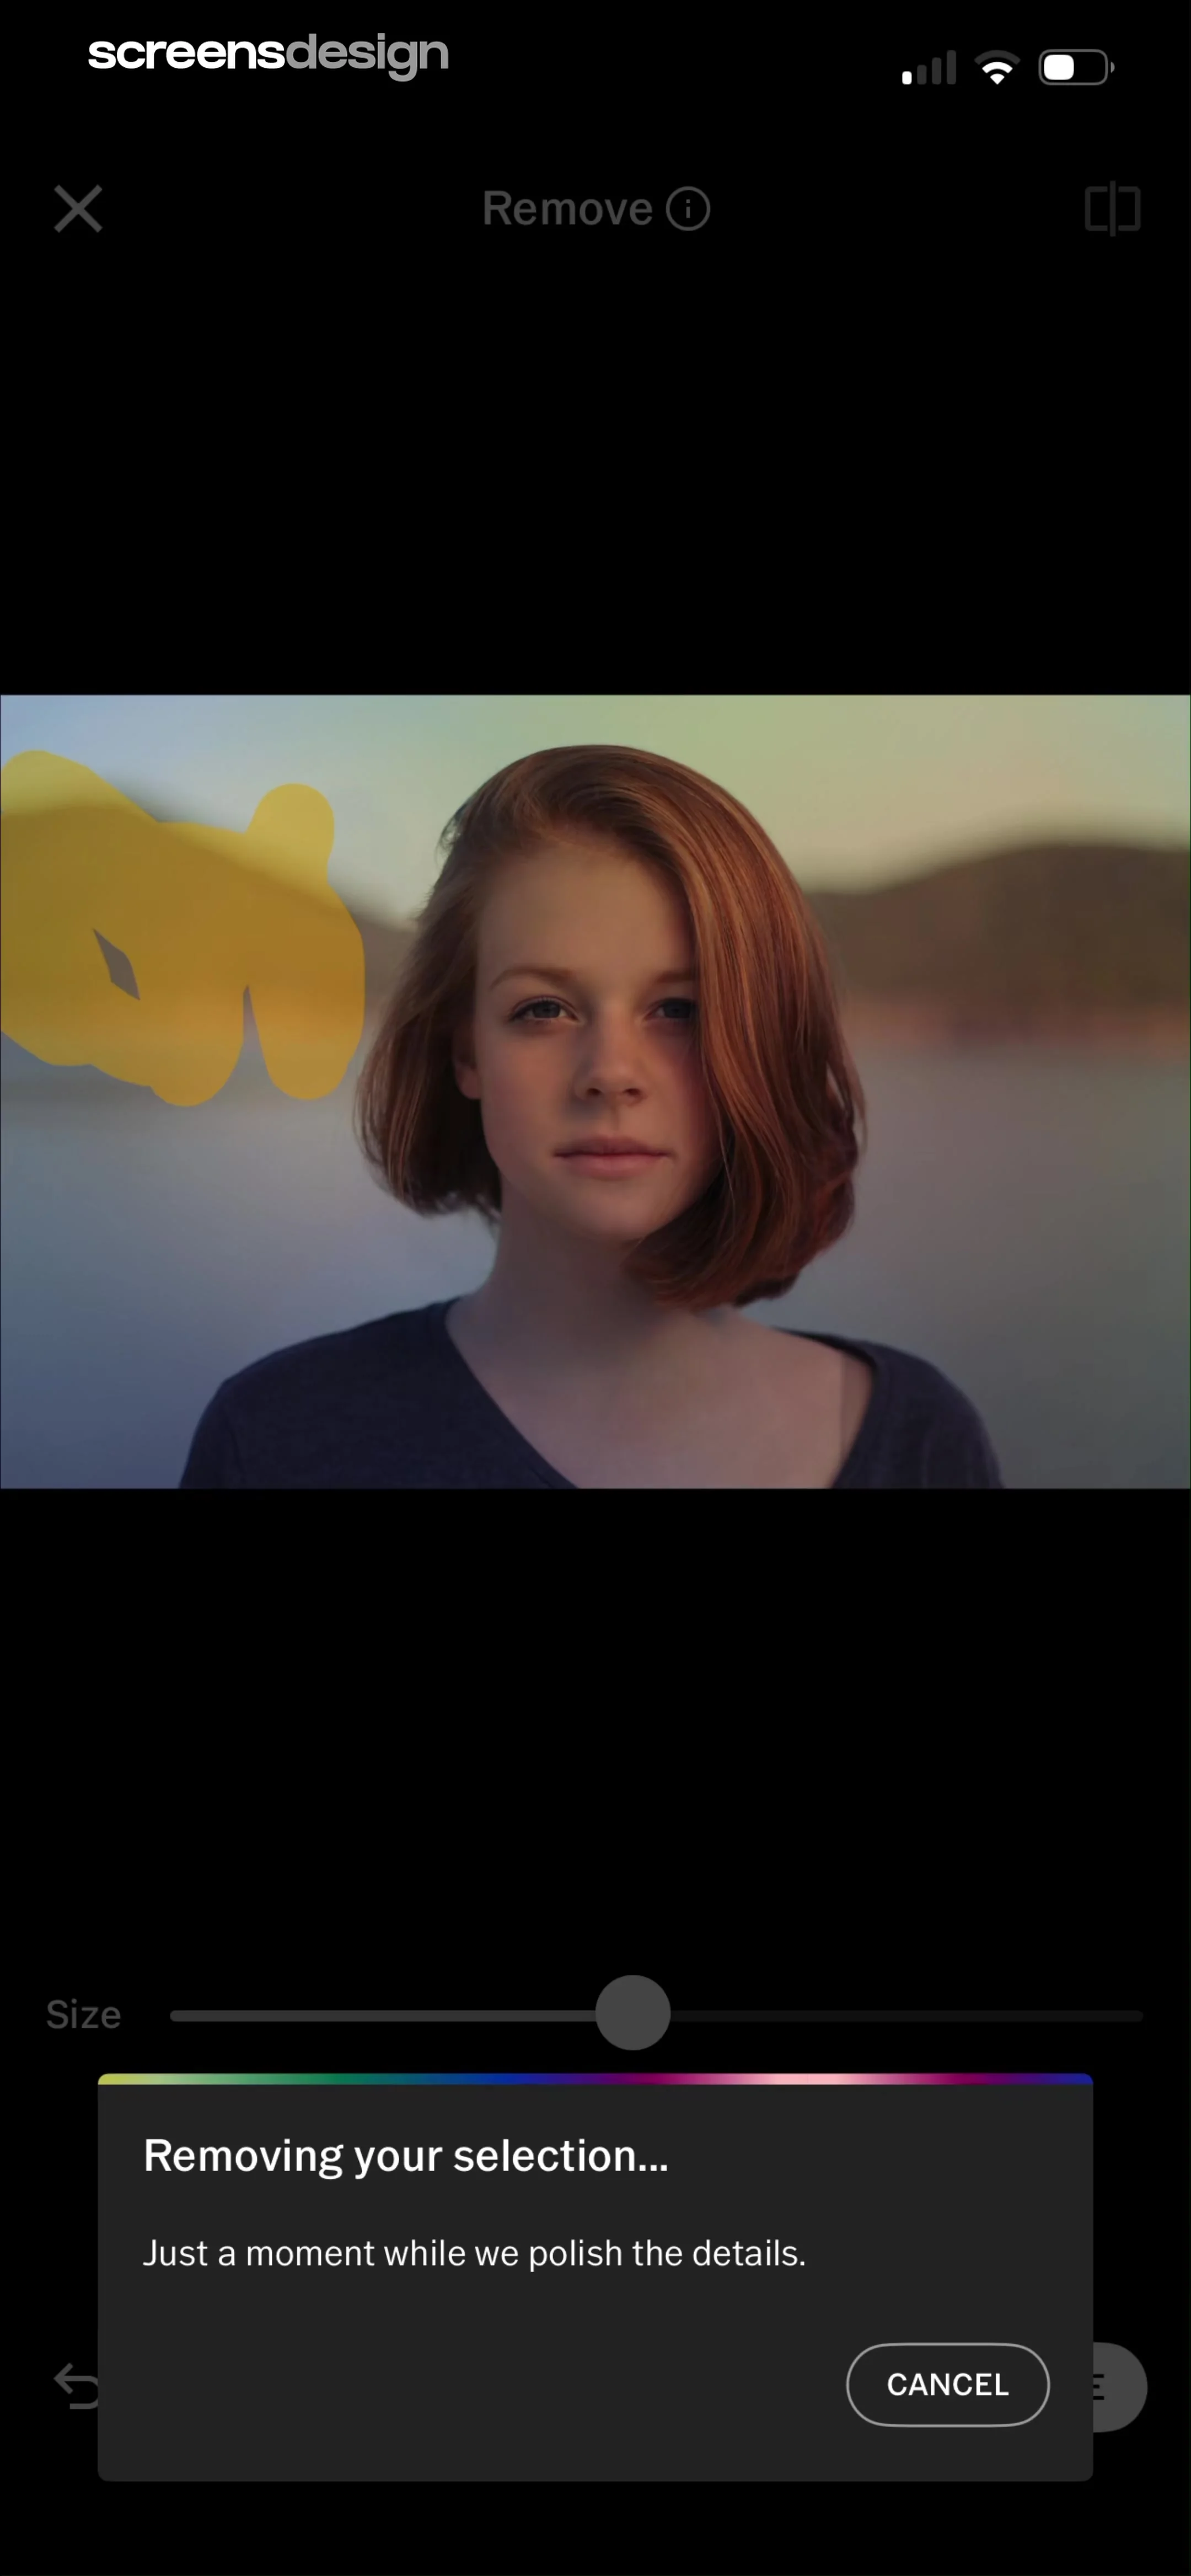
  9. Step 9 · 2:54

    VSCO: Photo & Video Editor: Top navigation bar, central image preview area with selection overlay, bottom brush size slider, and a centered modal overlay at the bottom.See the flow
    VSCO: Photo & Video Editor

    Top navigation bar, central image preview area with selection overlay, bottom brush size slider, and a centered modal overlay at the bottom.

ChatGPT: Image Editing

Open recorded flow
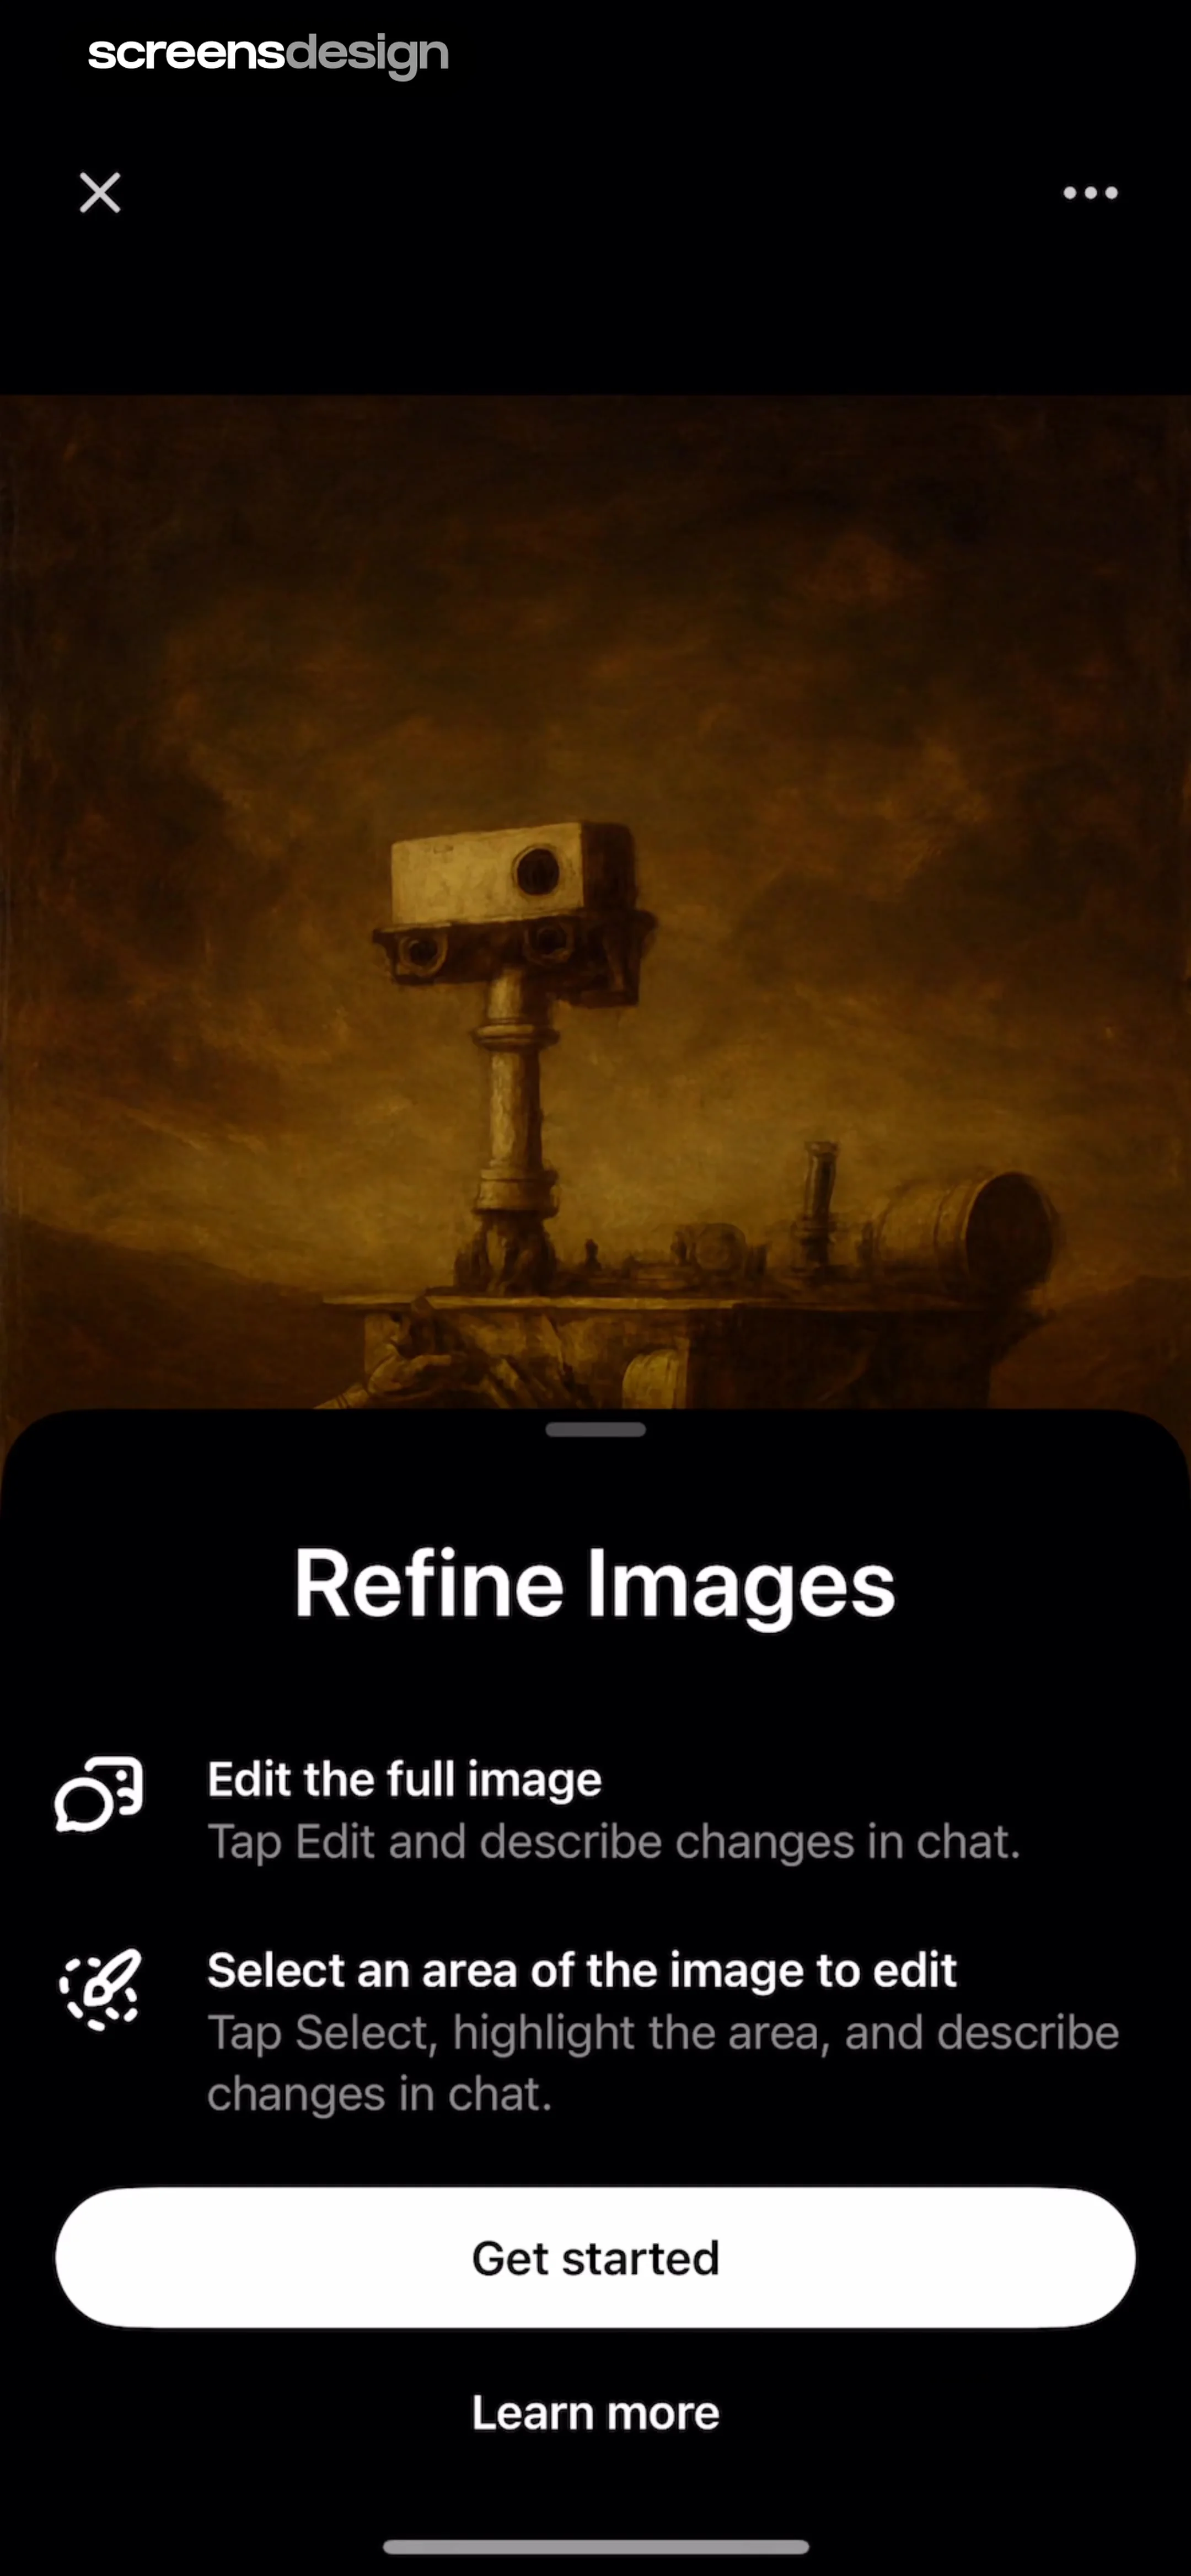
  1. Step 1 · 1:39

    ChatGPT: The screen consists of a full-screen image background with a bottom-anchored modal containing a title, two instructional list items, a primary button, and a secondary text link.See the flow
    ChatGPT

    The screen consists of a full-screen image background with a bottom-anchored modal containing a title, two instructional list items, a primary button, and a secondary text link.

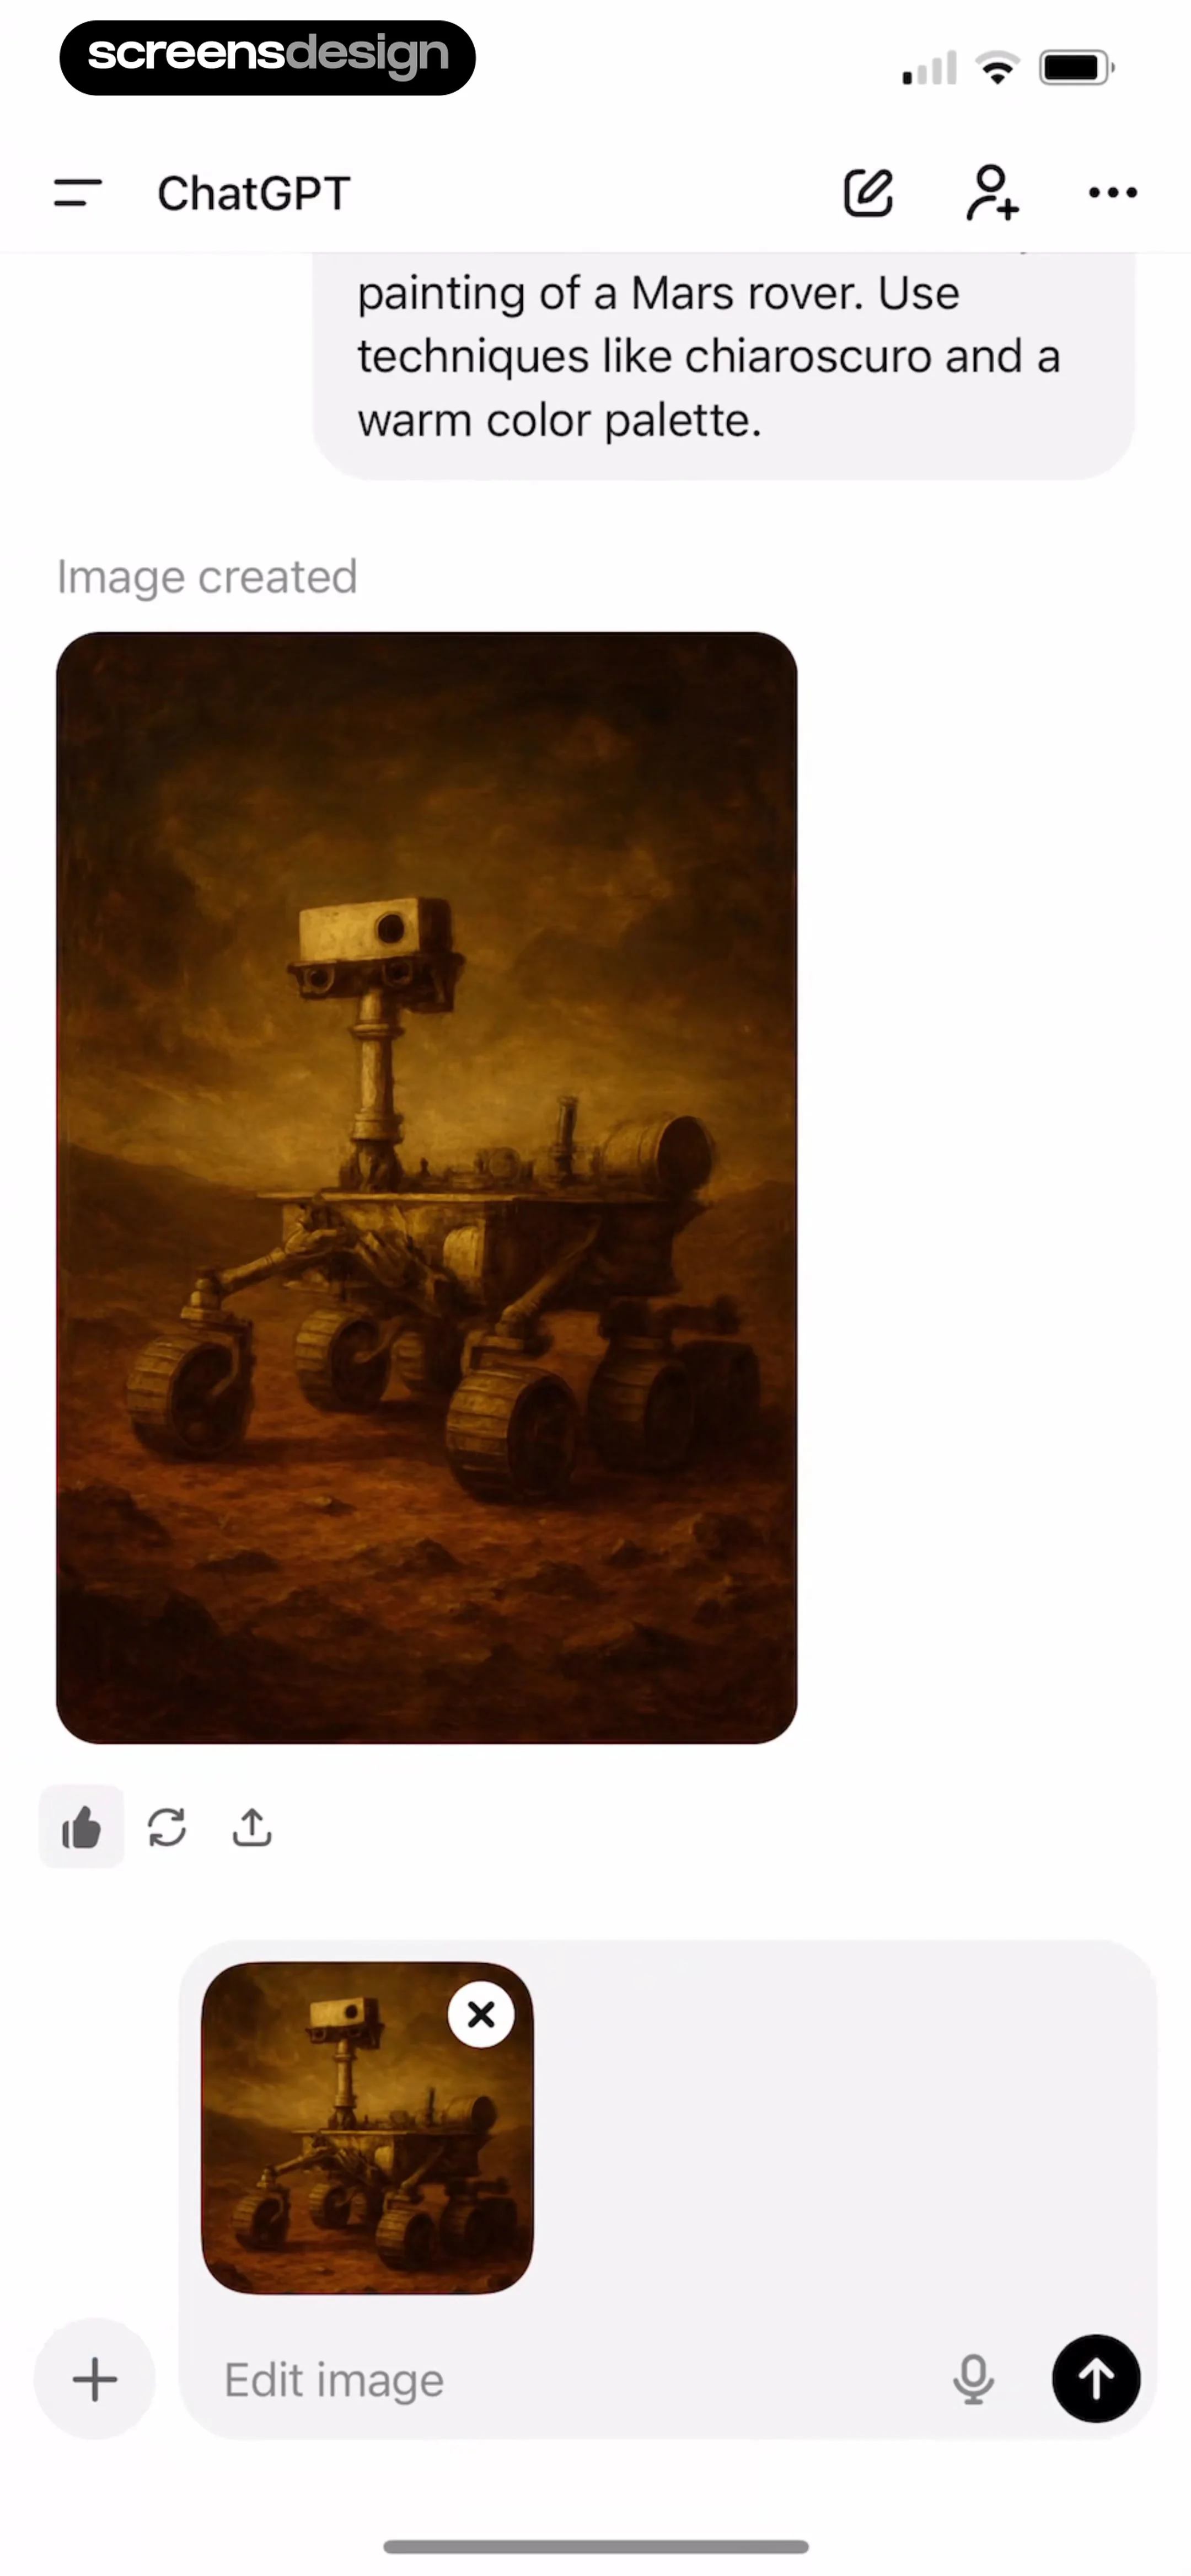
  2. Step 2 · 1:45

    ChatGPT: Top navigation bar, chat history area with image, bottom input area with image thumbnail.See the flow
    ChatGPT

    Top navigation bar, chat history area with image, bottom input area with image thumbnail.

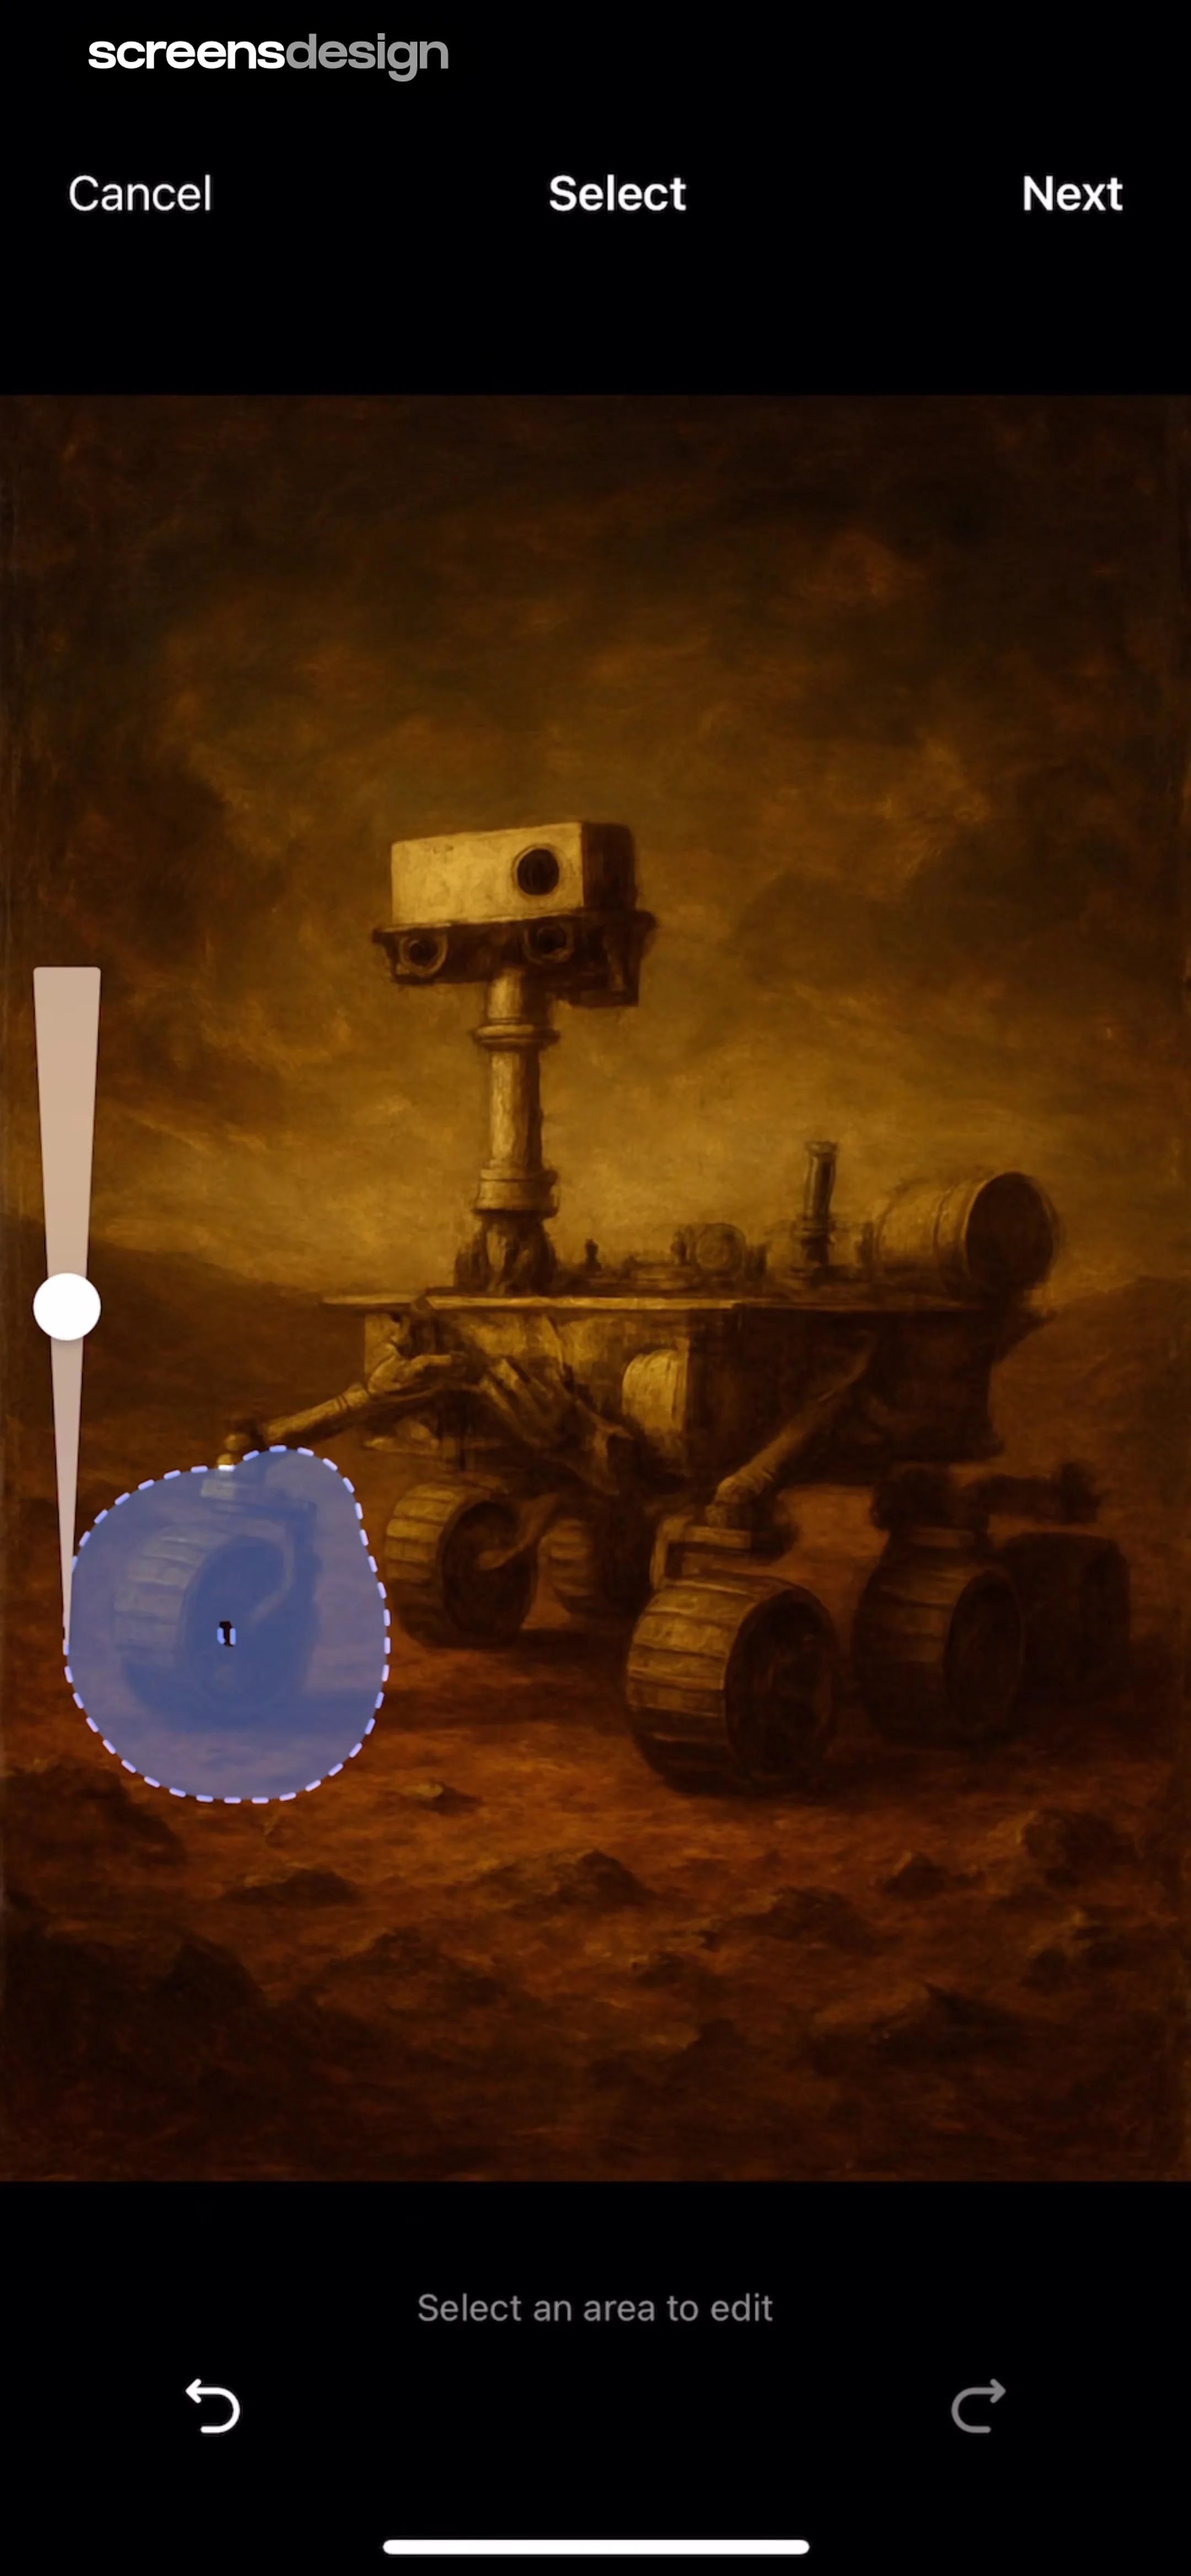
  3. Step 3 · 1:53

    ChatGPT: Top navigation bar, central image area with overlay tools, bottom toolbar with undo/redo controls.See the flow
    ChatGPT

    Top navigation bar, central image area with overlay tools, bottom toolbar with undo/redo controls.

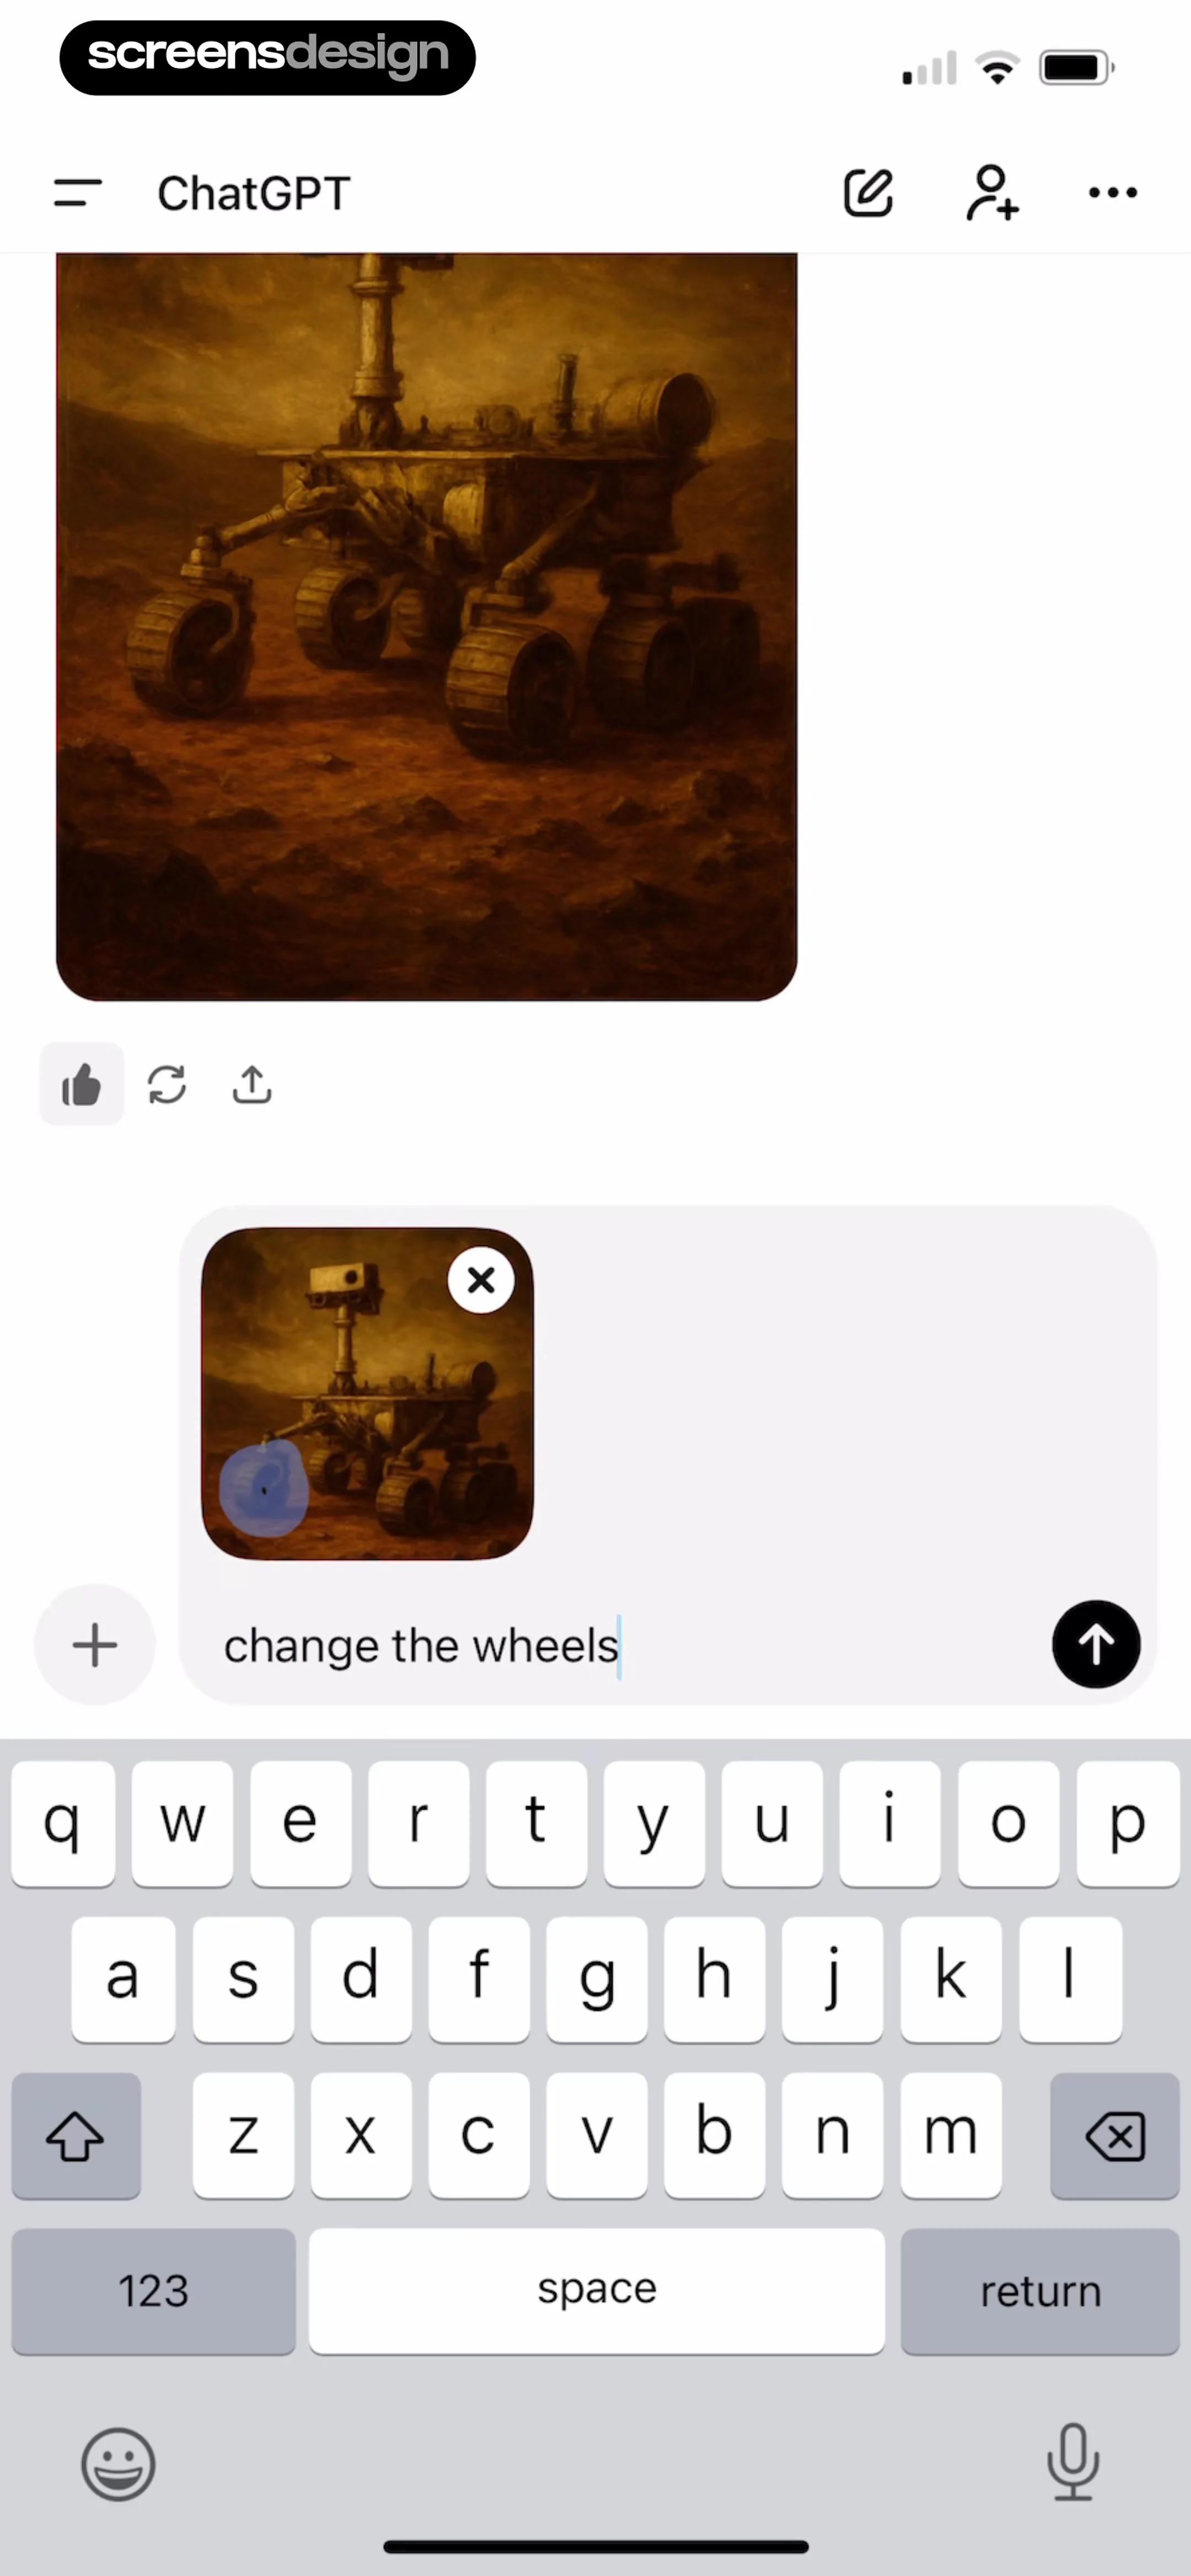
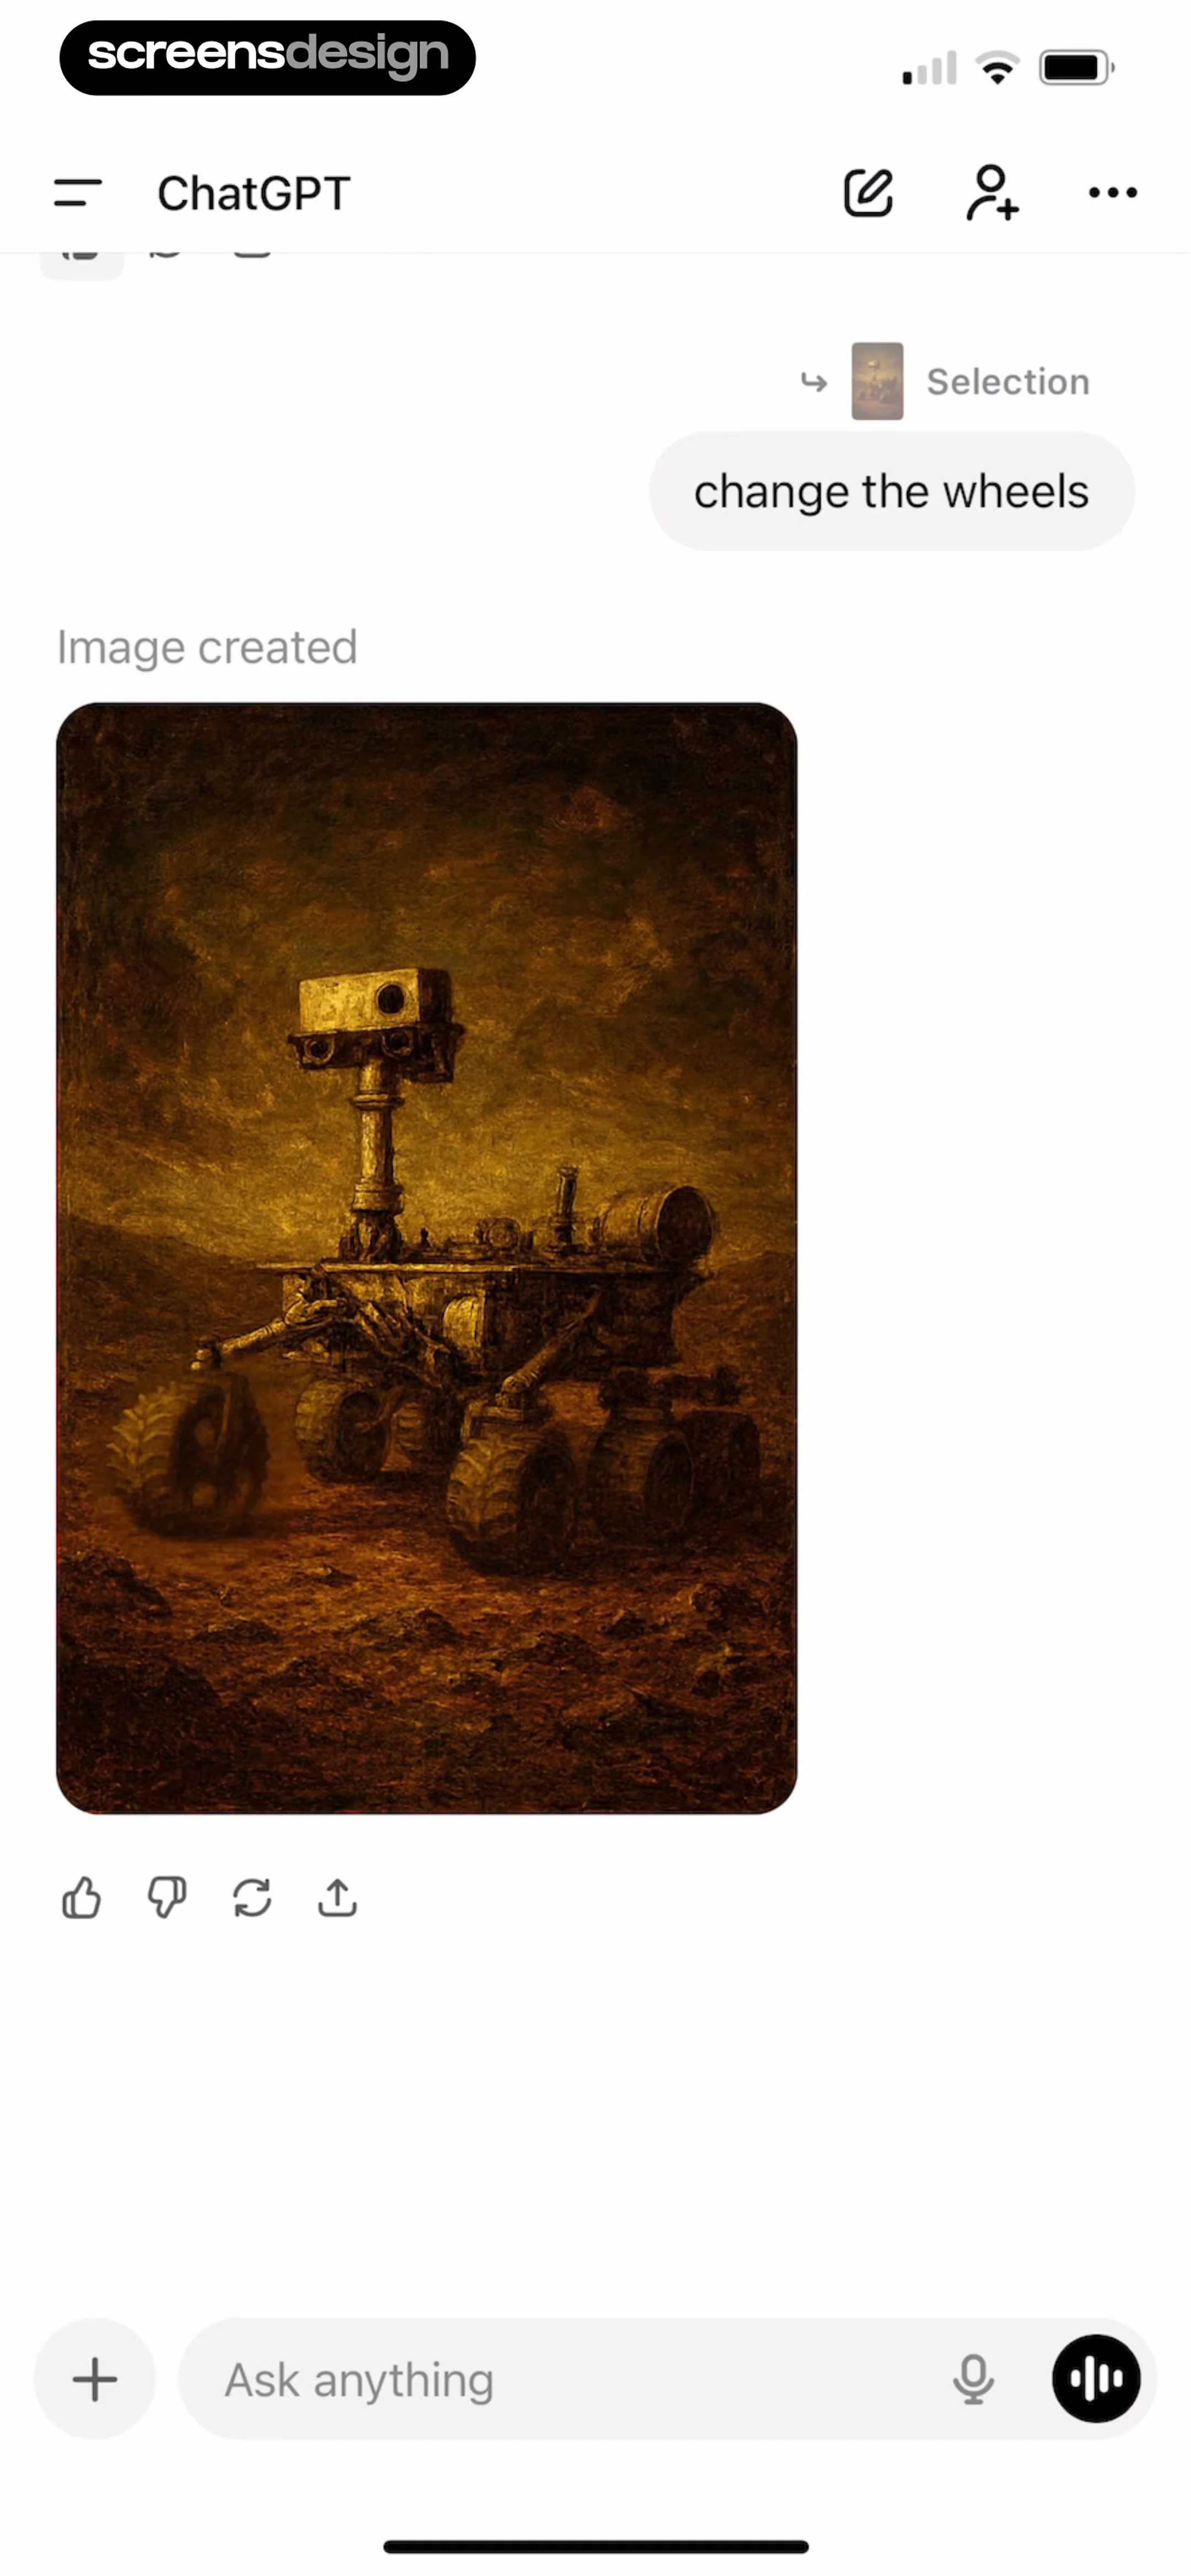
  4. Step 4 · 2:06

    ChatGPT: Top navigation bar, main chat area with AI response, bottom input area with image preview, and system keyboard.See the flow
    ChatGPT

    Top navigation bar, main chat area with AI response, bottom input area with image preview, and system keyboard.

  5. Step 5 · 2:23

    ChatGPT: Top navigation bar, followed by a chat bubble, an image response, feedback icons, and a bottom input bar.See the flow
    ChatGPT

    Top navigation bar, followed by a chat bubble, an image response, feedback icons, and a bottom input bar.

Found an example you like?See the whole story.