Everlook- Face & Body Editor: Editing a Photo
Step 1 · 0:42
 See the flow
  Everlook- Face & Body Editor
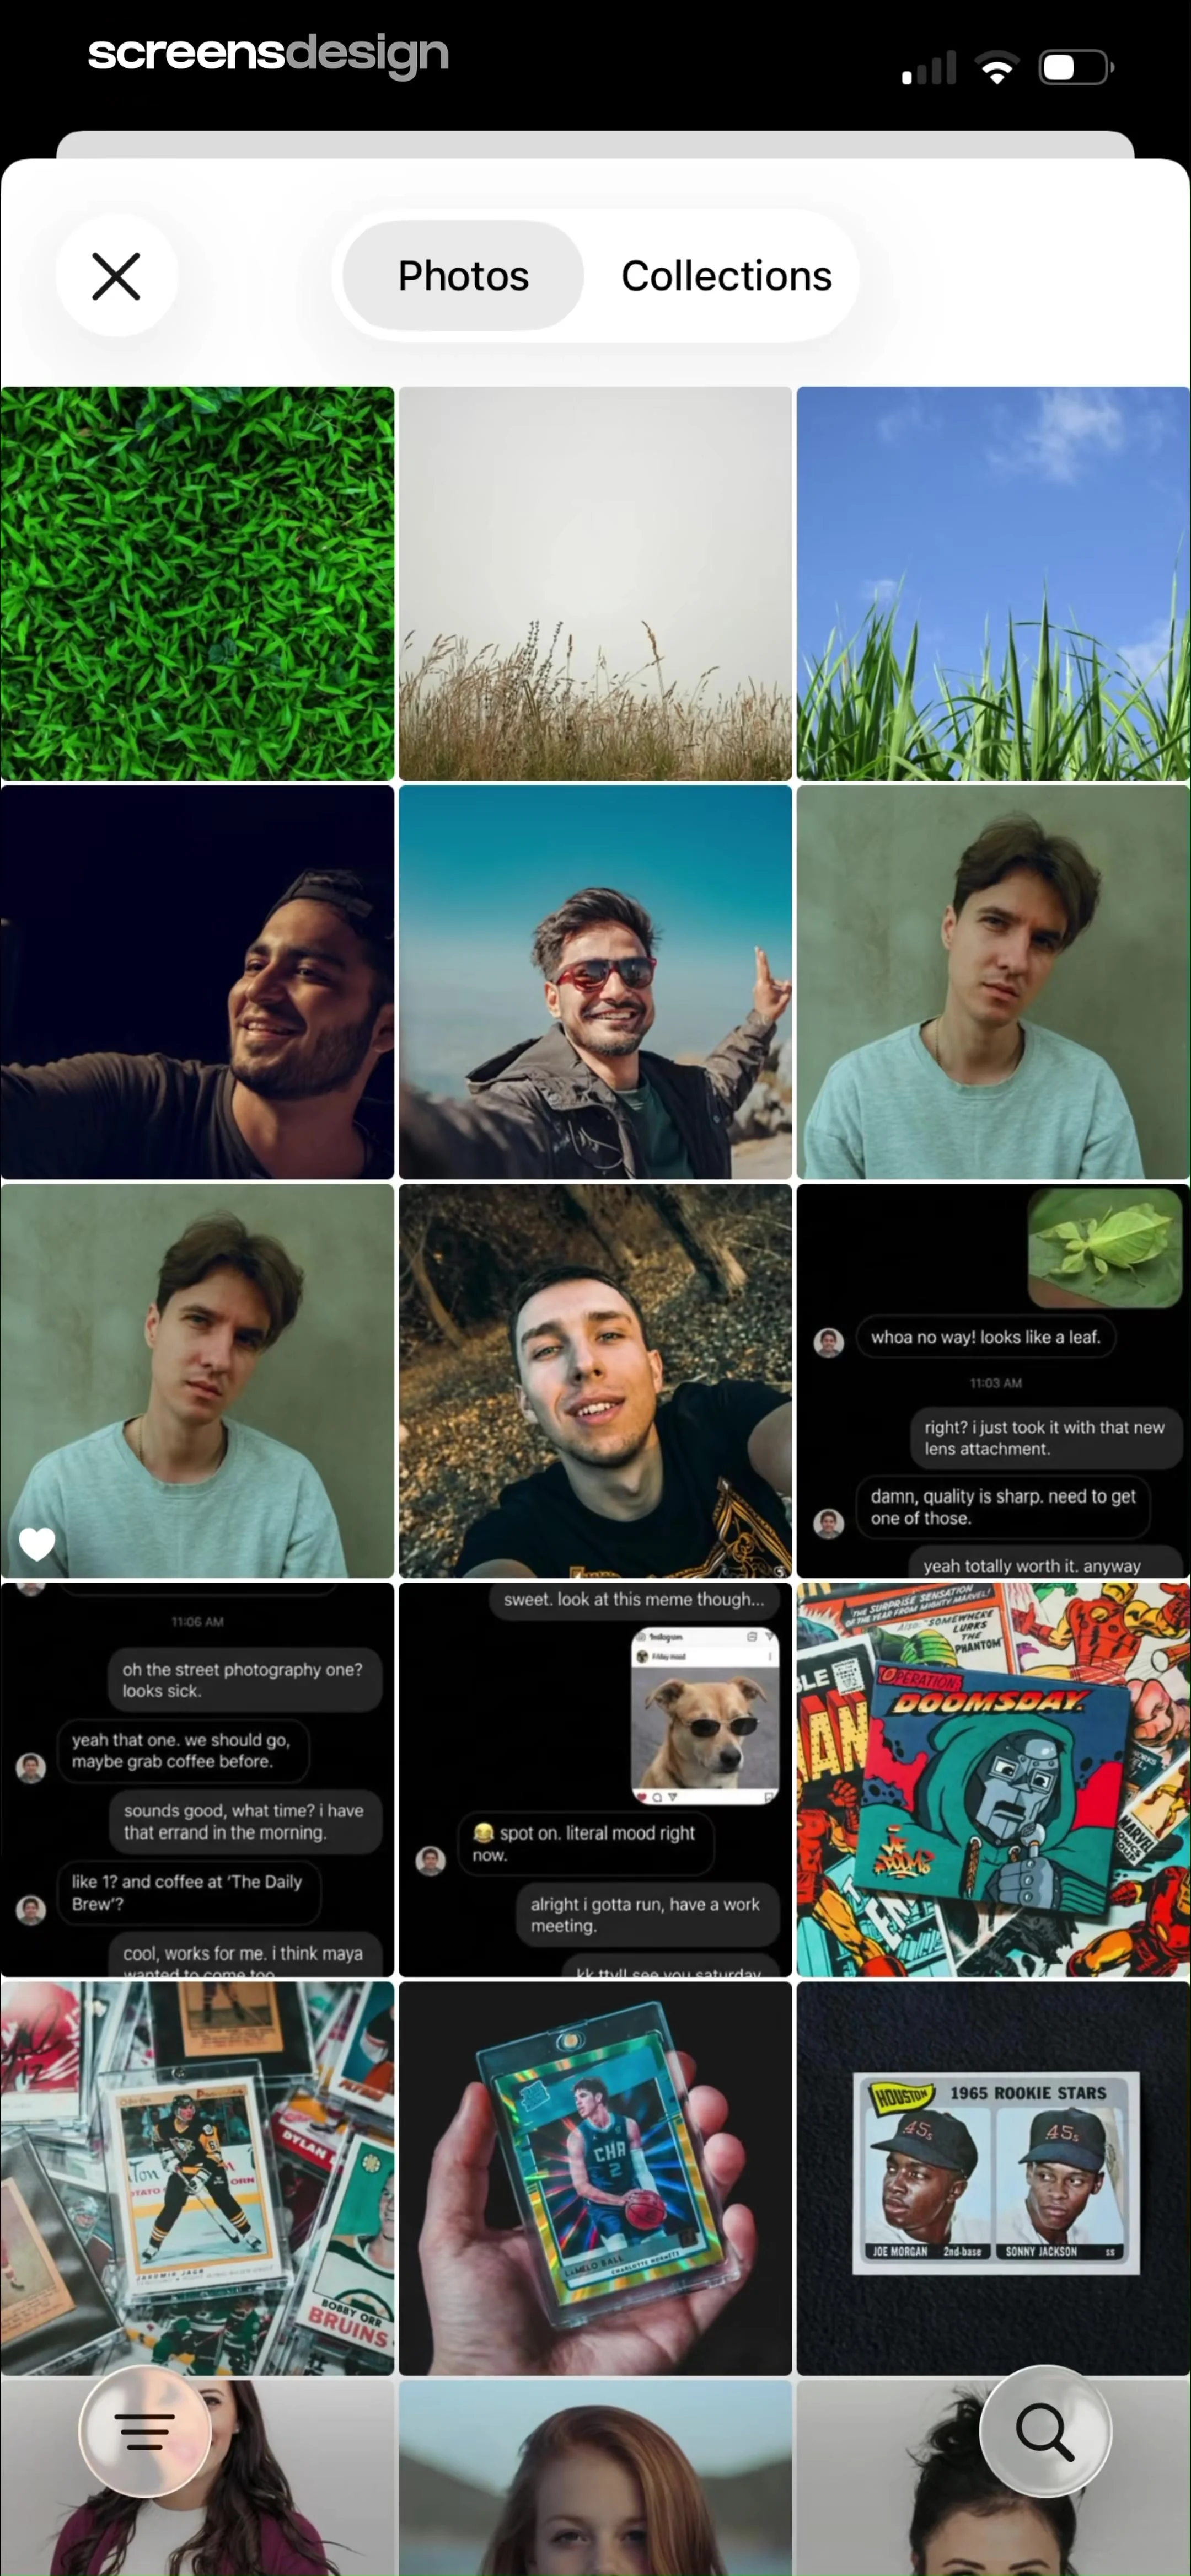
Top bar with close and camera icons, followed by a 'Sample Photos' horizontal carousel, and a large grid of user photos filling the rest of the screen, with a floating 'Recents' button at the bottom.
Step 2 · 1:54
 See the flow Everlook- Face & Body Editor
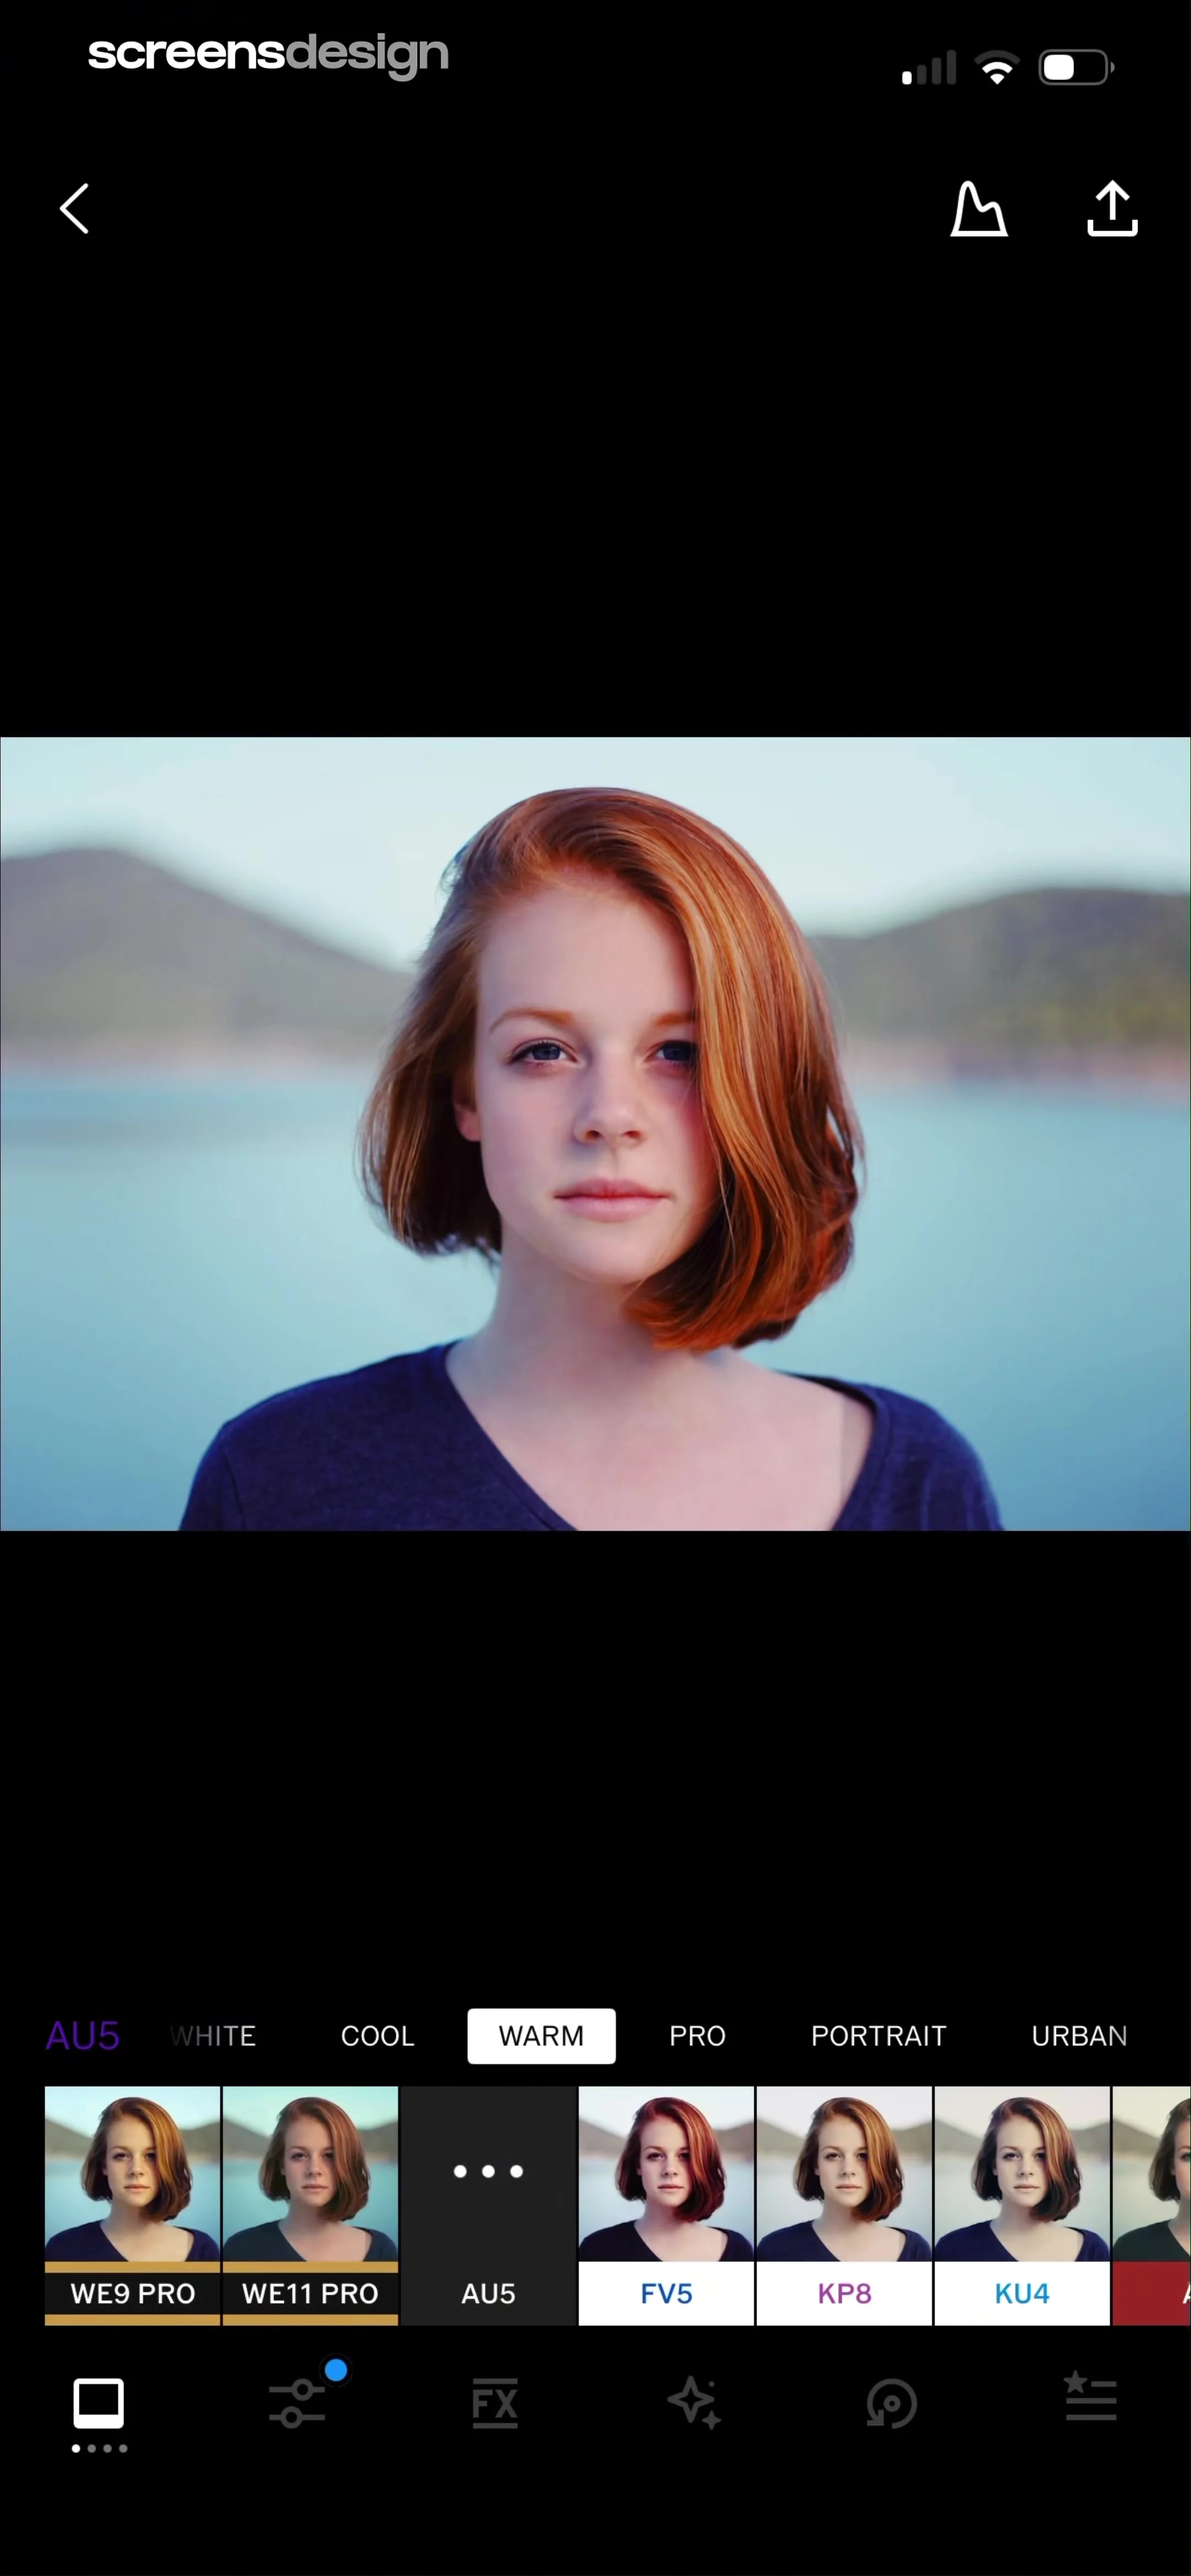
The screen is divided into three main parts: the photo preview area at the top, the adjustment slider in the middle, and the tool selection/navigation bar at the bottom.
Step 3 · 3:24
 See the flow Everlook- Face & Body Editor
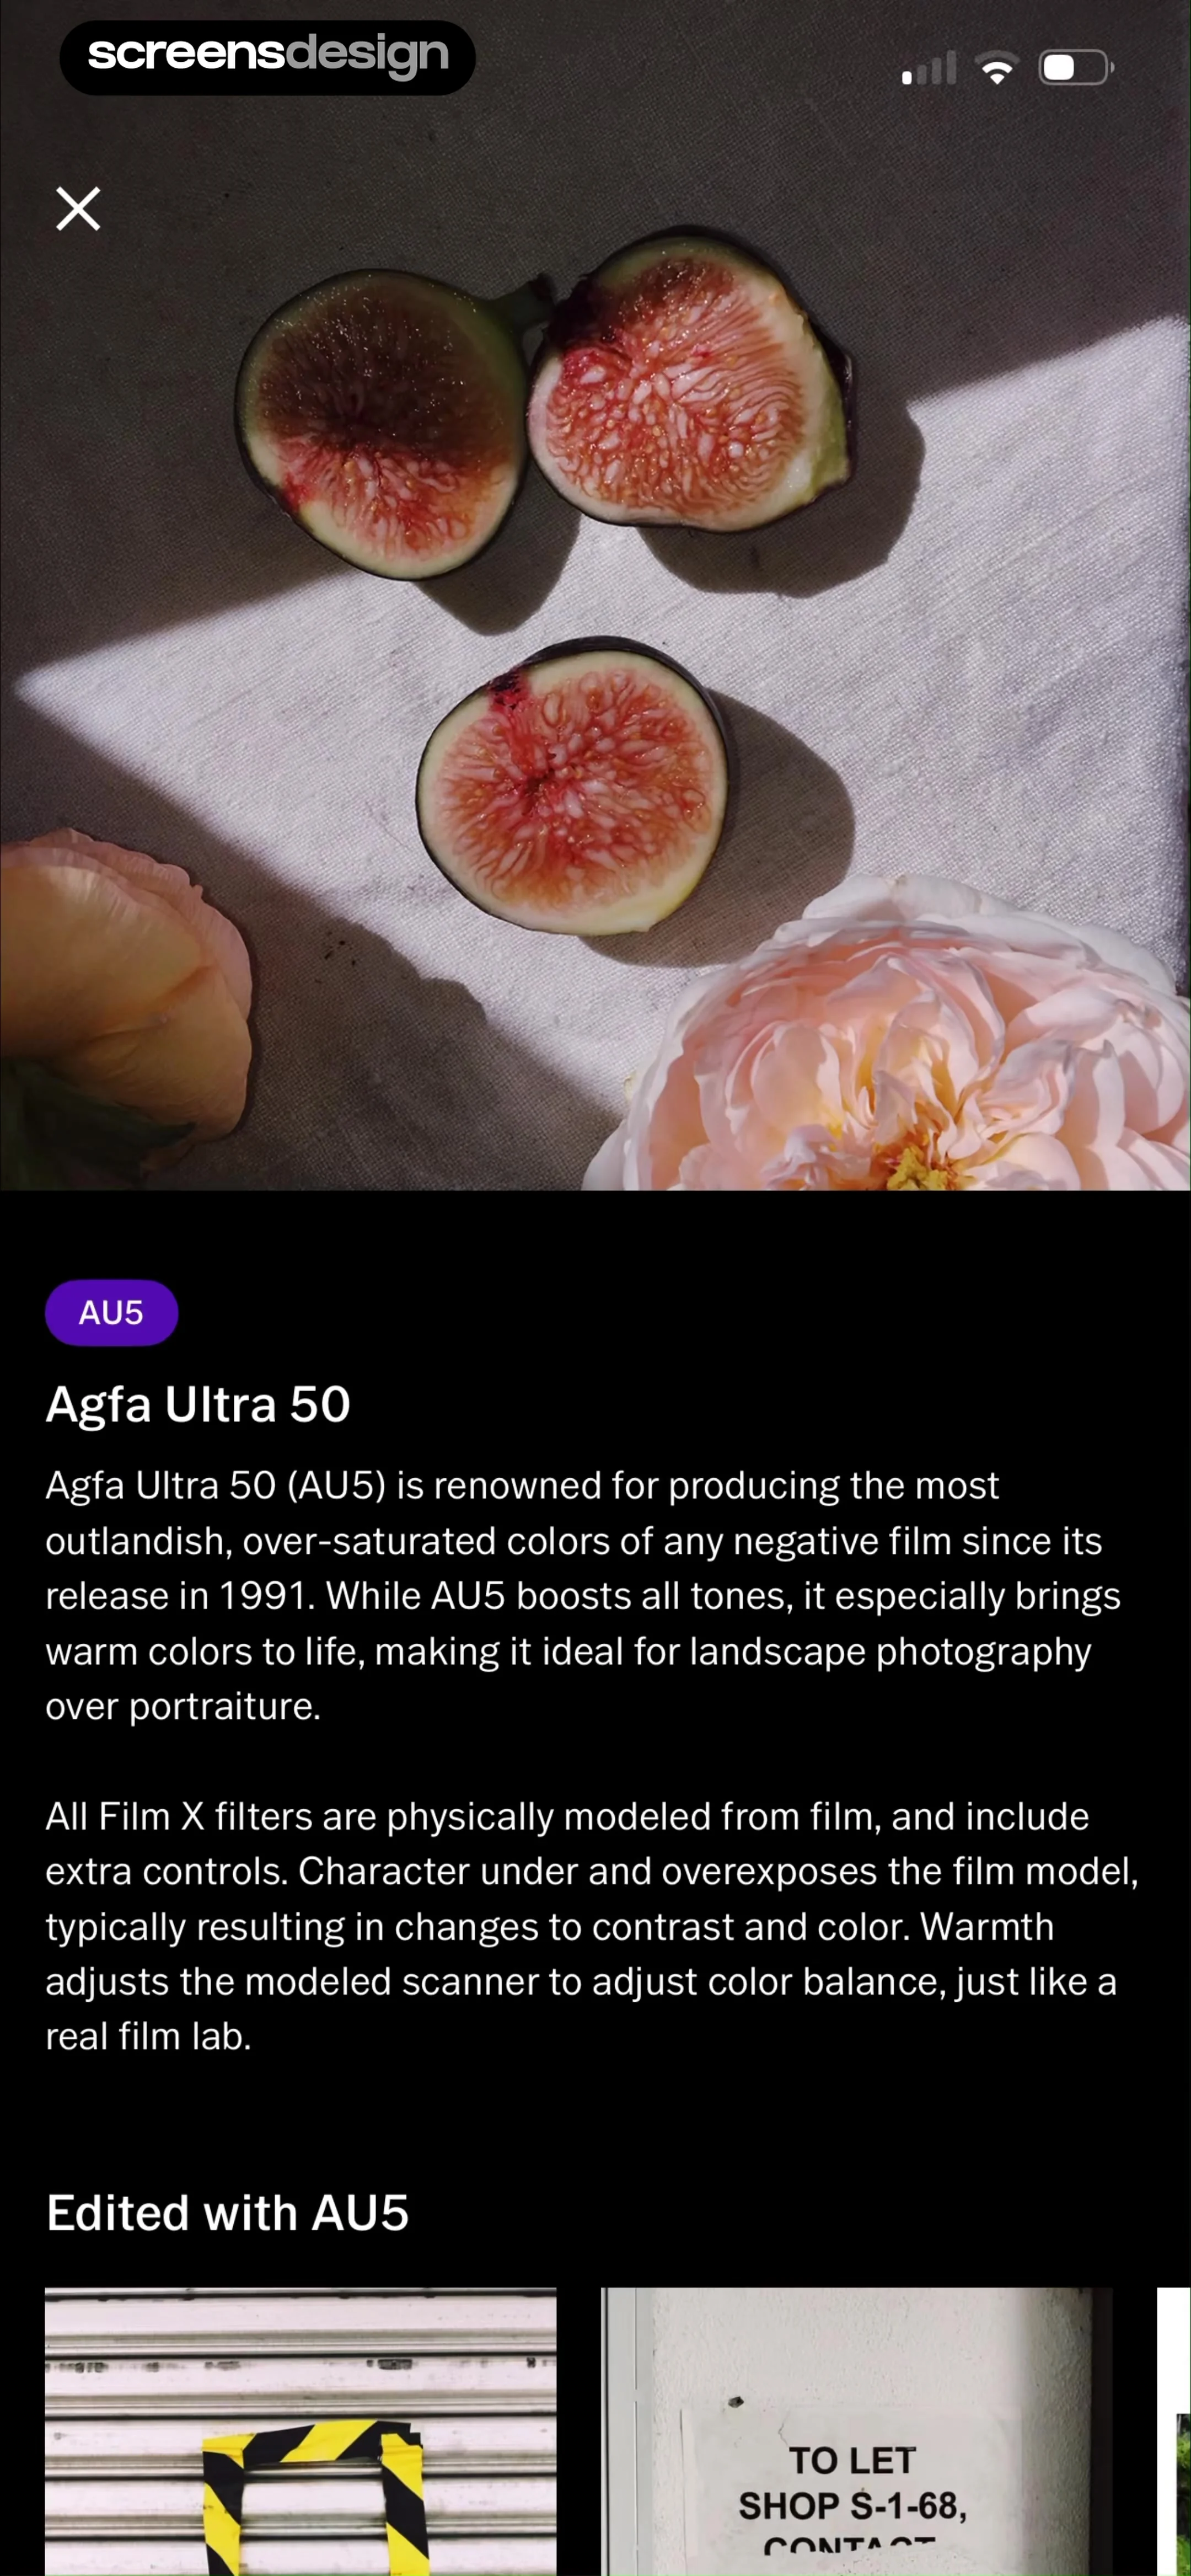
Top image area with color swatches, middle text card, bottom close button overlay.
Step 4 · 5:31
 See the flow Everlook- Face & Body Editor
Top VIP badge, central photo preview with right-aligned filter list, bottom intensity slider, bottom tool selection menu, and bottom-most navigation bar.
Step 5 · 7:16
 See the flow Everlook- Face & Body Editor
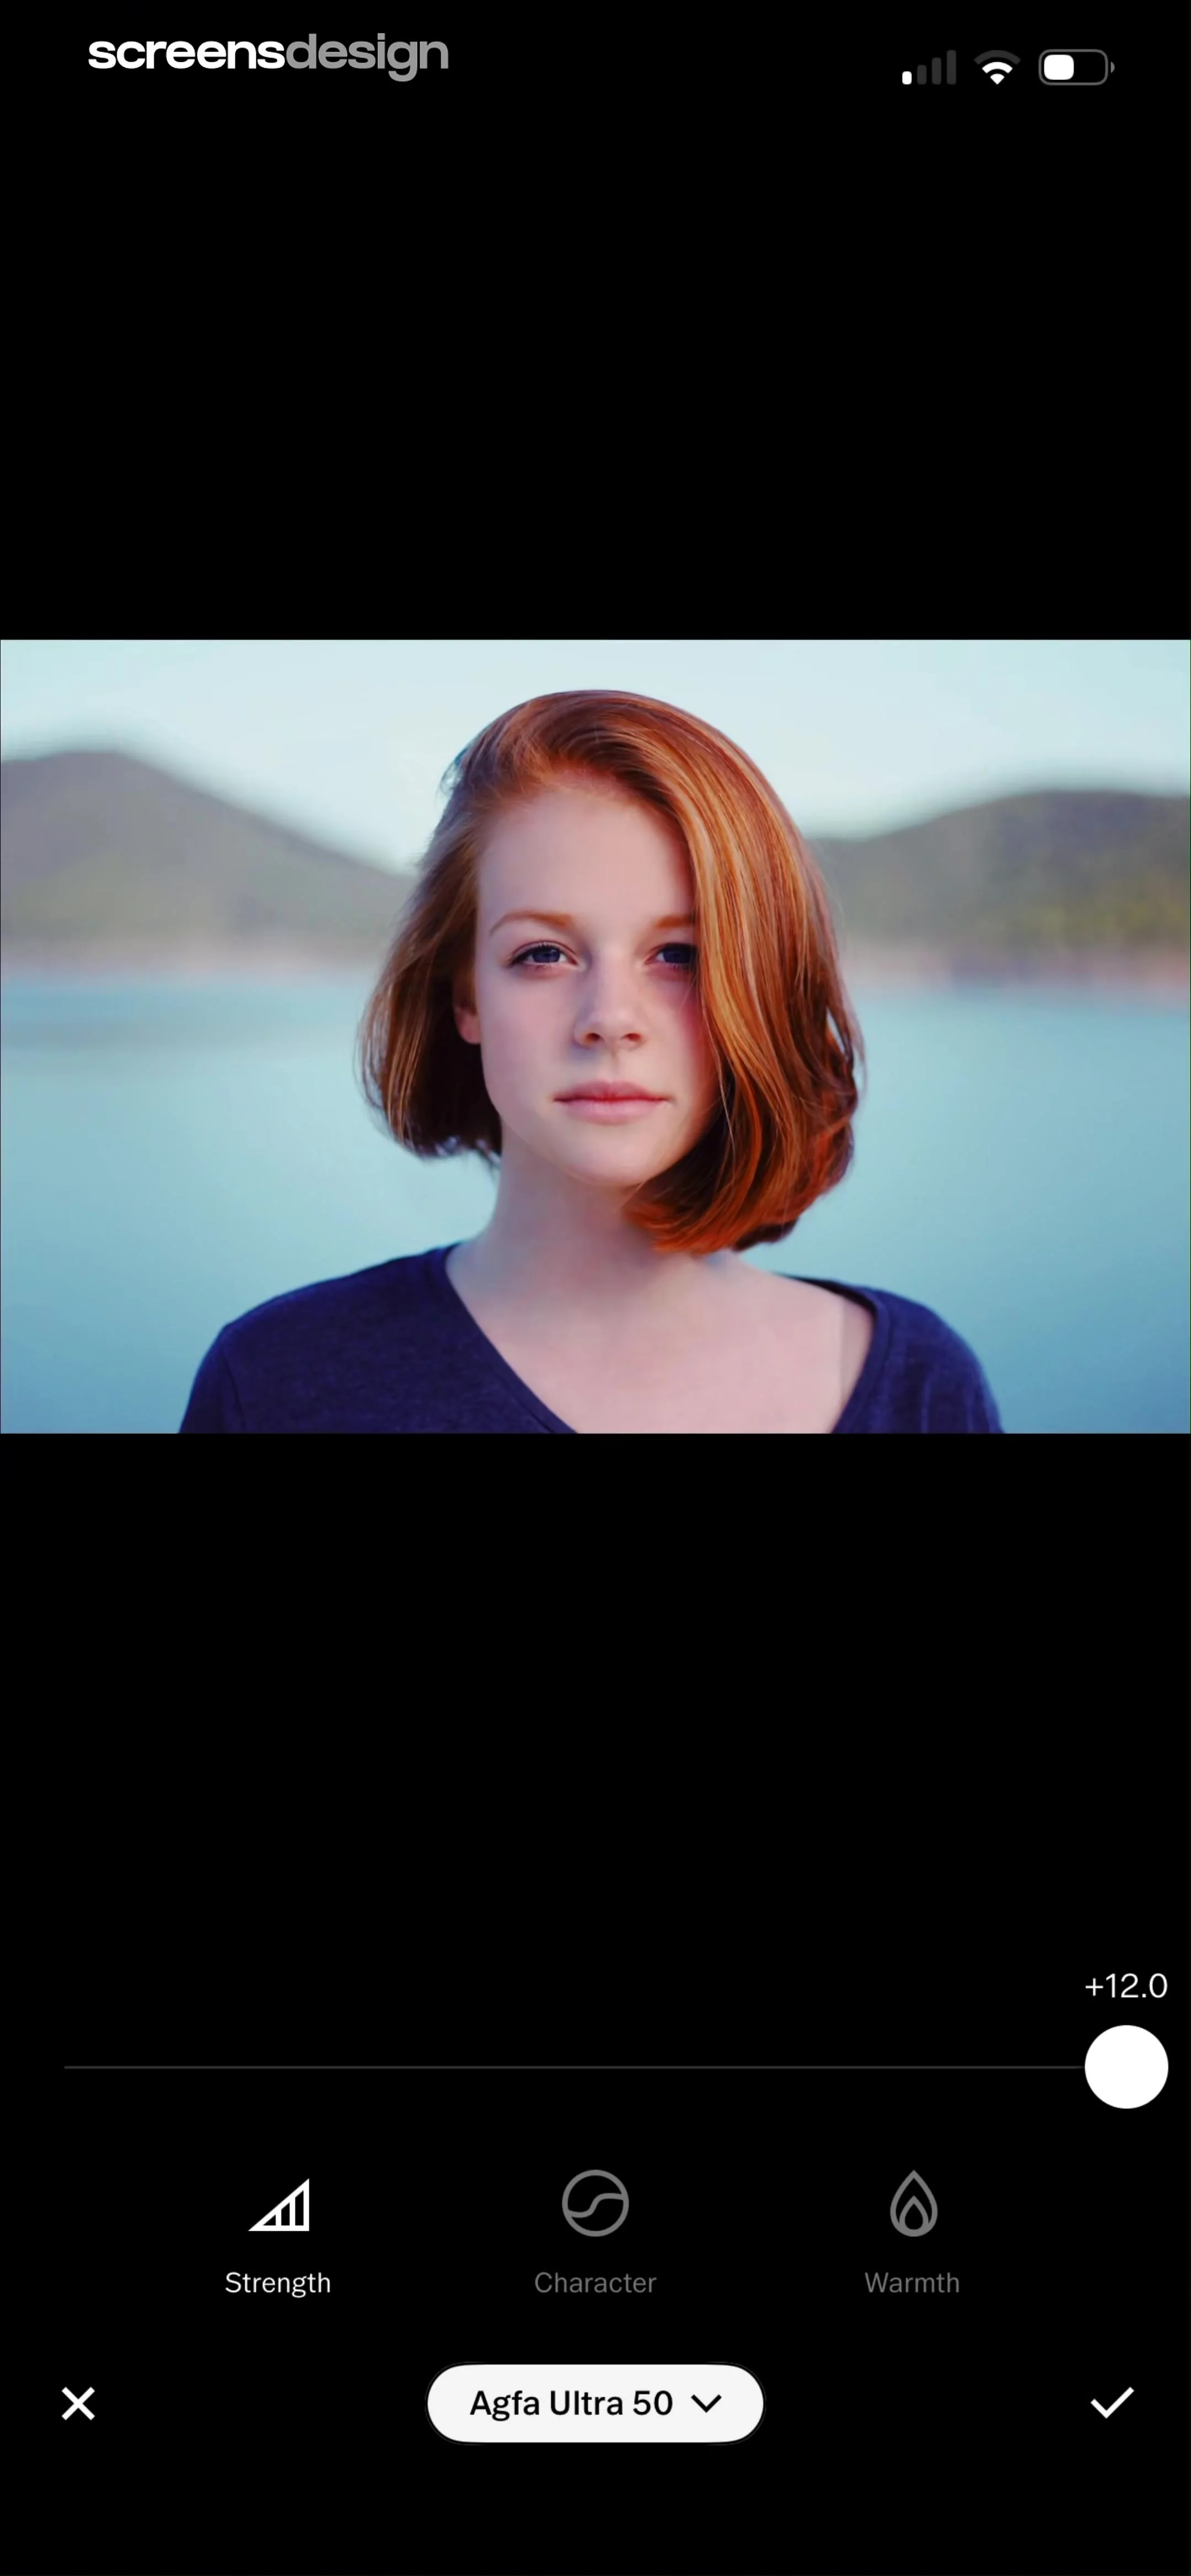
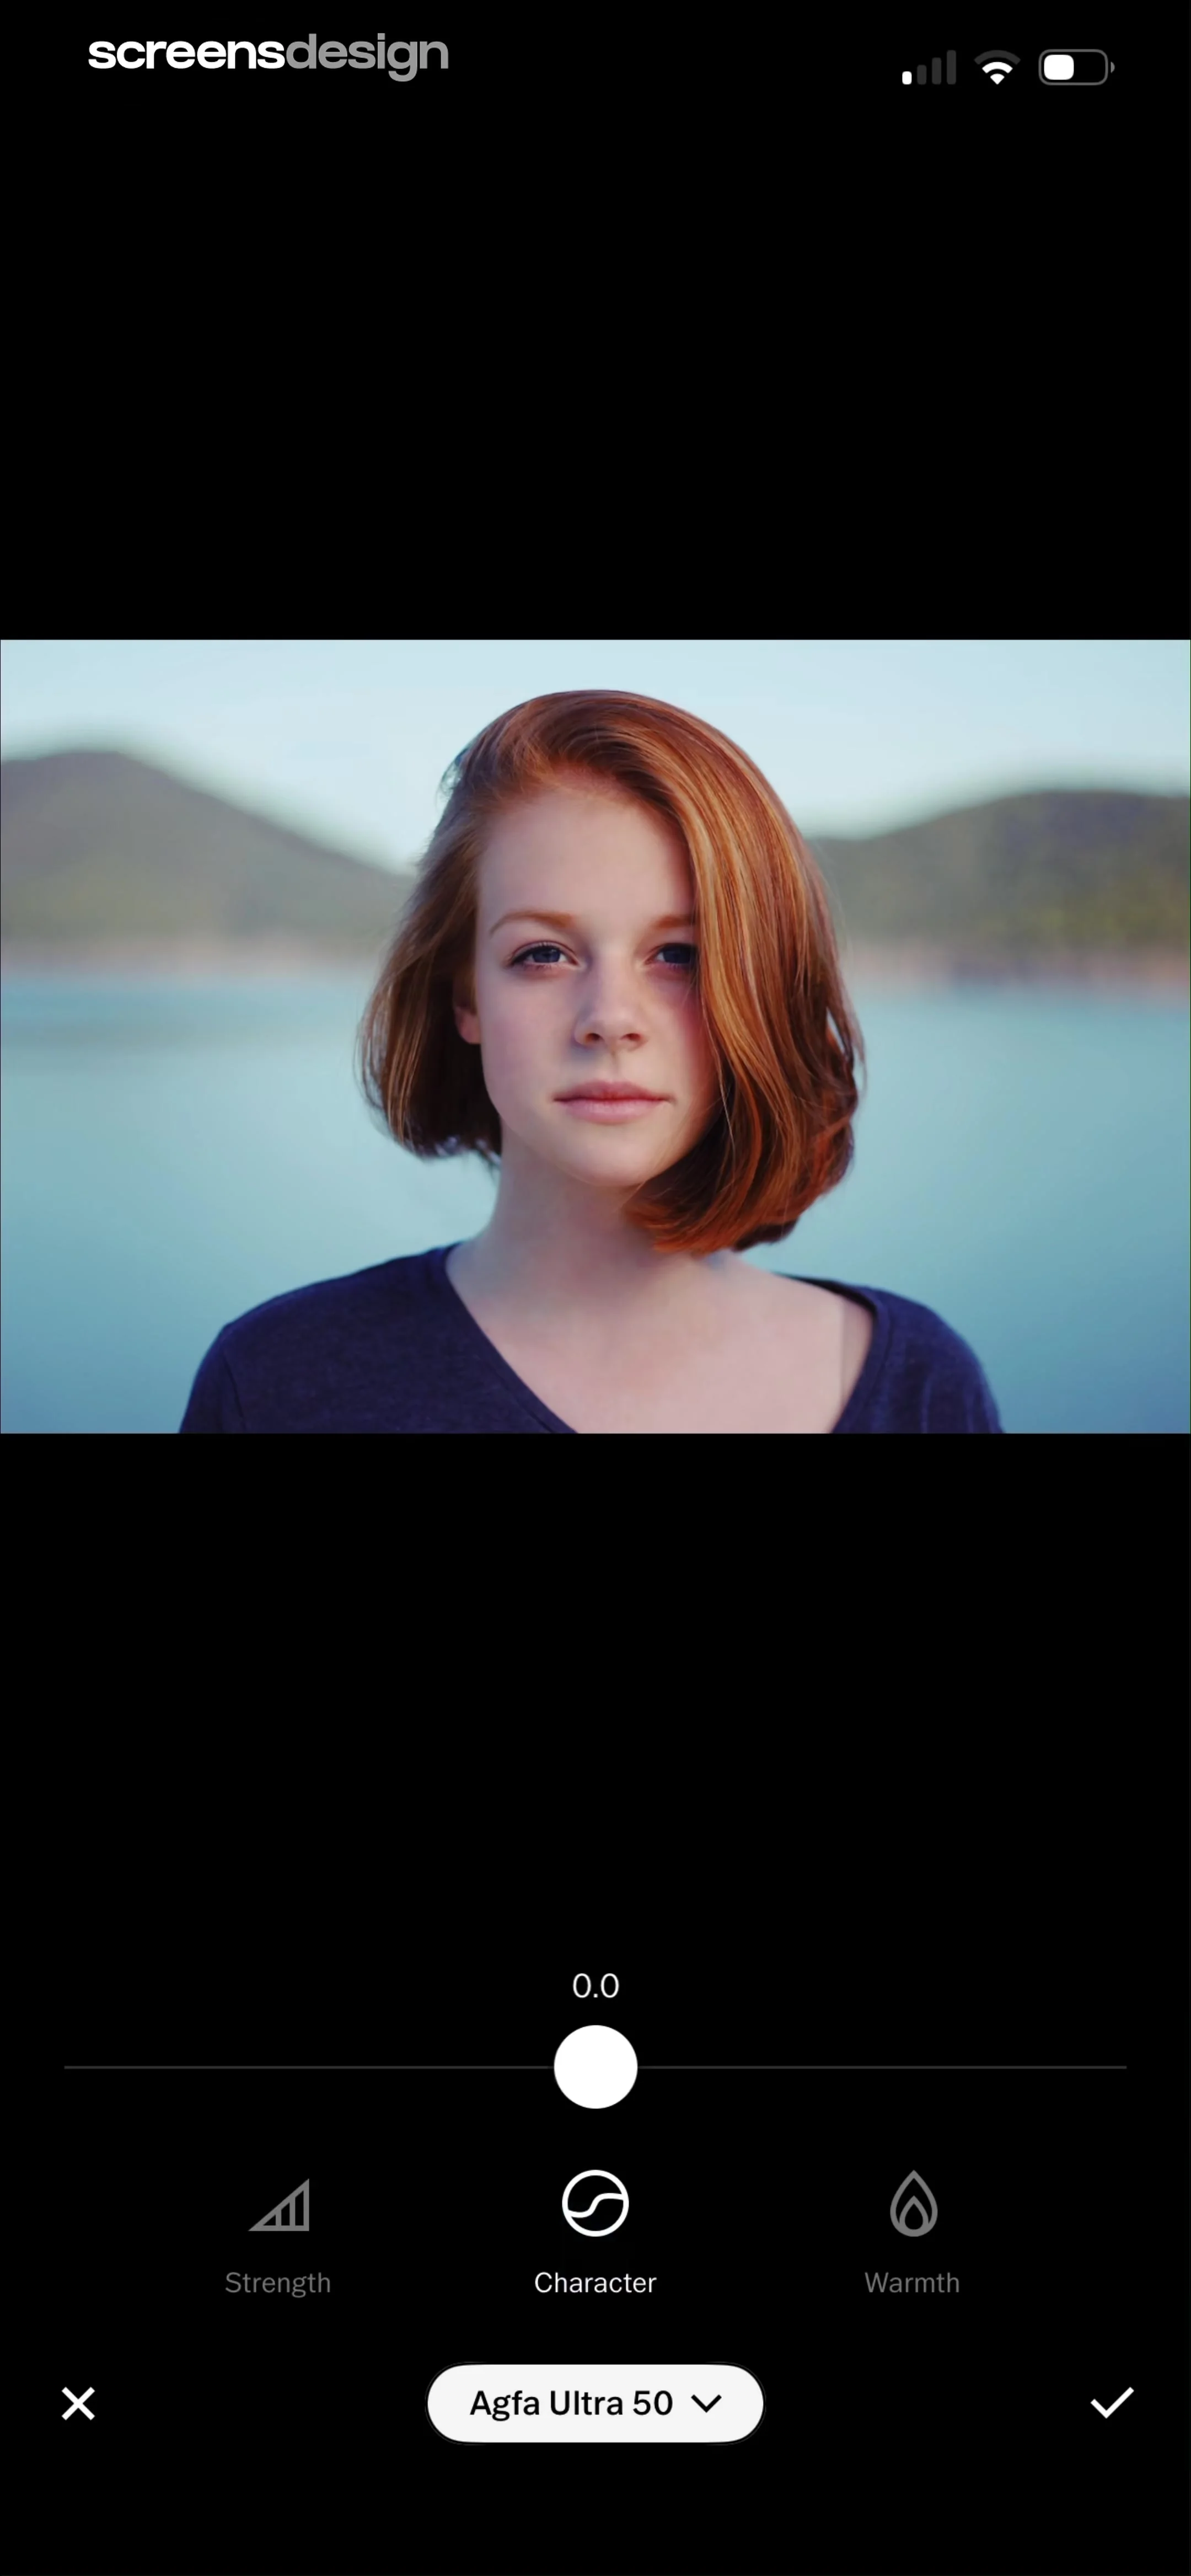
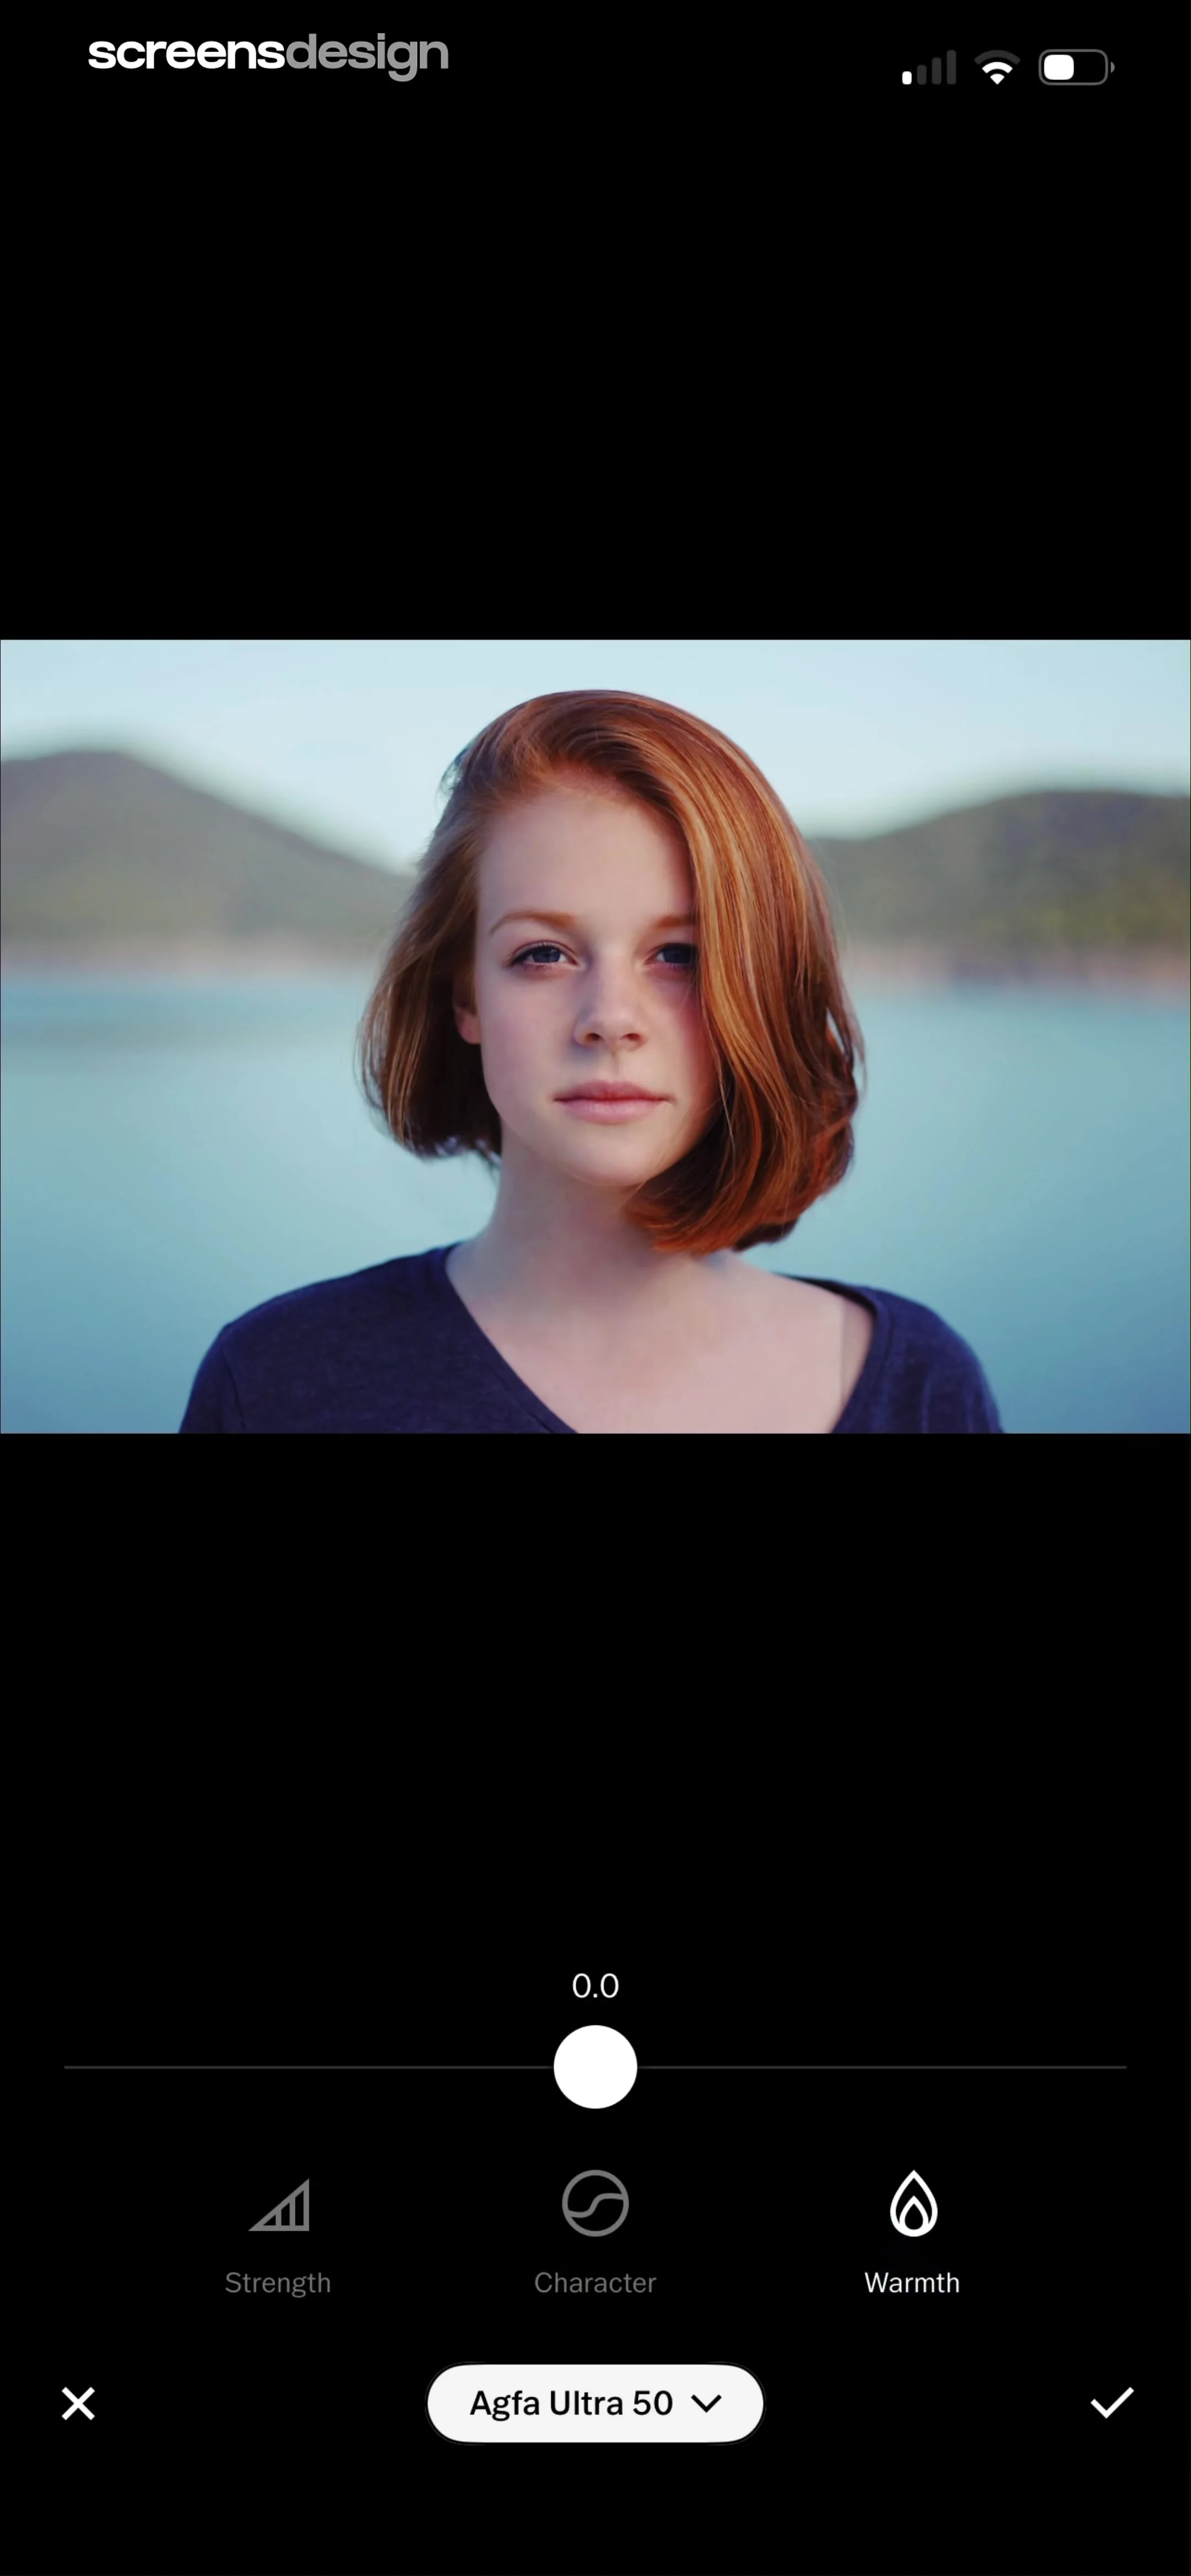
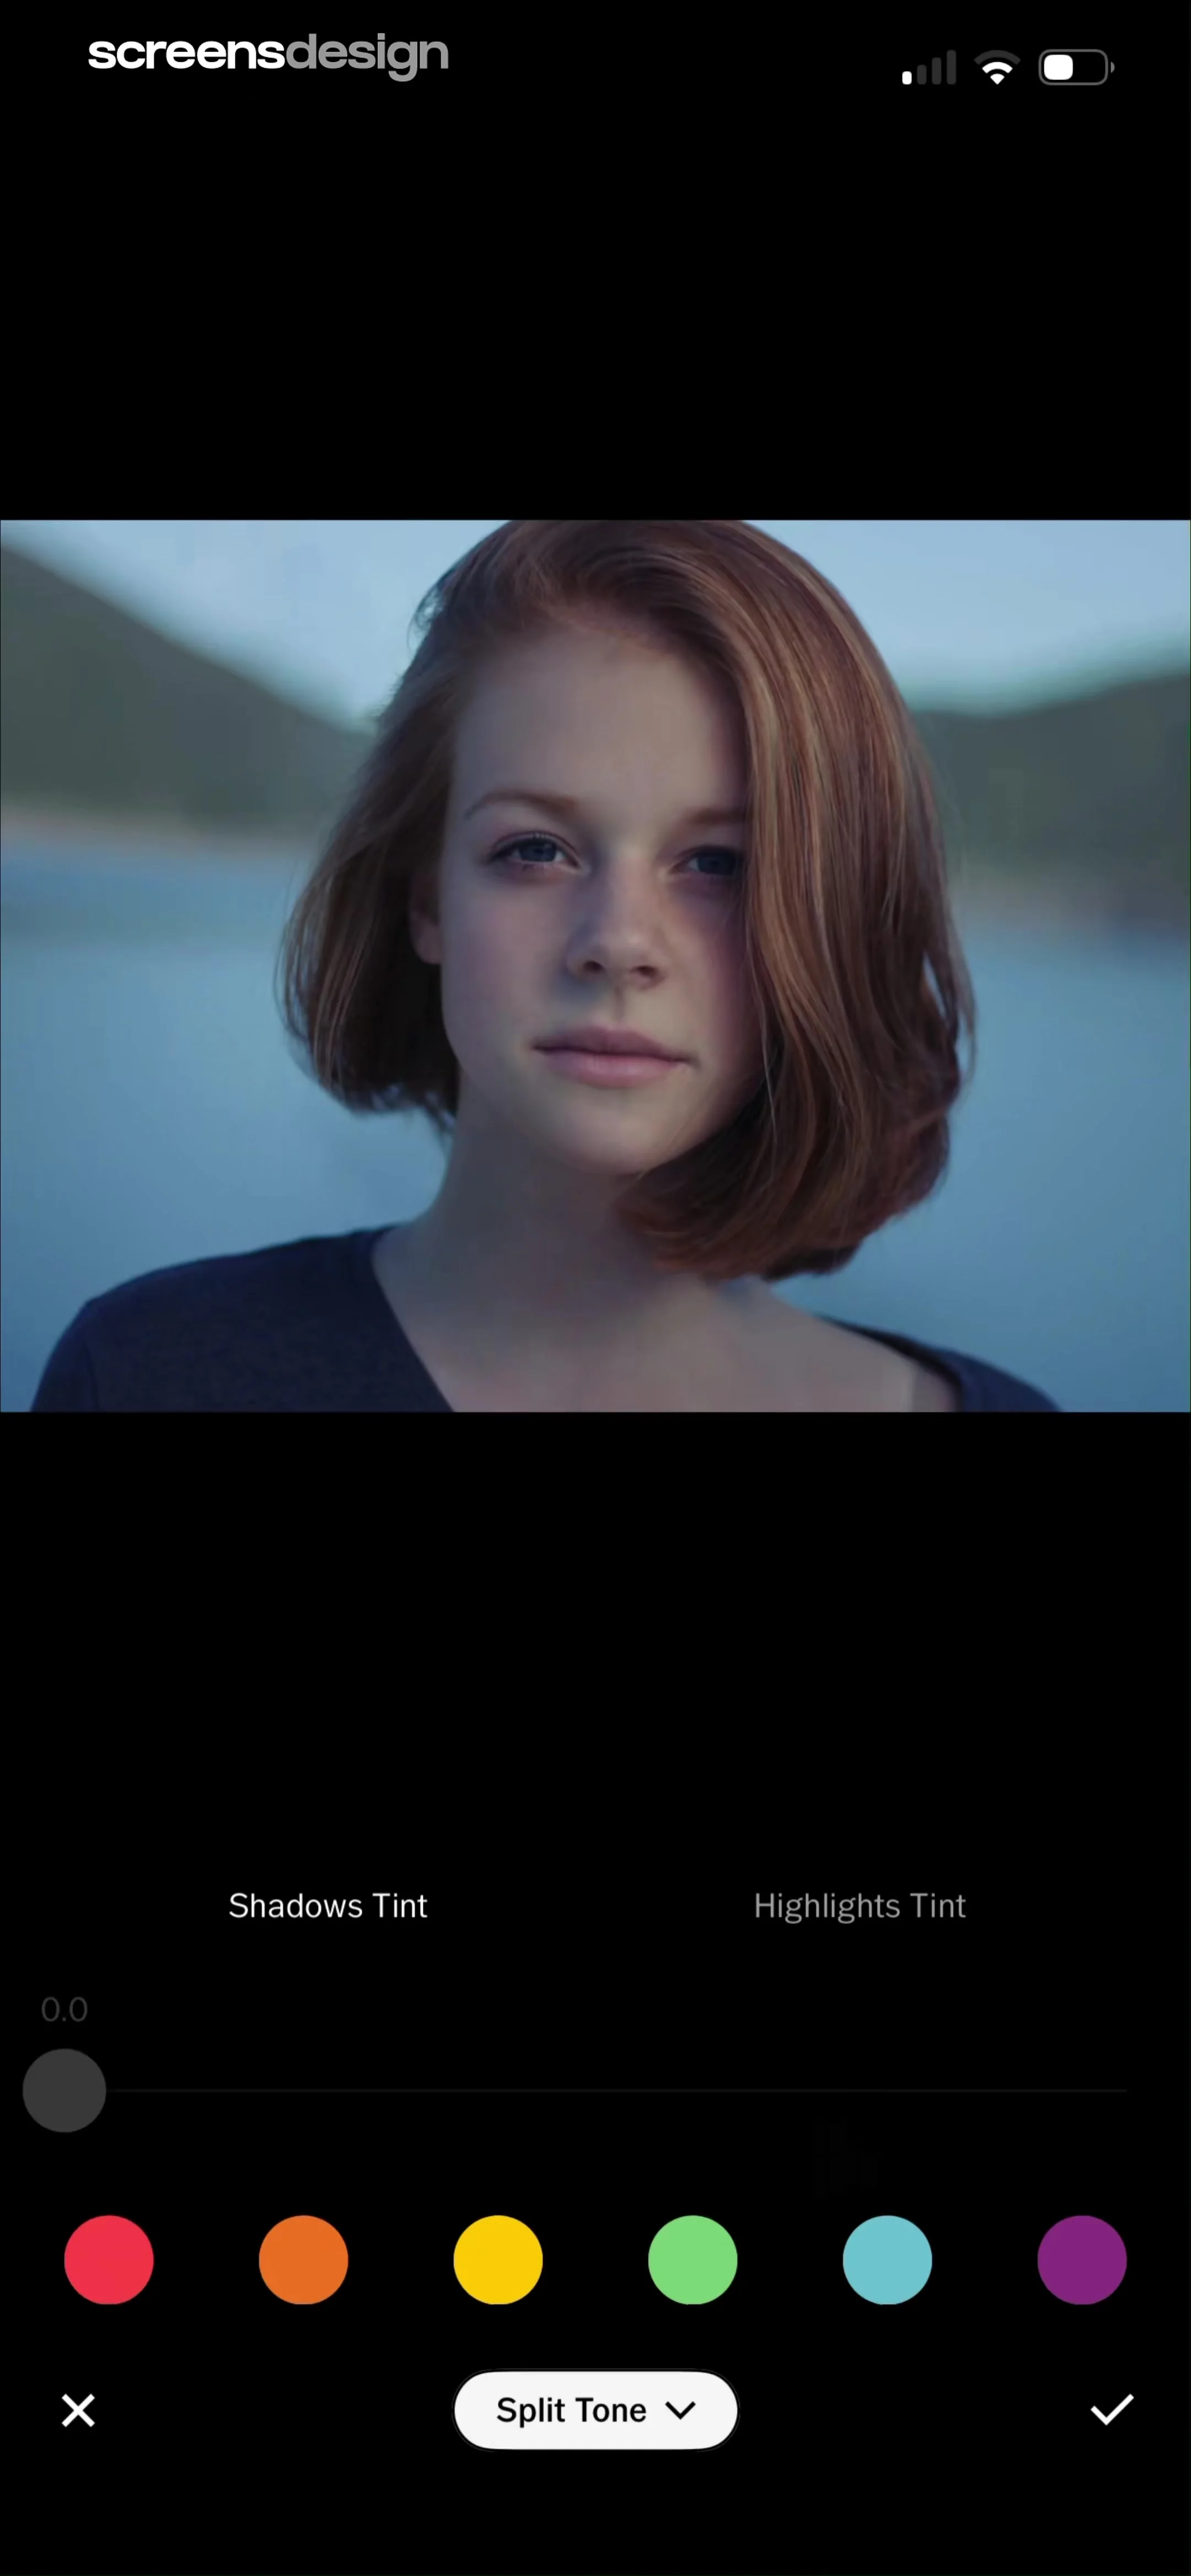
Top image preview, middle slider control, lower mode selection tabs, bottom navigation bar.
Step 6 · 8:32
 See the flow Everlook- Face & Body Editor
Top area shows the photo being edited, middle area contains adjustment tools and category tabs, bottom area contains the main navigation and confirm/cancel buttons.
Step 7 · 9:35
 See the flow Everlook- Face & Body Editor
Top photo preview, middle slider and utility icons, bottom filter carousel, bottom-most navigation bar.
Step 8 · 11:06
 See the flow Everlook- Face & Body Editor
Top area shows the photo with a bounding box, right side shows color selection, bottom area contains the editing carousel and navigation controls.